Hello,
So it’s not the first time I encounter this issue so I thought i’d just ask cause it seems like my brain cannot quite comprehend it.
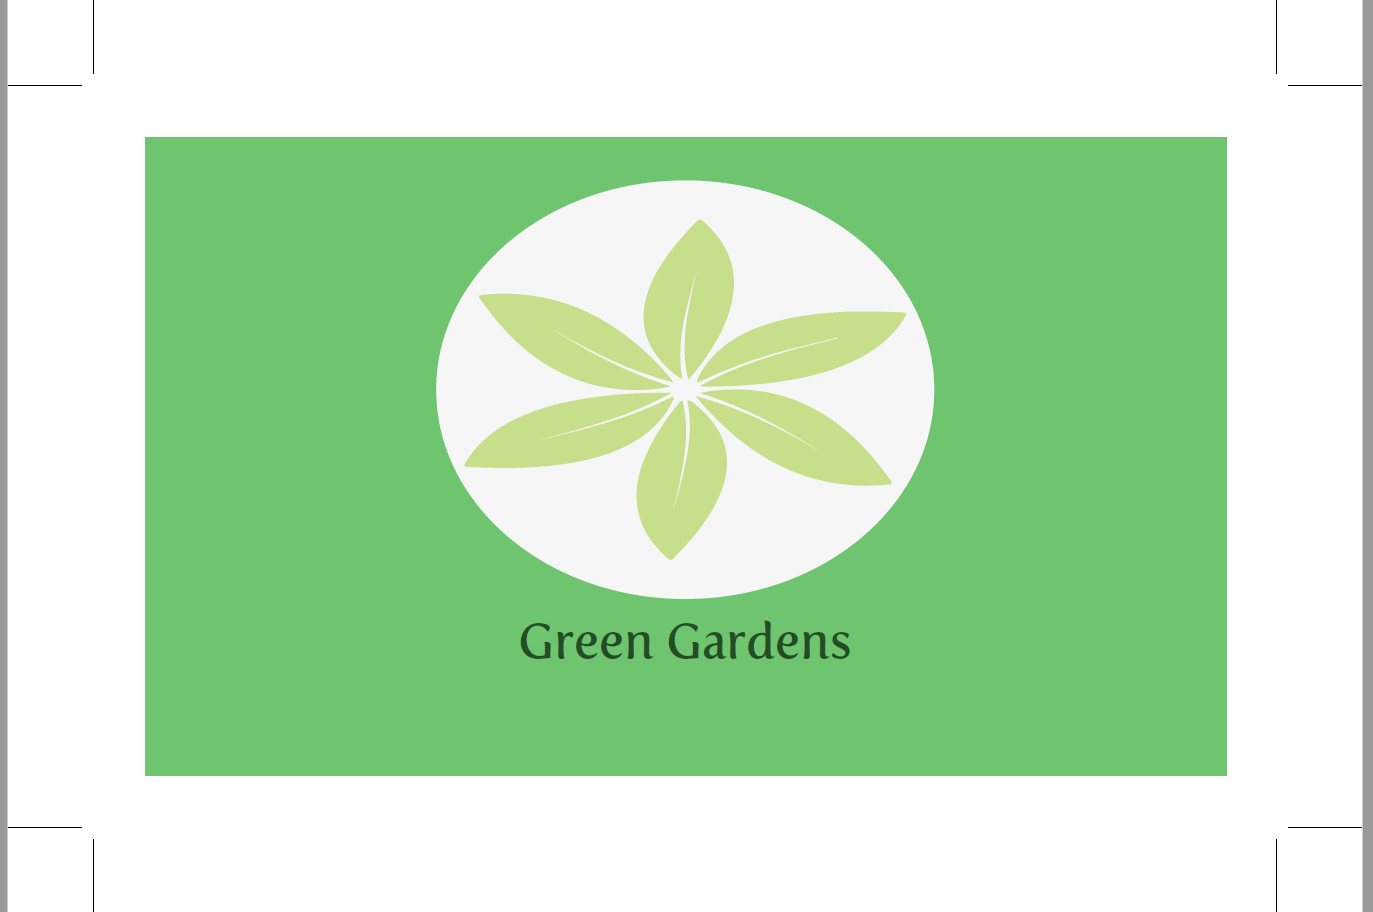
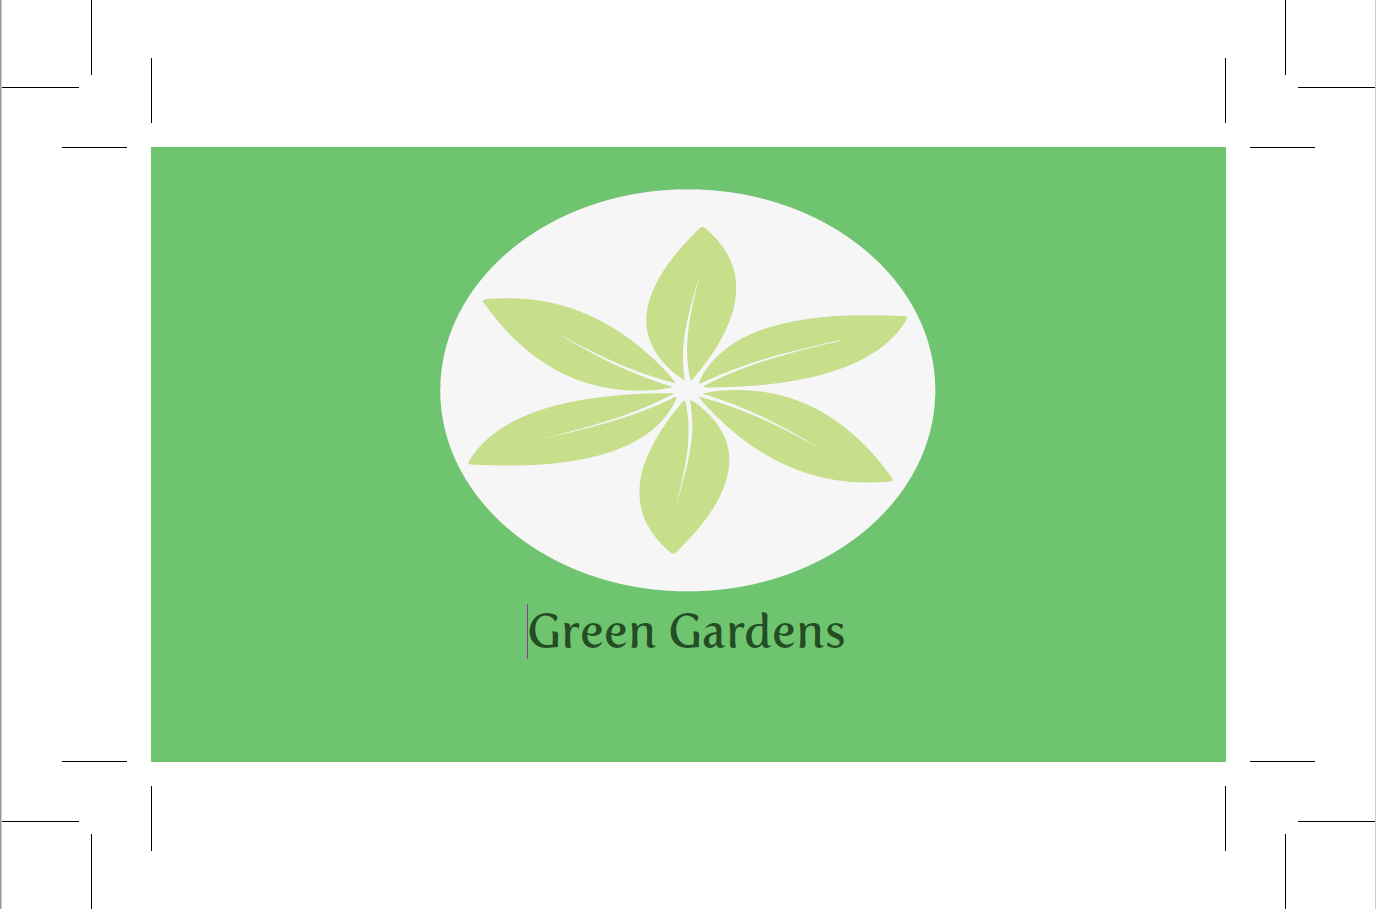
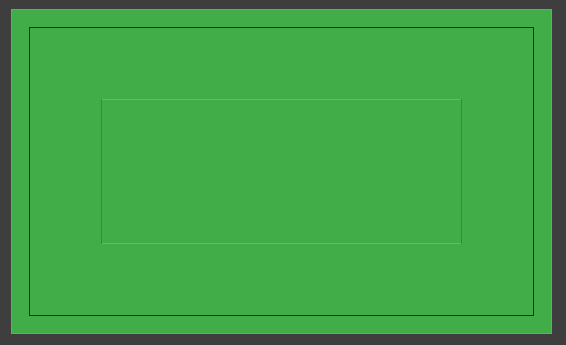
Is it normal if I see a somewhat large white gap between my design and the bleed marks when I export to pdf (example below)?
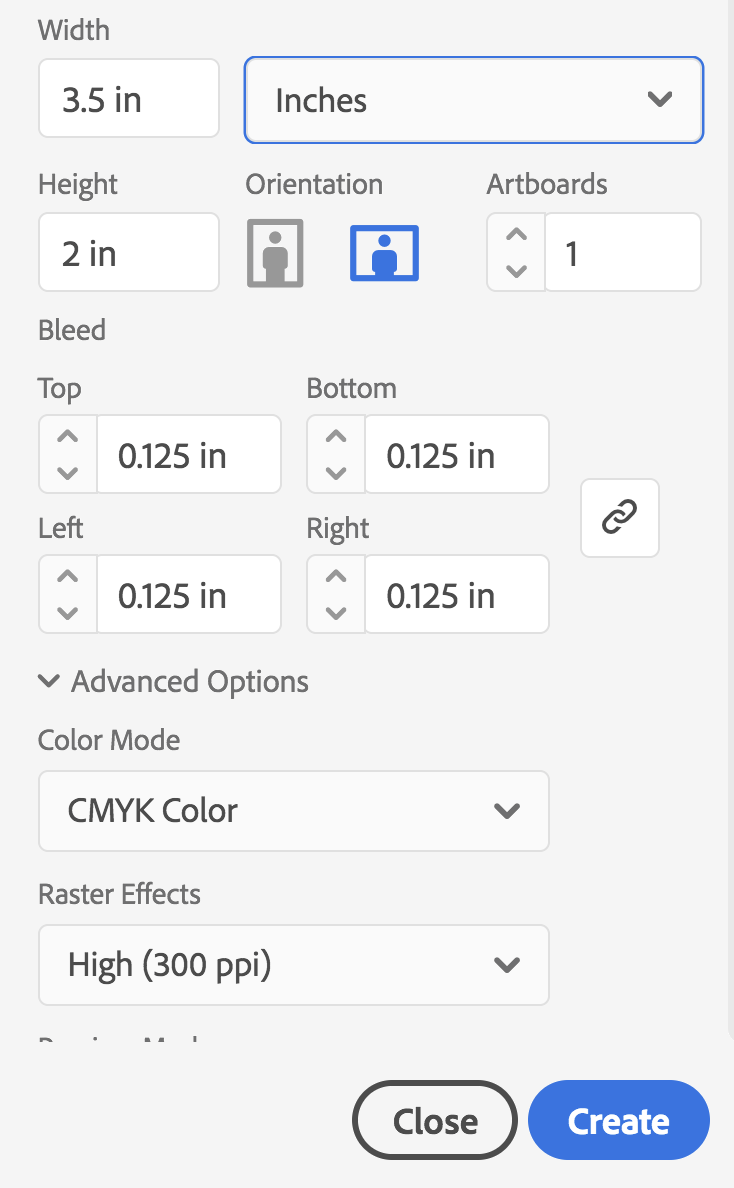
It seems to me that I had it set up wrong, shouldn’t it be closer? Here is what I wanted to do and the preset I entered:
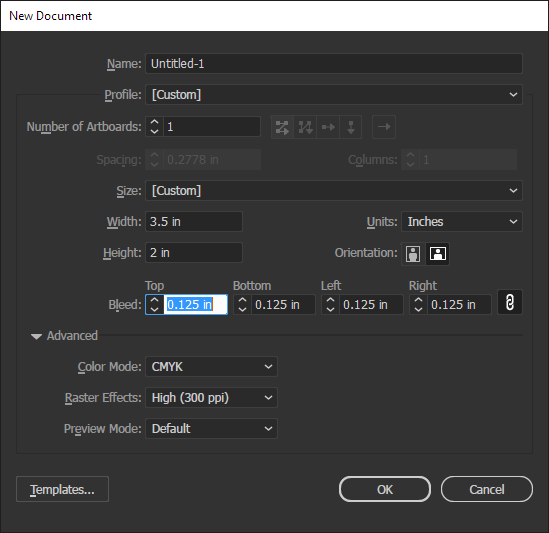
*Business Card, 3.5 inches by 2 inches
*Got told bleed for business cards was usually 0.125 inches on all sides
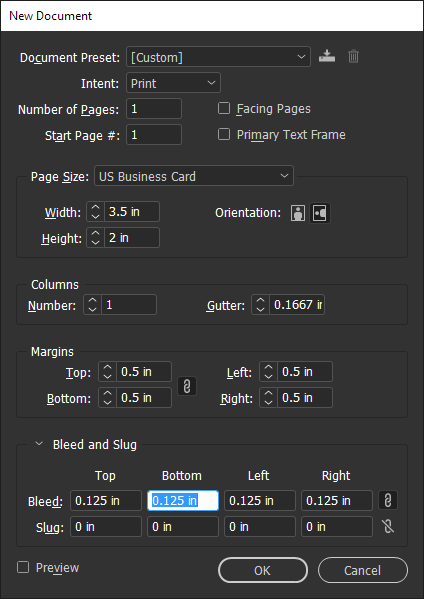
*“When setting up your document in Illustrator or InDesign, you should include the bleed and slug in your document setup. For a standard 3.5 x 2 inch business card with bleed, your document size would be 3.625 x 2.125 inches. This will allow for the 0.125 inch bleed on all sides.”
*So I did set up my document to be 3.625 x 2.125 inches and added 0.125 inch bleed on all sides alongside it.
Did I do something wrong? Is it really necessary to add the 0.125 inches in width and height to my document?
I just can’t quite comprehend it so maybe there’s nothing wrong with what I did but can’t be sure.
Thanks in advance!
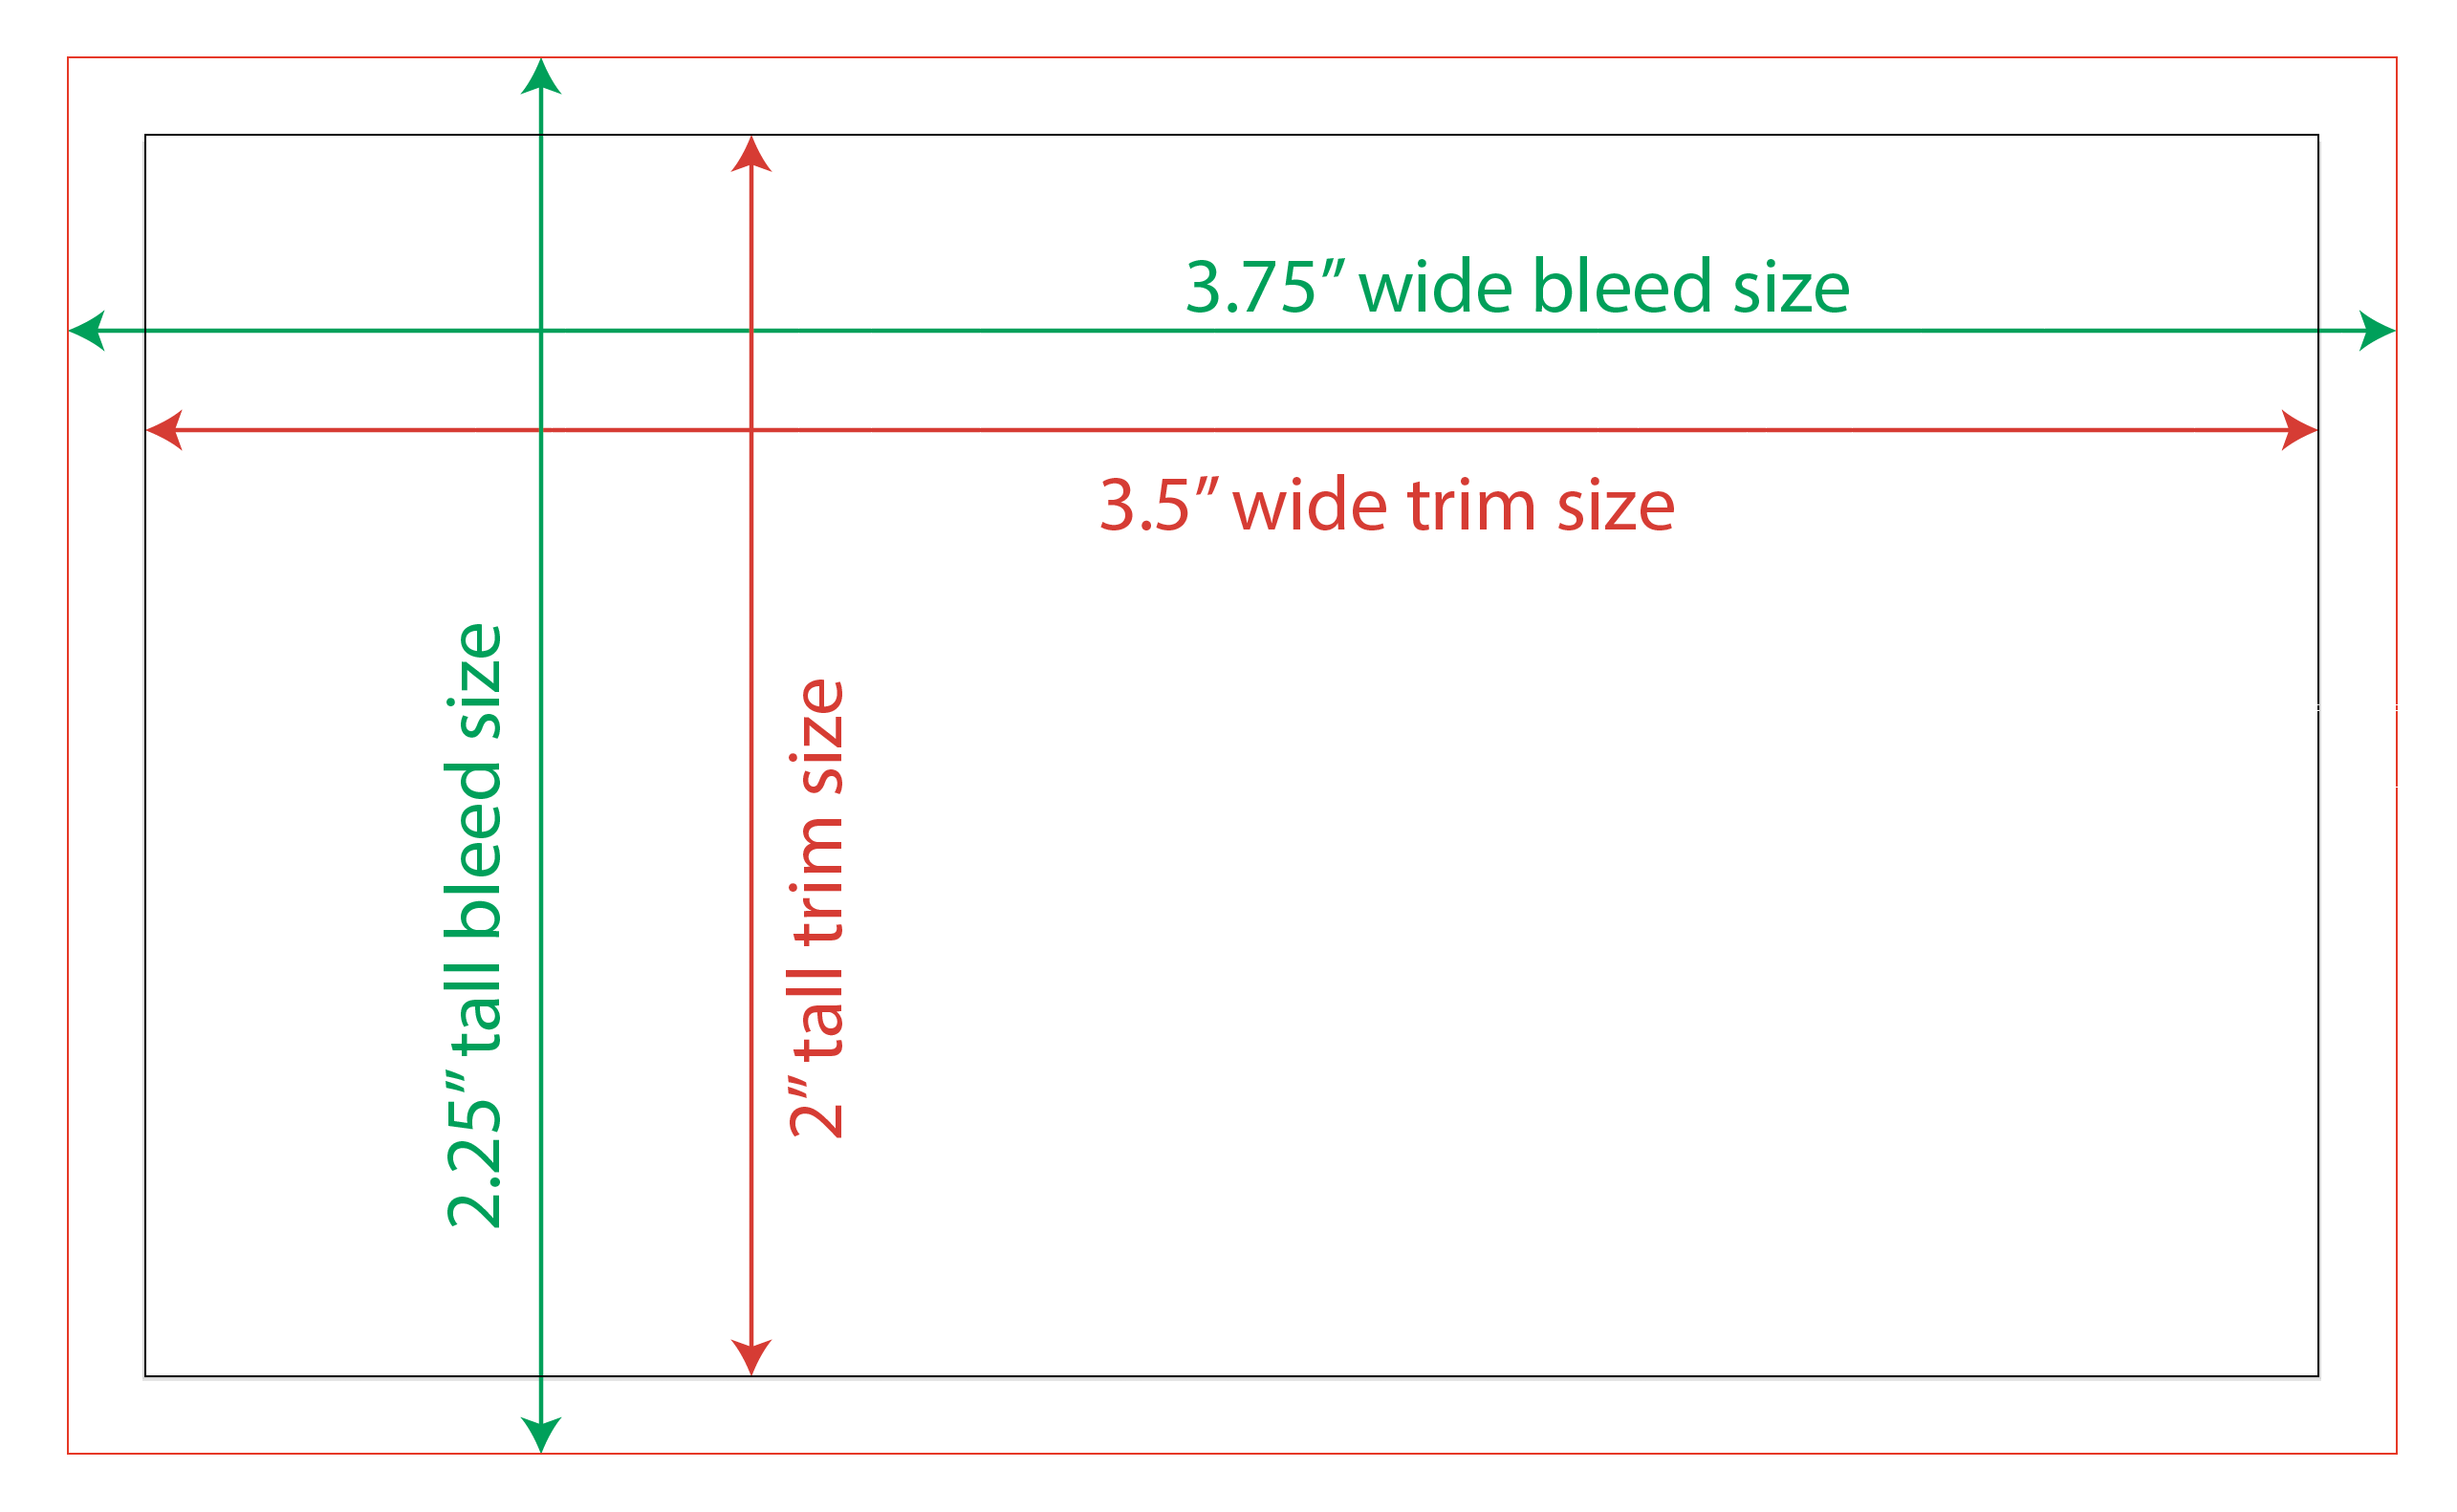
This above is very weird to me.
First that doc size only allows for 1/16" of bleed, not 1/8" all around. That dimension would be 3.75 x 2.25. (and it doesn’t include space for an on-doc slug)
Second,
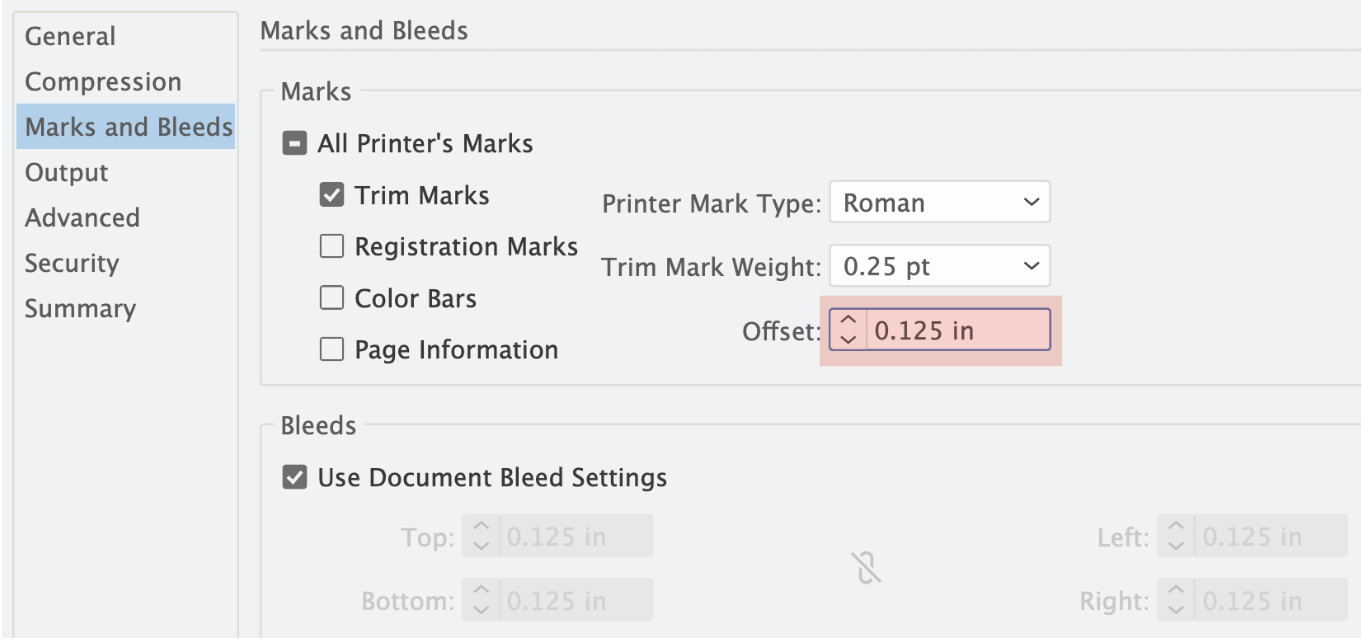
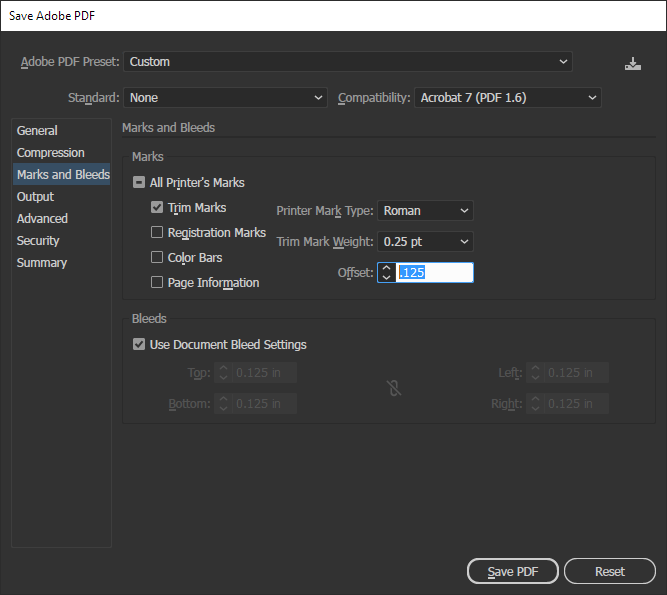
If setting up in either Indesign or Illustrator, you could use a non-printing cut path of some sort to create crop/trim marks to indicate the 3.5 x 2 area within the bleed. In InD there is a script that uses the cut path to create crops. In Illustrator it is a menu option to apply Trim Marks.
Without that you have to hand apply them. And put them where? Hanging off the artboard?
Your crop marks can touch the bleed, but not enter into it.
And these days, modern rips will use the artboard as the cut path indicator, with the bleed hanging off the artboard. Crops are still used to indicate the cut, just so the printer is sure of what you meant. It’s always best to check.
You should always follow the instructions your printer sends you. If what you wrote above is what you need to do to pass the course, by all means do it. It’s wrong, but do it.
Illustrator’s terribly bad no good use of PDF page boxes always makes me wonder… why? Clearly Adobe knows what they are, and how to use them. Acrobat, afterall.
But but but… all that new 3D stuff is super important, nobody could possibly live without it so it must take precedence over anything that would actually make the software objectively better.
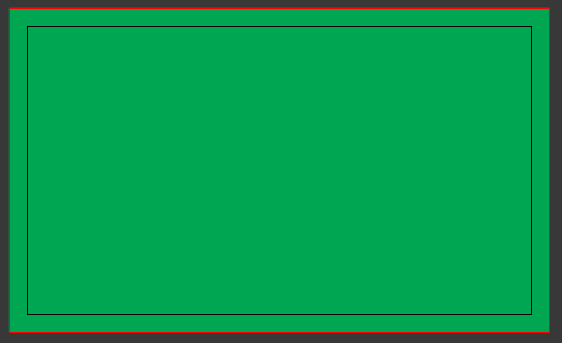
Do you know what a bleed is? If not, it’s the 0.125 inches (in this case) of ink that needs to print beyond where the edge of the card will be after it’s trimmed. Maybe you already knew that, but if you didn’t, this might explain part of the problem you’re having.
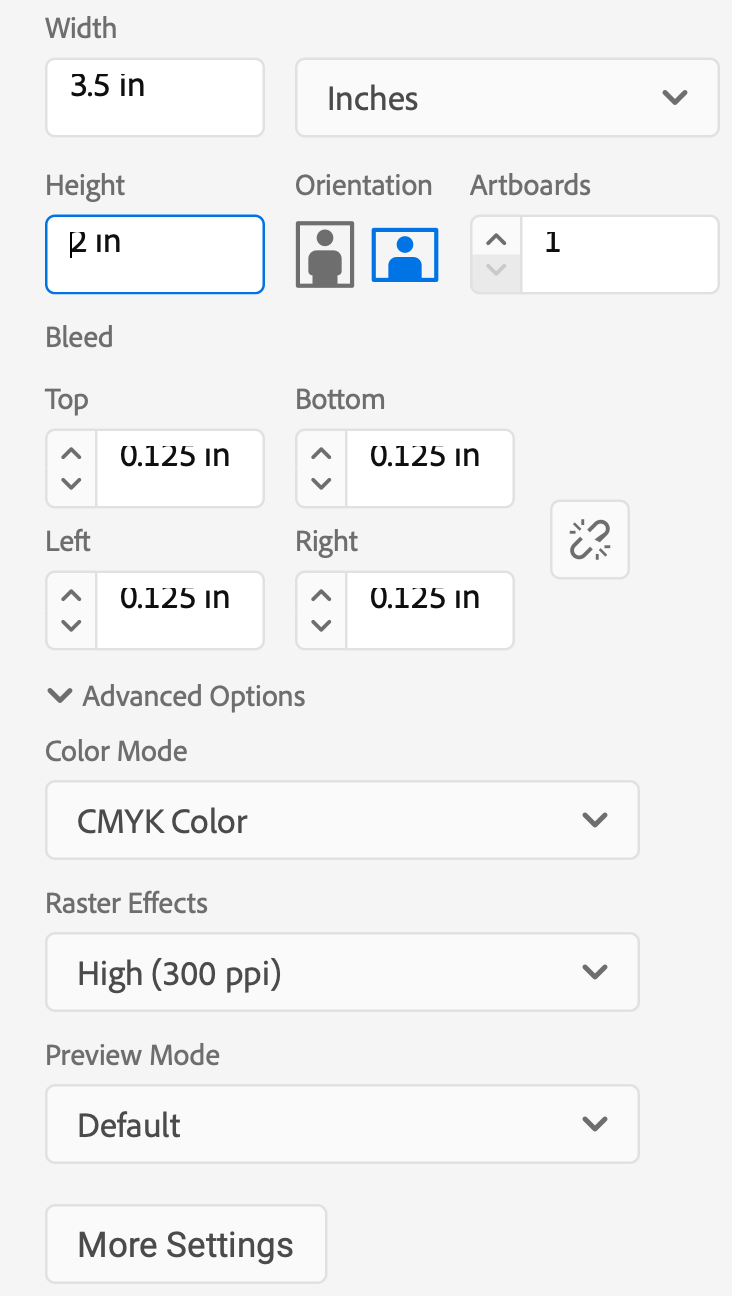
If your card is a standard 3.5 x 2 inches, you need to set up the document to be exactly that 3.5 x 2 inches. The bleed is something you specify in the setup that Illustrator will add to the 3.5 x 2-inch card.
Thank you so much, should I always add both crop and bleed marks? Because my Indesign doesn’t have “Trim” marks like you but I do have crop and bleed separately
I wasn’t clear on which app you were using, so I did it with InDesign too (see above), along with my recommendation to exclude bleed marks unless you have specific instructions to include them.
Crop marks and trim marks are the same things. The terms are used interchangeably. There’s rarely (if ever) a need for bleed marks.
If you want the printing to extend all the way to the edge of the final printed and trimmed piece of paper, you must extend the ink beyond where it will be trimmed. This is called the bleed, but you don’t need marks showing where the bleed ends. You only need to include the bleed and place crop/trim marks to indicate to the printer where to trim the paper.