So i need some help with the white stuff, can it be fixed?

What software are you using?
And is the color done on the same layer as the black lines?
I got in on photoshop, i got this drawing from a friend, and trying to fix it myself but other than fixing this pixel by pixel i see no solution to this ![]()
I think your friend downloaded a small jpg. image and is trying to make it big. That’s never going to work. This anime character is all over the internet - including this picture.
Yes it is a anime character, but he drew it, not downloaded it, what i think he did is sketch and paint it on the same layer, and thats what happend, so is there anyway to fix this?
Other than fixing this pixel by pixel or redoing it?
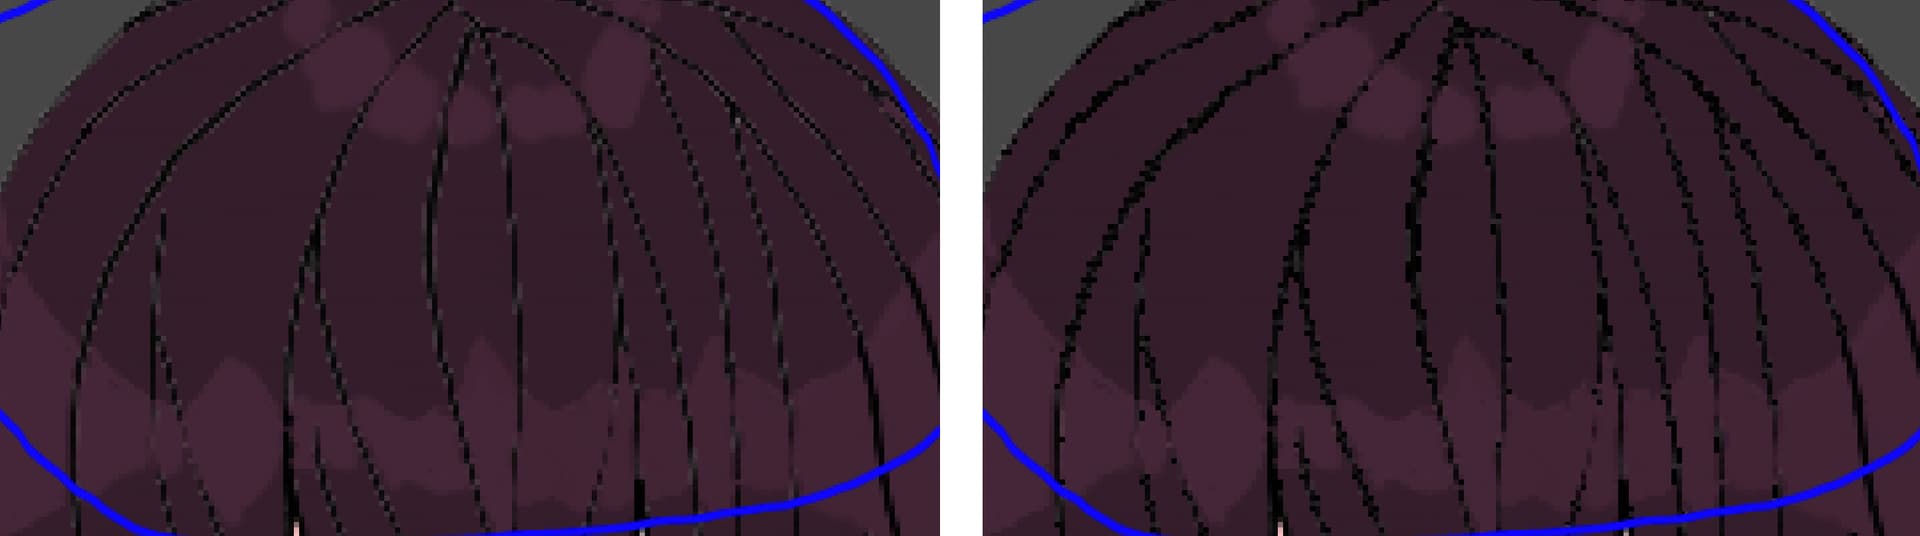
There are ways to reduce the ill effects of interpolated anti-aliasing in the hair, but that’s not all that’s wrong with it. Every edge was ruined when it was enlarged. If your friend drew it, and this is the only copy, it’s time to start over, start bigger, and not ruin it after the fact this time.
The only way I’ve found to not get that anti-aliased white edge on a drawing in Photoshop is to think before starting.
You have to do the black line art on it’s own layer.
You have to select the holes in the line art, go to Select >Modify> Enlarge and give it about 2 pixels. Then make a new layer behind the line art and apply the color to the selections there.
But if the art already exists and is flat, you are out of luck.
Some art programs like Procreate do the fill without the anti-aliasing. I’d use it but it only works on a mac tablet. And I have no use for a tablet.
There is no good solution to this problem. The problem is the result of how it was built in the first place, so the best solution is a redo using the advice others have mentioned.
However, if a redo isn’t possible, there are ways to mitigate the problem.
For example, in Photoshop, set the magic wand tool’s sample size setting to point sample size. Set the tolerance to something low, such as 5. Using the magic wand tool, select a middle-value pixel from the light anti-aliased pixels you want to change. From the Select drop-down menu, select Similar. This will select all similar values in the image. (This might take several tries to select the pixels you want without selecting pixels you don’t want.) At this point you’ll want to hide the “marching ants” outlines around the selected pixels. Do this by pressing Control H on a Windows machine or Command H on a Mac. With the marching ant outlines hidden, select Image > Adjustment > Curves from the top menus. Using the curve window that appears, adjust the curve to whatever point is needed to darken the selected pixels to the right value.
You will likely need to repeat this entire process three or four times to adjust all the pixels to the values you want. At that point, it’s a matter of individually adjusting the few remaining pixels one at a time.
I didn’t spend more than five or six minutes on this, and it’s far from perfect. However, with a little more time spent making the adjustments, it could be made to look better. Even so, as I and others have said, there’s no good way to fix this and make it look good without redoing it from scratch at a higher resolution.
This topic was automatically closed 365 days after the last reply. New replies are no longer allowed.