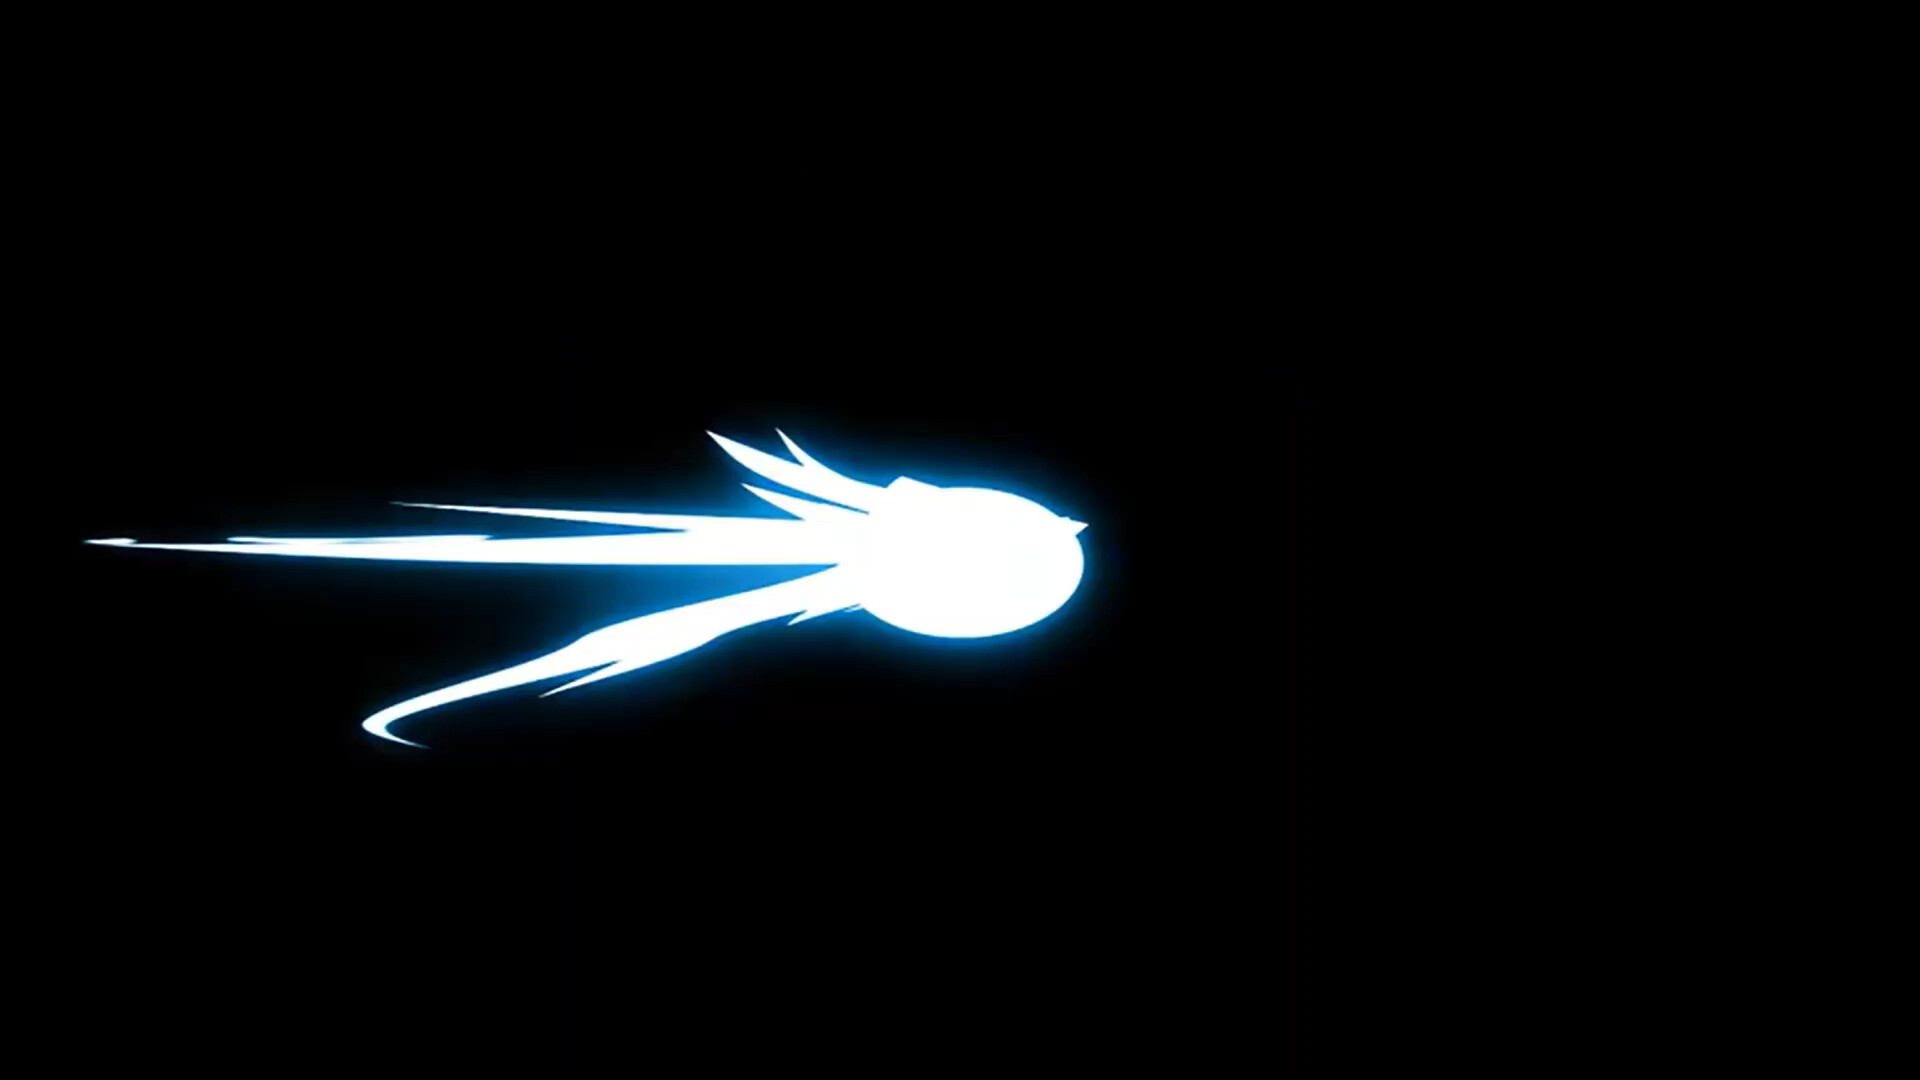
Upon examining this picture, which is a still-frame from an animation-effect, that gives a kind-of “flash” effect, by an artist on YouTube, it seems there is a colour-gradient applied to the comet-like figure. It looks like a very light shade of blue was chosen to fill the 'comet’s body. Then maybe a nebulous cloud was placed around the 'comet’s boundaries; then maybe a colour-gradient was applied to this ‘cloud’ to blend up to the bright shade of the 'comet’s body from a deeper shade of blue at the 'cloud’s edge. It seems this way because when I use a ‘Colour-Picker’ tool in GIMP on each pixel of the picture, each pixel has a different ‘hex’ code for its colour, which suggests AI has graduated the colour from a single deep shade at the edge of the shape to a lighter one at its centre. But I can’t figure out how you would achieve this effect. There don’t seem to be any colour-gradient options—not in GIMP at least—that allow the application of a gradient to a custom-shape: you can apply radial gradients, but the tools won’t intelligently apply them to a custom-shape, they will just treat any ‘selection’ as a basic rectangle or ellipse.
If it’s a still frame from an animation, it was likely created in an animation software.
Anyway…
Look up the term Gradient Mesh. A quick check online tells me you can possibly do this in Gimp.
where exactly did you see an “Edit Gradient” tool? I couldn’t see any such Tool in any of the sub-tabs the “Tool” tab; yes there is a “Dialogue Box” for the “Gradient” tool, but that’s it as far as I can see. No, you don’t seem to be able to change size of an applied Gradient beyond changing the size of the Layer that the Gradient is applied to. you can see that the image in the OP is a fairly complex polygon right? there don’t seem to be any Tools in GIMP outside of Plug-Ins to allow for the applicant of Gradients to such shapes, there are only very basic options such as rectangle and spheres and spirals etc. . the artist who made the picture in question has clearly crafted it such that the gradient’s inner-limit traces the boundary of the shape exactly, which seems to be quite a sophisticated skill. the only way i could find to emulate this in GIMP after a day’s research into it was to use a couple of Plug-Ins made by that character who calls themselves “Ofnuts”, the first of which allows you to create any number of paths around the object that trace its outline and grow outwards progressively towards wherever you wish the ‘glow’ outline to end, and the second of which then fills those ‘onion-layers’ with increments of your chosen Gradient. it works pretty well once you know how to do it, but is fiddly as it requires that the numbers of points in both the outermost and innermost paths match exactly, without a way to count those points other than by doing it manually.
in the end, i achieved a satisfactorily similar effect just through using a sort-of ‘air-brush’ tool at various opacities to apply a ‘glow’ to my shape.
i prefer the ‘manual’ way in the end, partly due to how fiddly the ‘Plug-In’ method can potentially be, but also because it requires quite intensive Rendering in order to fill in all those ‘onion-layers’, which taxes the computer a lot, and furthermore the ‘air-brush’ method allows for more creative freedom as it’s more ‘manual’.
with the GIMP Plug-Ins

with the ‘air-brush’ tool

This topic was automatically closed 365 days after the last reply. New replies are no longer allowed.