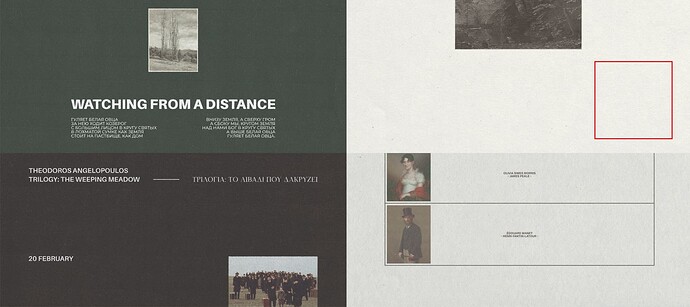
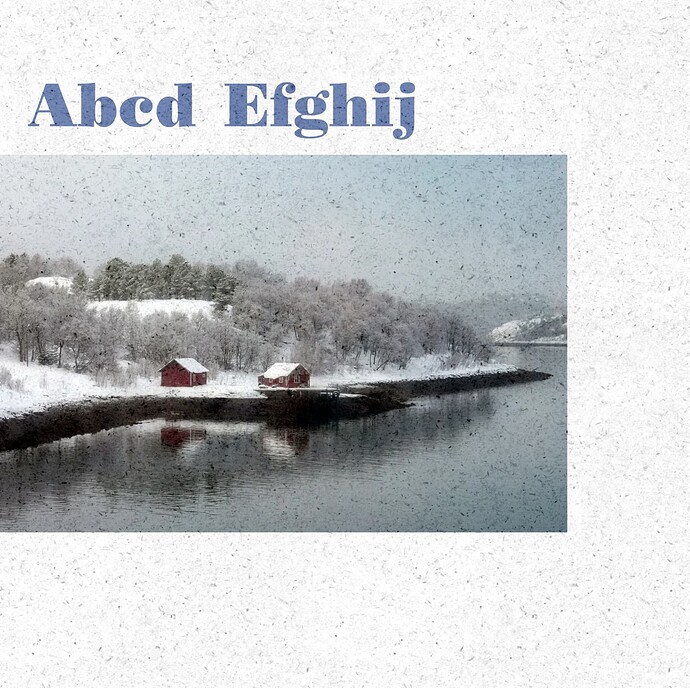
The effect is easy to achieve but a bit difficult to explain since it requires making choices about which options to select and which adjustments to make. Writing this will take me longer than I spent making the following image at the bottom of the post.
I put together the image using only Photoshop. Of course, you wouldn’t want to create an entire brochure in Photoshop, but both Illustrator and InDesign have layer adjustments, which is the key to the effect.
Anyway, here’s what I did.
I found a background scan of a piece of paper on Pixabay. The color doesn’t matter since that can be changed. The image can be lightened or darkened, and the contrast changed to whatever you want it to be.
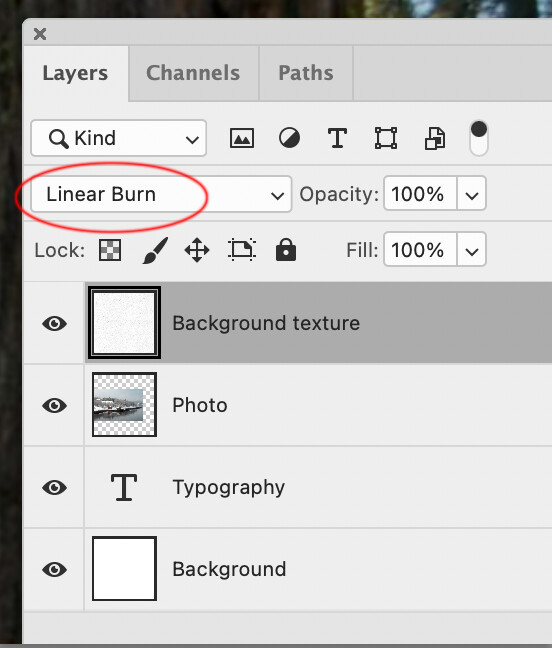
I desaturated the image to make it grayscale. I pasted the image into a separate layer that sits on top of the typography and photo. In the layers panel, select the layer with the texture image. Select Linear Burn from the dropdown menu I circled in red. There are lots of options in that dropdown menu, so choose the one that works best for what you’re doing while making any adjustments you think are needed.
The process is similar whether you’re using Illustrator or InDesign. Of course, you’ll still work with the photos and texture image in Photoshop, but you will move your texture image into Illustrator or InDesign and position that layer at the top, which is similar to doing it in Photoshop. The difference is in how you’ll achieve the Linear Burn (or whatever other effect you choose) since the menu items are arranged differently.
In Illustrator, instead of applying the effect in the Layers Panel, head to the top menu and select Windows > Transparency, where you have similar options to apply the effects. I just noticed the Linear Burn effect isn’t present in either Illustrator or InDesign, but as I said, there are many options to choose from.
In InDesign, the effects are located in Window > Effects.
I’m quite certain there are other ways to achieve this effect, but they all hinge on getting the texture you want from a scanned piece of paper, positioning it on a layer above everything else, and then making the necessary adjustments to that layer and the image within the layer. At least you have enough information now to experiment with variations of what I’ve mentioned.
![]()


