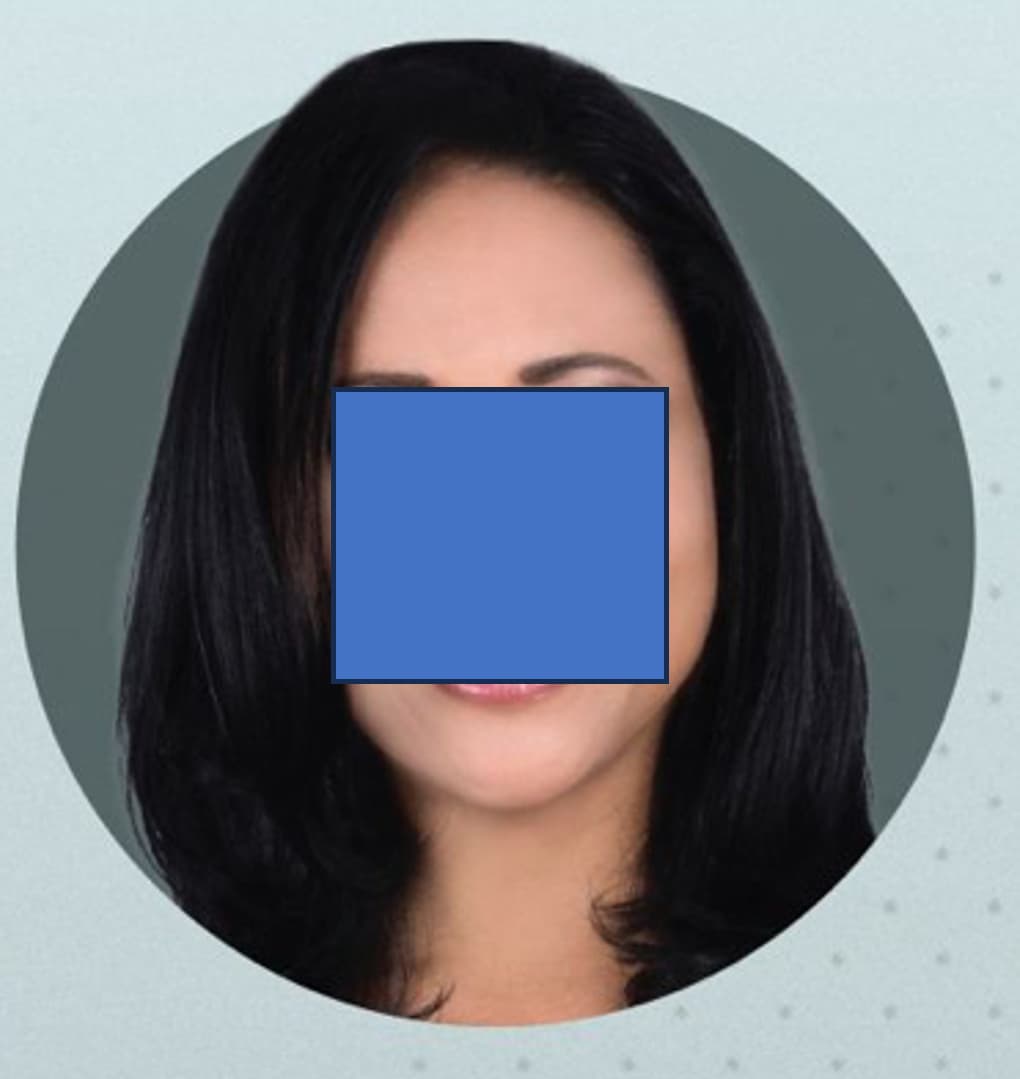
I’m trying to figure out what technique to use to get this effect. I know how to paste an image “into” a shape in InDesign. But that puts the whole image inside the circle. I want the head to protrude from the top the top. That means I have to crop the bottom of a square photo to the shape of the circle. How do you do this?
I have very basic Photoshop and Illustrator skills. Much better at InDesign but I’m not sure if it can be done in that app.
If it were me, I would create the image in Photoshop (with the top of the head protruding from the circle). Then, I would place the image into a regular rectangular InDesign frame. This way, I could retain the small hair details.
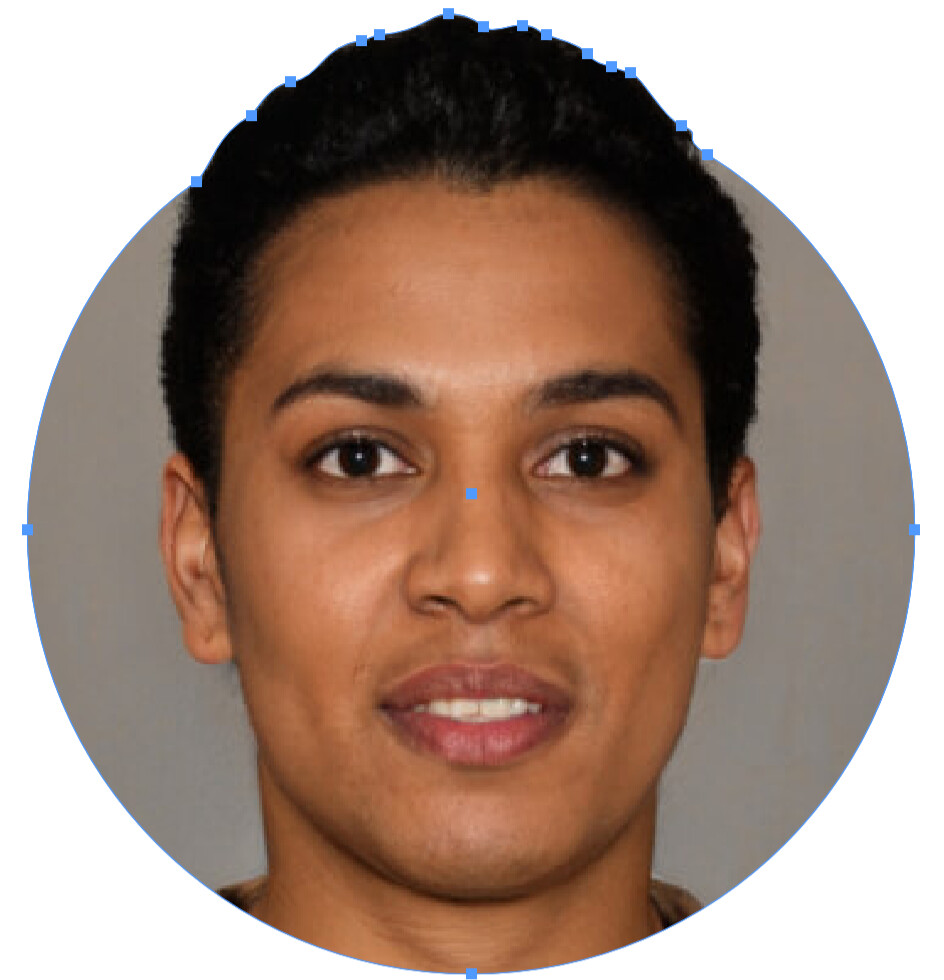
However, if you want to do it in InDesign, draw a circular frame. Place the photo into the frame. Use the pen tool to add anchor points to the top of the circle while positioning them to correspond to the edge of the hair. See below.
As far as I know there is no simple way to do this in InDesign. Everyone is different. When I have to do something like this my steps are a little complicated but it works for me.
Duplicate your layer in photoshop
Create a selection of the object (in this case the head)
In the top layer in photoshop use your selection to create a mask (I do this so it’s non destructive if I have to fix the mask later)
Save as a PSD photoshop file to maintain layers.
Create your containing circle in InDesign
Place the PSD into the circle where you want it to be (the head will still be “cutoff” and within the circle at this point.
Create a new layer in InDesign and draw a no fill, no stroke rectangle that covers the top part of the circle, but extends up from the circle to allow for the top of the head.
Select the contents of the original circle and copy them (cmnd-c on Mac, ctrl-c on PC)
Select the rectangle shape on the new layer and use “Paste Into” (cmnd-opt-v or um … I believe it is ctrl-alt-v on PC)
Right click on the rectangle image and select “Object Layer Options”
From the Object Layer Options dialogue, click on the eye icon to hide the bottom, unmasked layer so that only the masked head is showing in your new rectangle
It sounds more convoluted than it is. But it’s not that difficult. I don’t break the bounding box with images very often, but when I do that is the approach I take.
As @CraigB said, there are multiple ways to do almost anything using Adobe apps. Here’s how I would do it in Photoshop before placing it into InDesign.
Duplicate the image onto a second layer then hide the second layer and the background layer (if there isn’t a background layer, create one).
Draw the circle marquee on the first layer, then inverse it and delete the area outside the circle.
Unhide the second layer, then make it the selected layer.
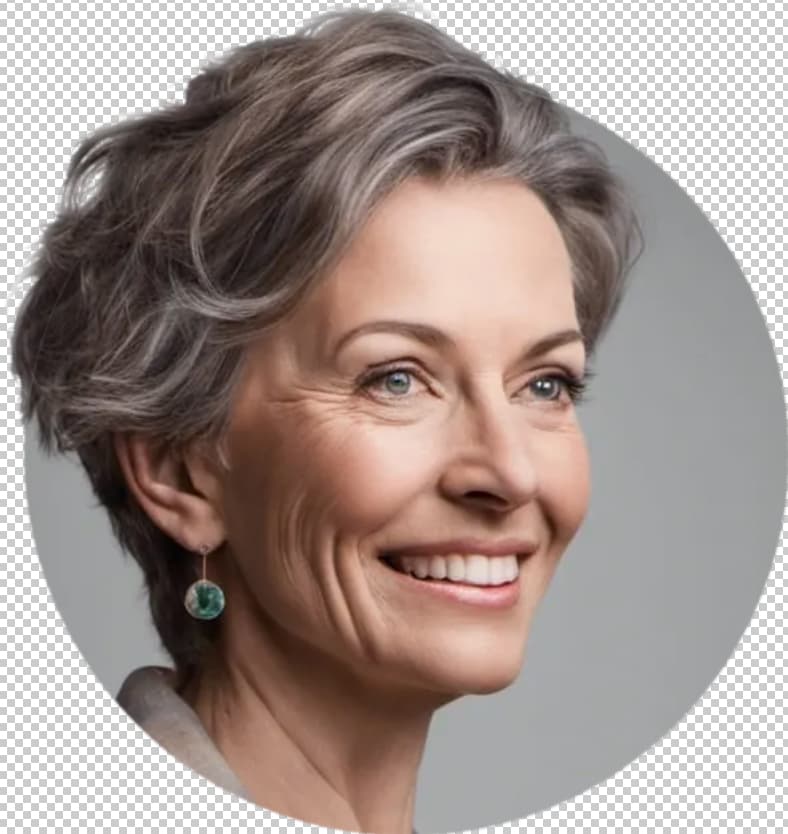
Using whatever background removal technique you want (I used the lasso tool), remove everything but the hair you want protruding out from the circle.
Merge the first and second layers while leaving the background layer transparent. Save it, and place it into InDesign.
I skipped a bunch of little steps, such as feathering the selections, converting to CMYK, or using the dodge and burn tools to clean things up a bit, but these are the standard Photoshop things that might differ from one image to the next.
Unlike Craig, I don’t typically use non-destructive methods. Instead, I’ll save copies of the file at different times or duplicate and hide layers to revert to if needed. Like we said, there are lots of ways to do things.