Hi all - it’s been a long time since visiting and I know when I have a difficult Illustrator/Prepress question, I can come here.
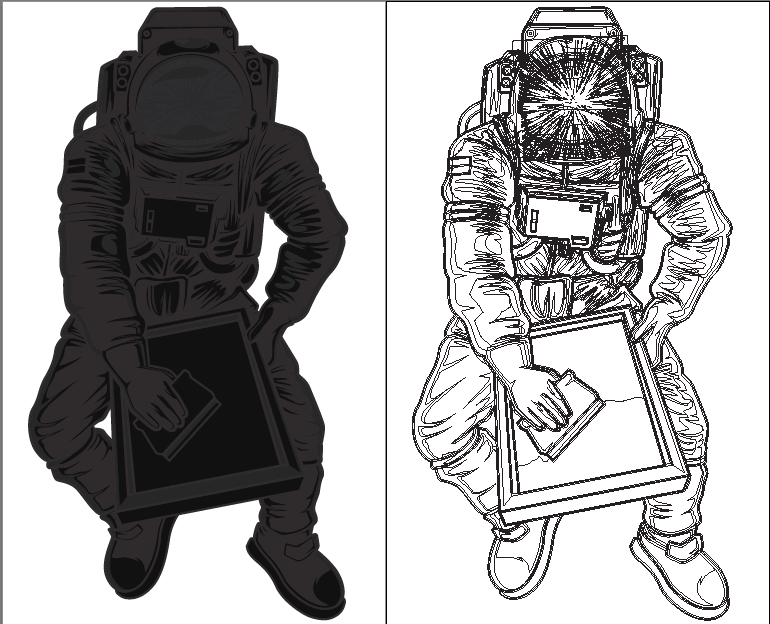
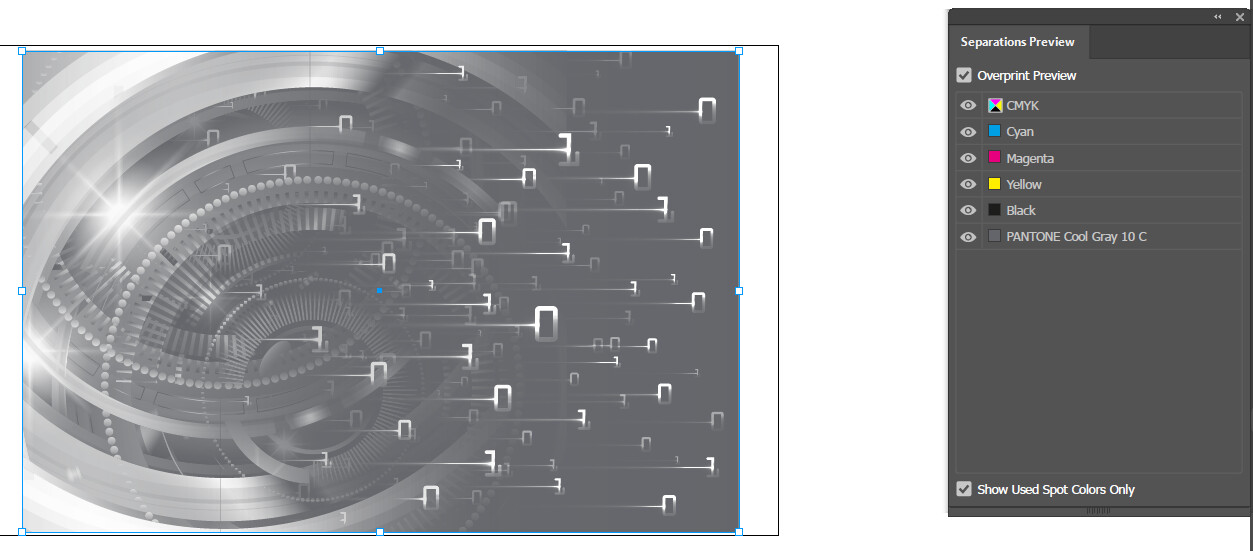
I have an Illustrator file, vector, probably downloaded as RGB, converted to CMYK. There are LOTS of pieces to this vector and the colors are mostly gray and tints of black. But when it was converted to CMYK, it all became 4 color variations of a rich black and it will print on a black background. I’d like to change the art to Cool Gray 10 and tints of CG10. I took the file into Photoshop to dial down the tints but am losing detail of the vector.
Question of the day - to be honest, I just don’t understand the “Edit colors” enough. I’d attach the Illy file but don’t see how I can do it. Is there a way to change 4 color art to 1 color, in laymans terms, that I can try to apply
I’m assuming you’re making something that will print.
I don’t know what you mean by Cool Gray 10.
Again, I’m not sure what you’re saying or what detail you’re losing.
You can rasterize the vector file at whatever resolution you’d like and preserve whatever detail might be in the vector file at that resolution. However, since this will be printed, the detail that can print will be limited by the LPI (lines per inch) of the screen tint. If the screen frequency is 150 lpi and you rasterize the vector file to, say, twice that at 300 ppi, you’ll get the same amount of detail as if you’d used the vector file.
That likely didn’t make much sense, but I’m struggling with how else to explain it — especially since I’m not quite sure what you’re saying when you say you’re losing detail in the vector to raster conversion.
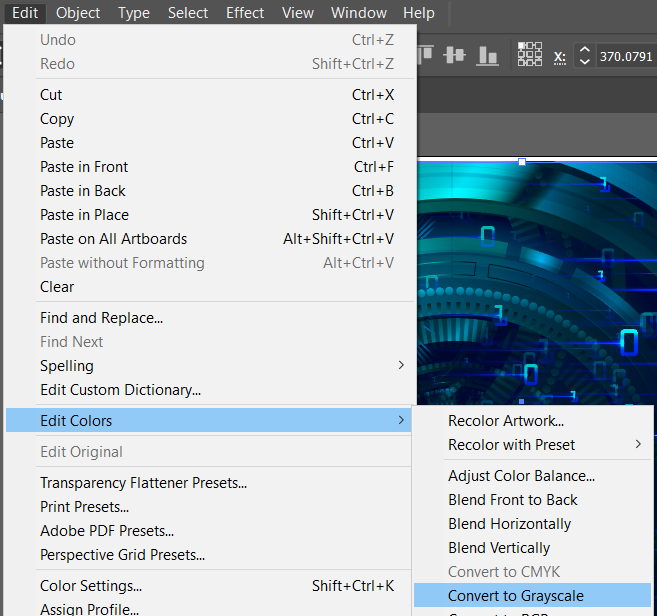
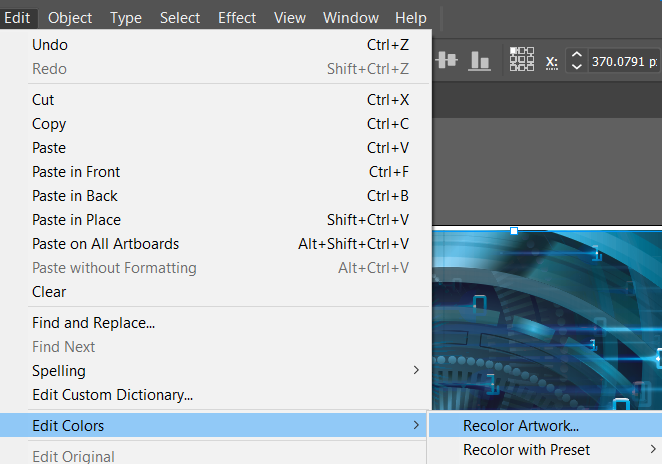
I don’t mean to sound like a broken record, but I don’t know what you’re asking. If you’re printing in 4-color process, you have four inks to work with: cyan, magenta, yellow, and black. In Illustrator, it’s easy enough to convert the colors all to grayscale (black and tints of black) in Edit > Edit Colors.
If you want a cool gray, however, you’ll need to introduce some cyan (and possibly yellow and magenta) into tints, which you can also do in the Edit Color dialogue box by adjusting the color balance (which will convert it back from grayscale to a CMYK mix). At that point you’d just move the cyan slider to add a little cyan and make the grays cooler.
I have a feeling I’m missing something in what you’re asking, though.
If the job is printing with 4-process colors, why is this a problem?
Hi Just-B, yeah I know that was kind of confusing. I want to print two color, black and Cool Gray 10. The vector file is in four color process after being converted from RGB. I really don’t want to take it into Photoshop because it’ll rasterize the image. The cool grey will sit on a black background. Is there a way for me to attach the AI file? It would make a lot more sense to see what I’m working with. Maybe I can do a screenshot?
OK, you’re trying to creat a duotone in Illustrator using two spot colors.
I know of no straightforward way of doing it, but here’s one way.
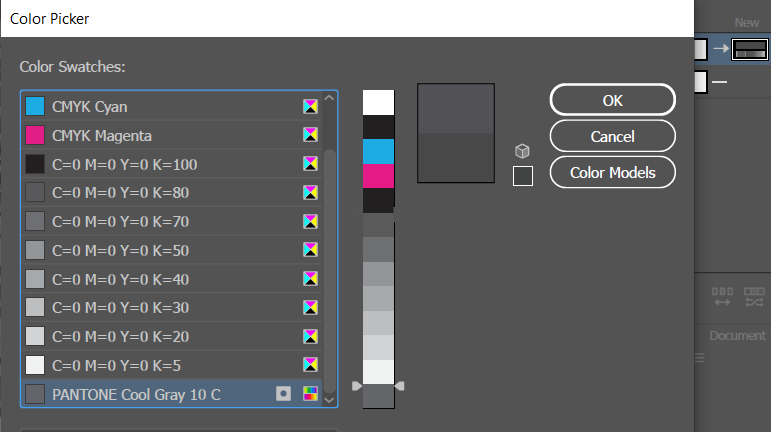
First, make sure you’ve created the spot color and it’s in your spot color library.
Select everything you want to be in the duotone and create a group from them. (Object > Group)
Head up to Edit > Edit Colors then choose Convert to Greyscale to make everything black and tints of black.
With the group still selected, open the Appearance Panel ( Window > Appearance ).
Select the group then click the hamburger menu in the upper right corner of the window. Then select Add New Fill. By default, the new fill will be black. Click the black and a pallete of your colors will come up. Select your Cool Gray color.
Now, again in the Appearance Panel, click the Opacity label and set it for, say, 5% or whatever you think works. This will put a 5% opacity fill of the cool gray over the grayscale, in effect, creating a duotone.
I suppose you could do the same thing by stacking layers and assigning opacities. Maybe someone else will have a better, less convoluted idea.
Here is one approach that might work for you.
Let’s say there are a bunch of elements that are 3, 0, 0, 45 and you want to change all of them to a 50% tint of CG10 — which is my understanding of the problem you’re looking to solve.
Make sure CG10 is added to your color palette.
Click on one of the elements; use the direct selection tool to grab just one element in case it’s in a group.
Click on Select > Same > Fill Color. That will select all of the elements that are, using our example, 3, 0, 0, 45. Now that they’re selected, you can use your color palette to apply a 50% tint of CG10 in one fell swoop.
You’ll need to follow this step for each of the different four color tints that have been created.
Here’s something else you can do to make your life easy. Double click on CG10, change it to four color, and change the tint to something like 100% magenta. This way, as you convert the tints of rich black, they’ll turn magenta making it easier for you to see what has been changed. When you’re all done, turn CG10 back into a book color.
If I understand your problem correctly, that should take care of it.
All of that said, @CraigB has such an impressive grasp of AI’s Appearance functions, he might have a trick up his sleeve to accomplish this that’s easier than my method.
*
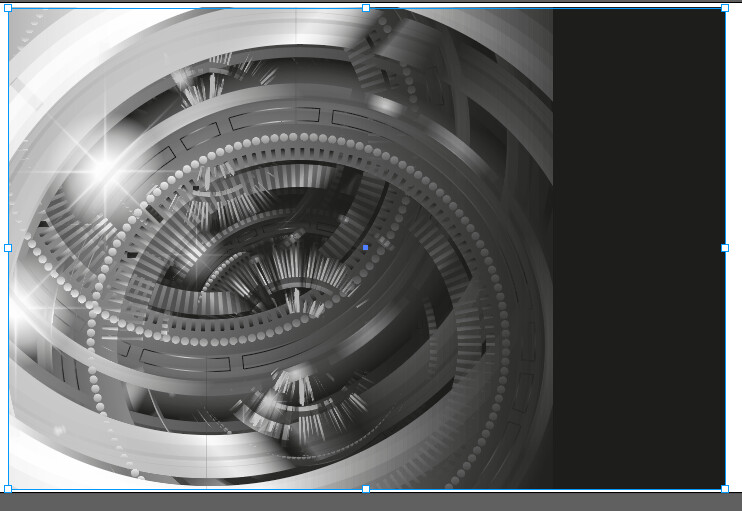
It looks great in Preview and in the vector outline mode, you can see all the different fills and paths. I’m trying to lighten it up but not all of the image at the same time. Hoping Illustrator had an option to adjust like levels or curves in Photoshop.
Hey Steve-O - The second approach is a good one I’ll try. My prepress brain is one year from retirement - I should be smarter than a one click solution!
I’ll post my results. Thanks
Open it in illustrator and change the color to grayscale.
Edit menu > Edit Colors > Convert To Grayscale
That should move everything into 1 channel and different shades of gray.
Then apply the cool gray with a single click.
Why go to Photoshop.? Completely unnecessary and incorrect workflow.

Set your document to CMYK mode
Actually, on this occasion - it’s causing issues, Losing details
No problem - just Undo
Make sure you have your Cool Grey loaded in your swatches

Click the advanced options (handily at the bottom and obscure)
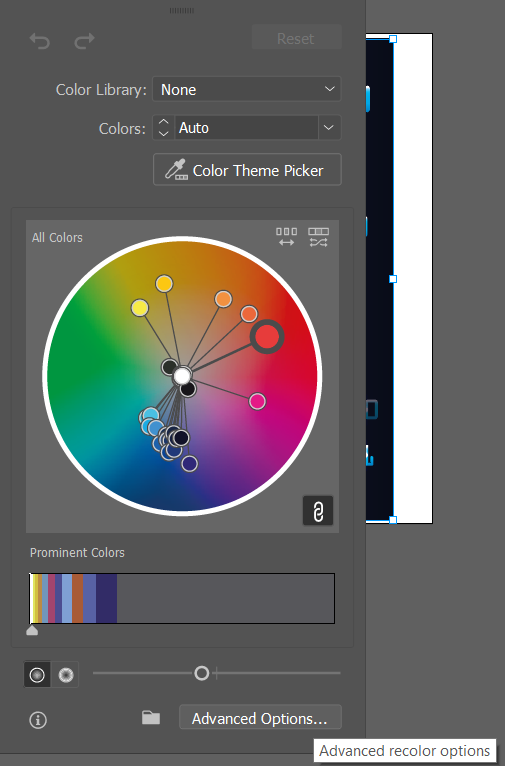
Click Single Color
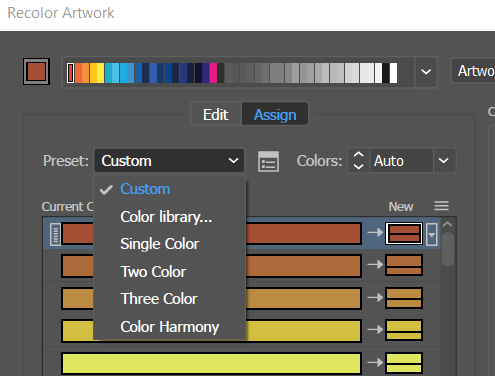
Click the library drop down (it’s not easy to spot - it’s between Library and None
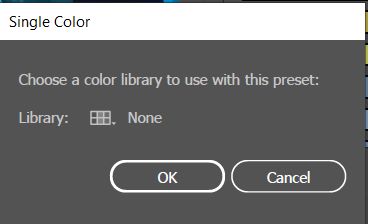
Choose Document Colors

Double click the Swatch (where the arrow is pointing on the right)
and select cool gray
Then you can adjust the HSB sliders
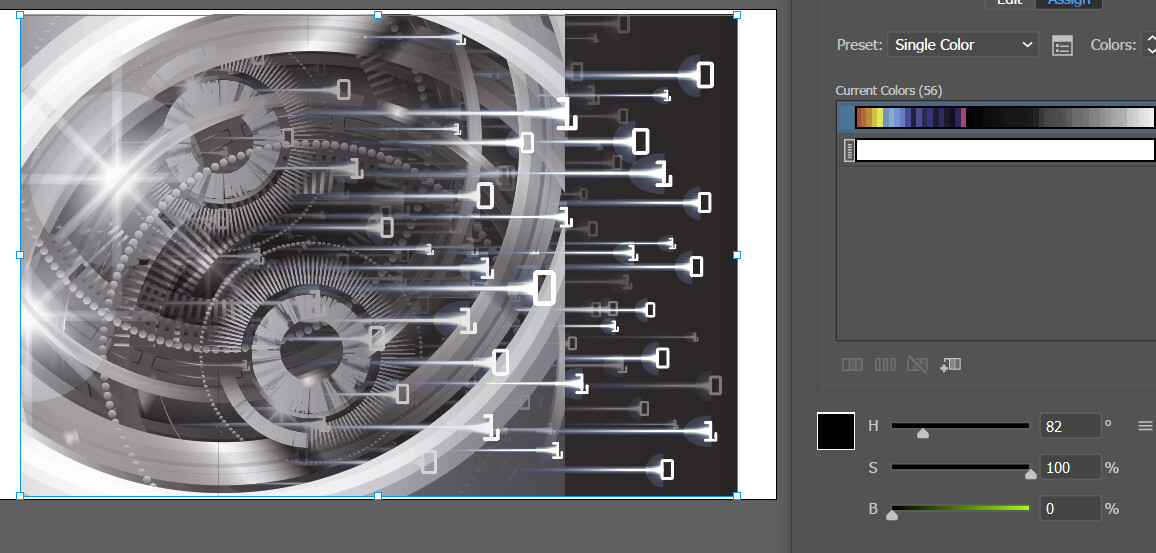
You should be able to get a working 1 colour
*Note I did have to delete all my other swathces from the Swatches panel
This topic was automatically closed 365 days after the last reply. New replies are no longer allowed.