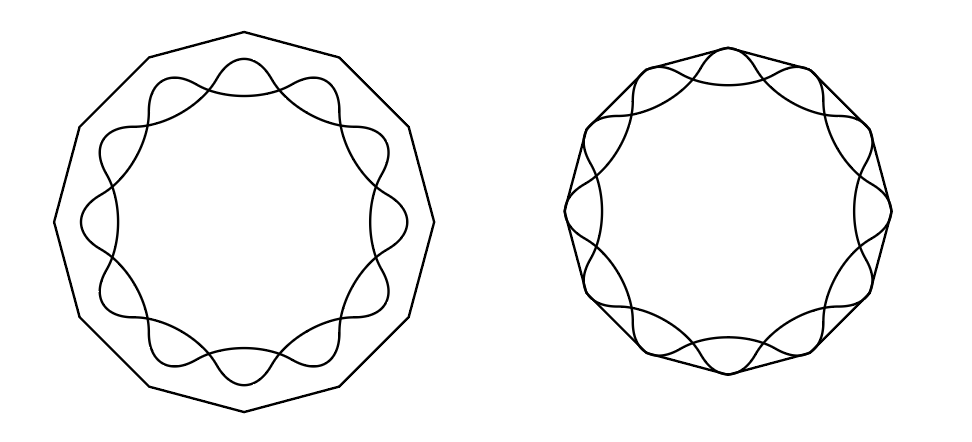
Obviously Transform / Rotate at 60° + ?? Would the 3 shapes at the top be created first or is it just the dark arts? Where is Panter off YT when you need him?

- Create one element and a circle outside it entered on the middle of the finished design
- Rotate the repeating element with the circle to the desired angle and repeat until the design is complete
- Delete the circles outside the design
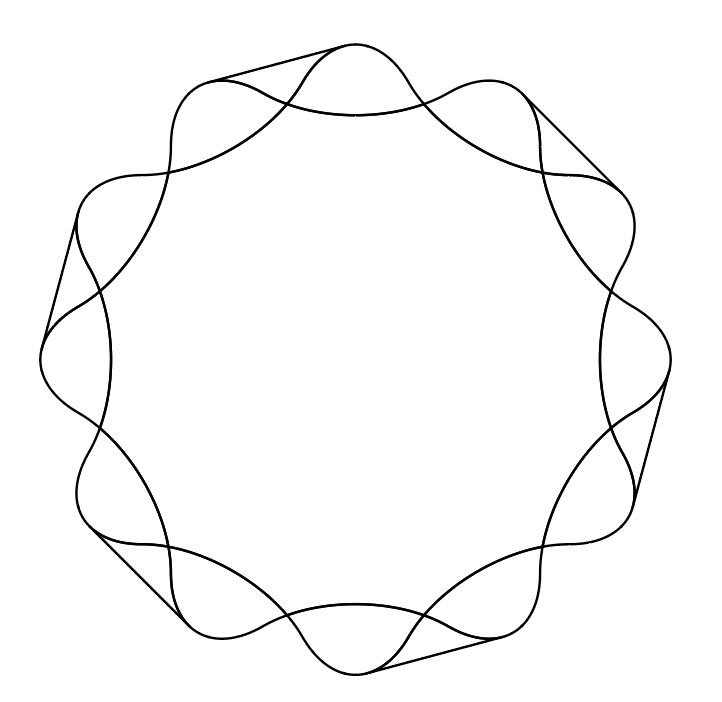
This is not a 100% match, but I think if you played with the shapes you could get there, but it at least could give you a starting point hopefully.
-
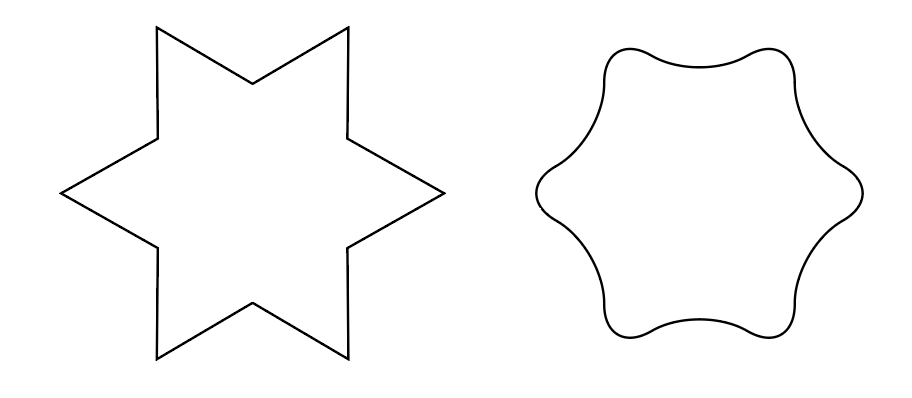
I created a 6 pointed star and rounded it’s corners to get the shape on the right.
. -
I duplicated my rounded 6 pointed star and rotated the copy by 30 degrees
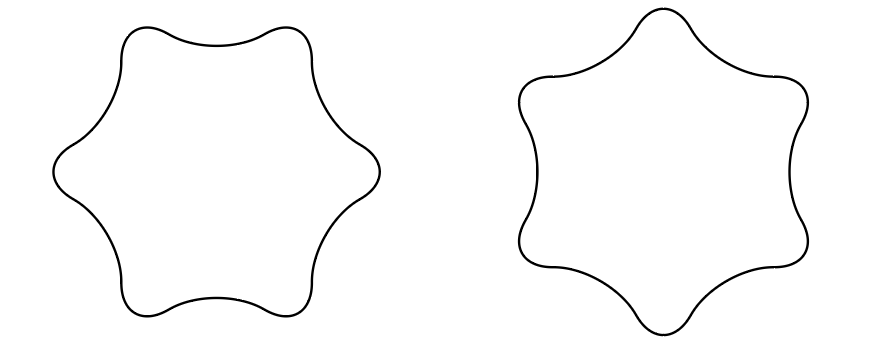
-
I then overlapped and centered the shapes
-
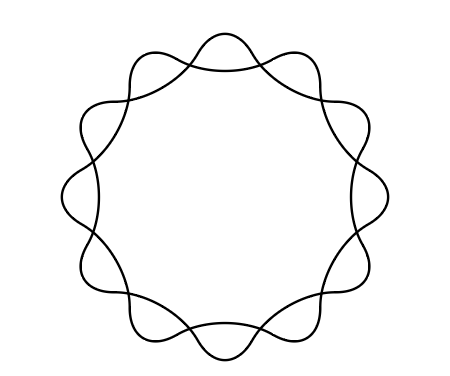
Then I realized to create the flattened edges I needed a 12 sided shape to fill the gaps. So using the polygon tool I created that 12 sided shape. Which I then rotated 15 degrees so that the flat edges would match how I needed them to match my earlier shapes.
-
I then overlaid all 3 shapes and resized the 12 sided shape until it barely overlapped the edges of my previous 2 shapes.
-
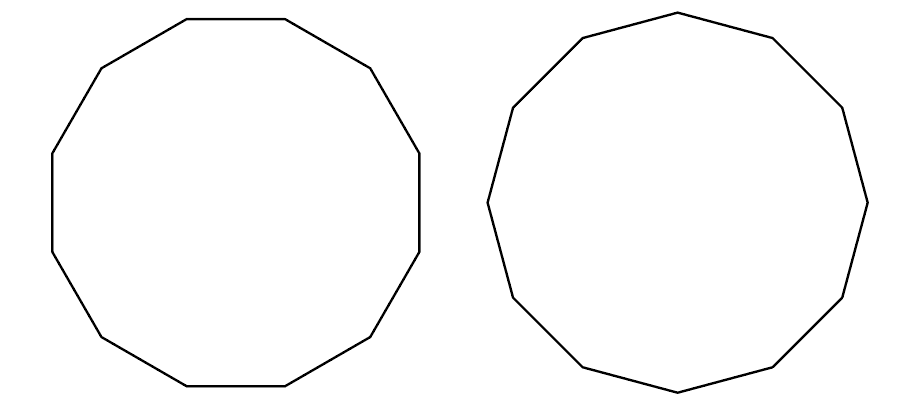
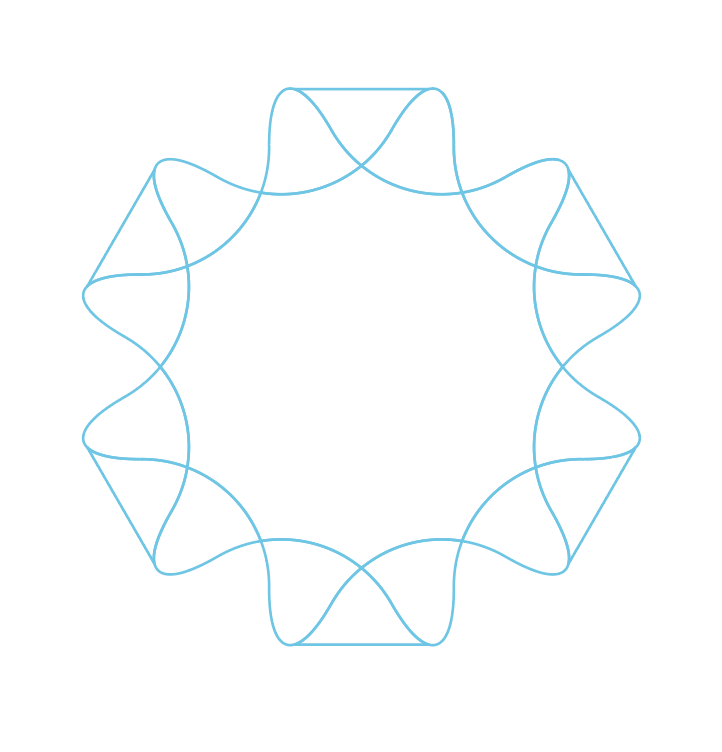
I then expanded all the shapes (really just the 2 rounded corner shapes so that they were truly rounded and not just having the rounded corner effect) I then used pathfinder to divide all the shapes and removed every other straight edge to have a “gap”. There also was a tiny triangle “point” on the end of each rounded point due to dividing the shapes that I had to remove from each curve. From there color as needed.
6 Likes
With all that being said, the original is much more pronounced in its curves. So, as I said it is not a 1 to 1 but at least you could potentially use it as a starting point. It may help to use a more pronounced 6 pointed star to start with. I’m not sure.
Well done Craig, I think you’ve cracked it. I just couldn’t get my head around it, I knew it was doable…
The only difference, give or take, is that the inside edge of the magenta parts are concave not convex, but that’s maybe a Shapebuilder and Path Smoothing action to follow.
Yup, I did notice that the inside had a little tweaking and nudging. I wasn’t sure how precise you were looking to get, or if you were just looking to get a similar look.
I will say, it also could potentially have been done in some sort of 3D tool especially with the slight shadowing effect.