Also, as mentioned - The font wouldn’t seem to auto space very well as the default layout was all over the place (letters inconsistently spaced/heights all over the place) so I resorted in typing each letter out separately and moving them myself.
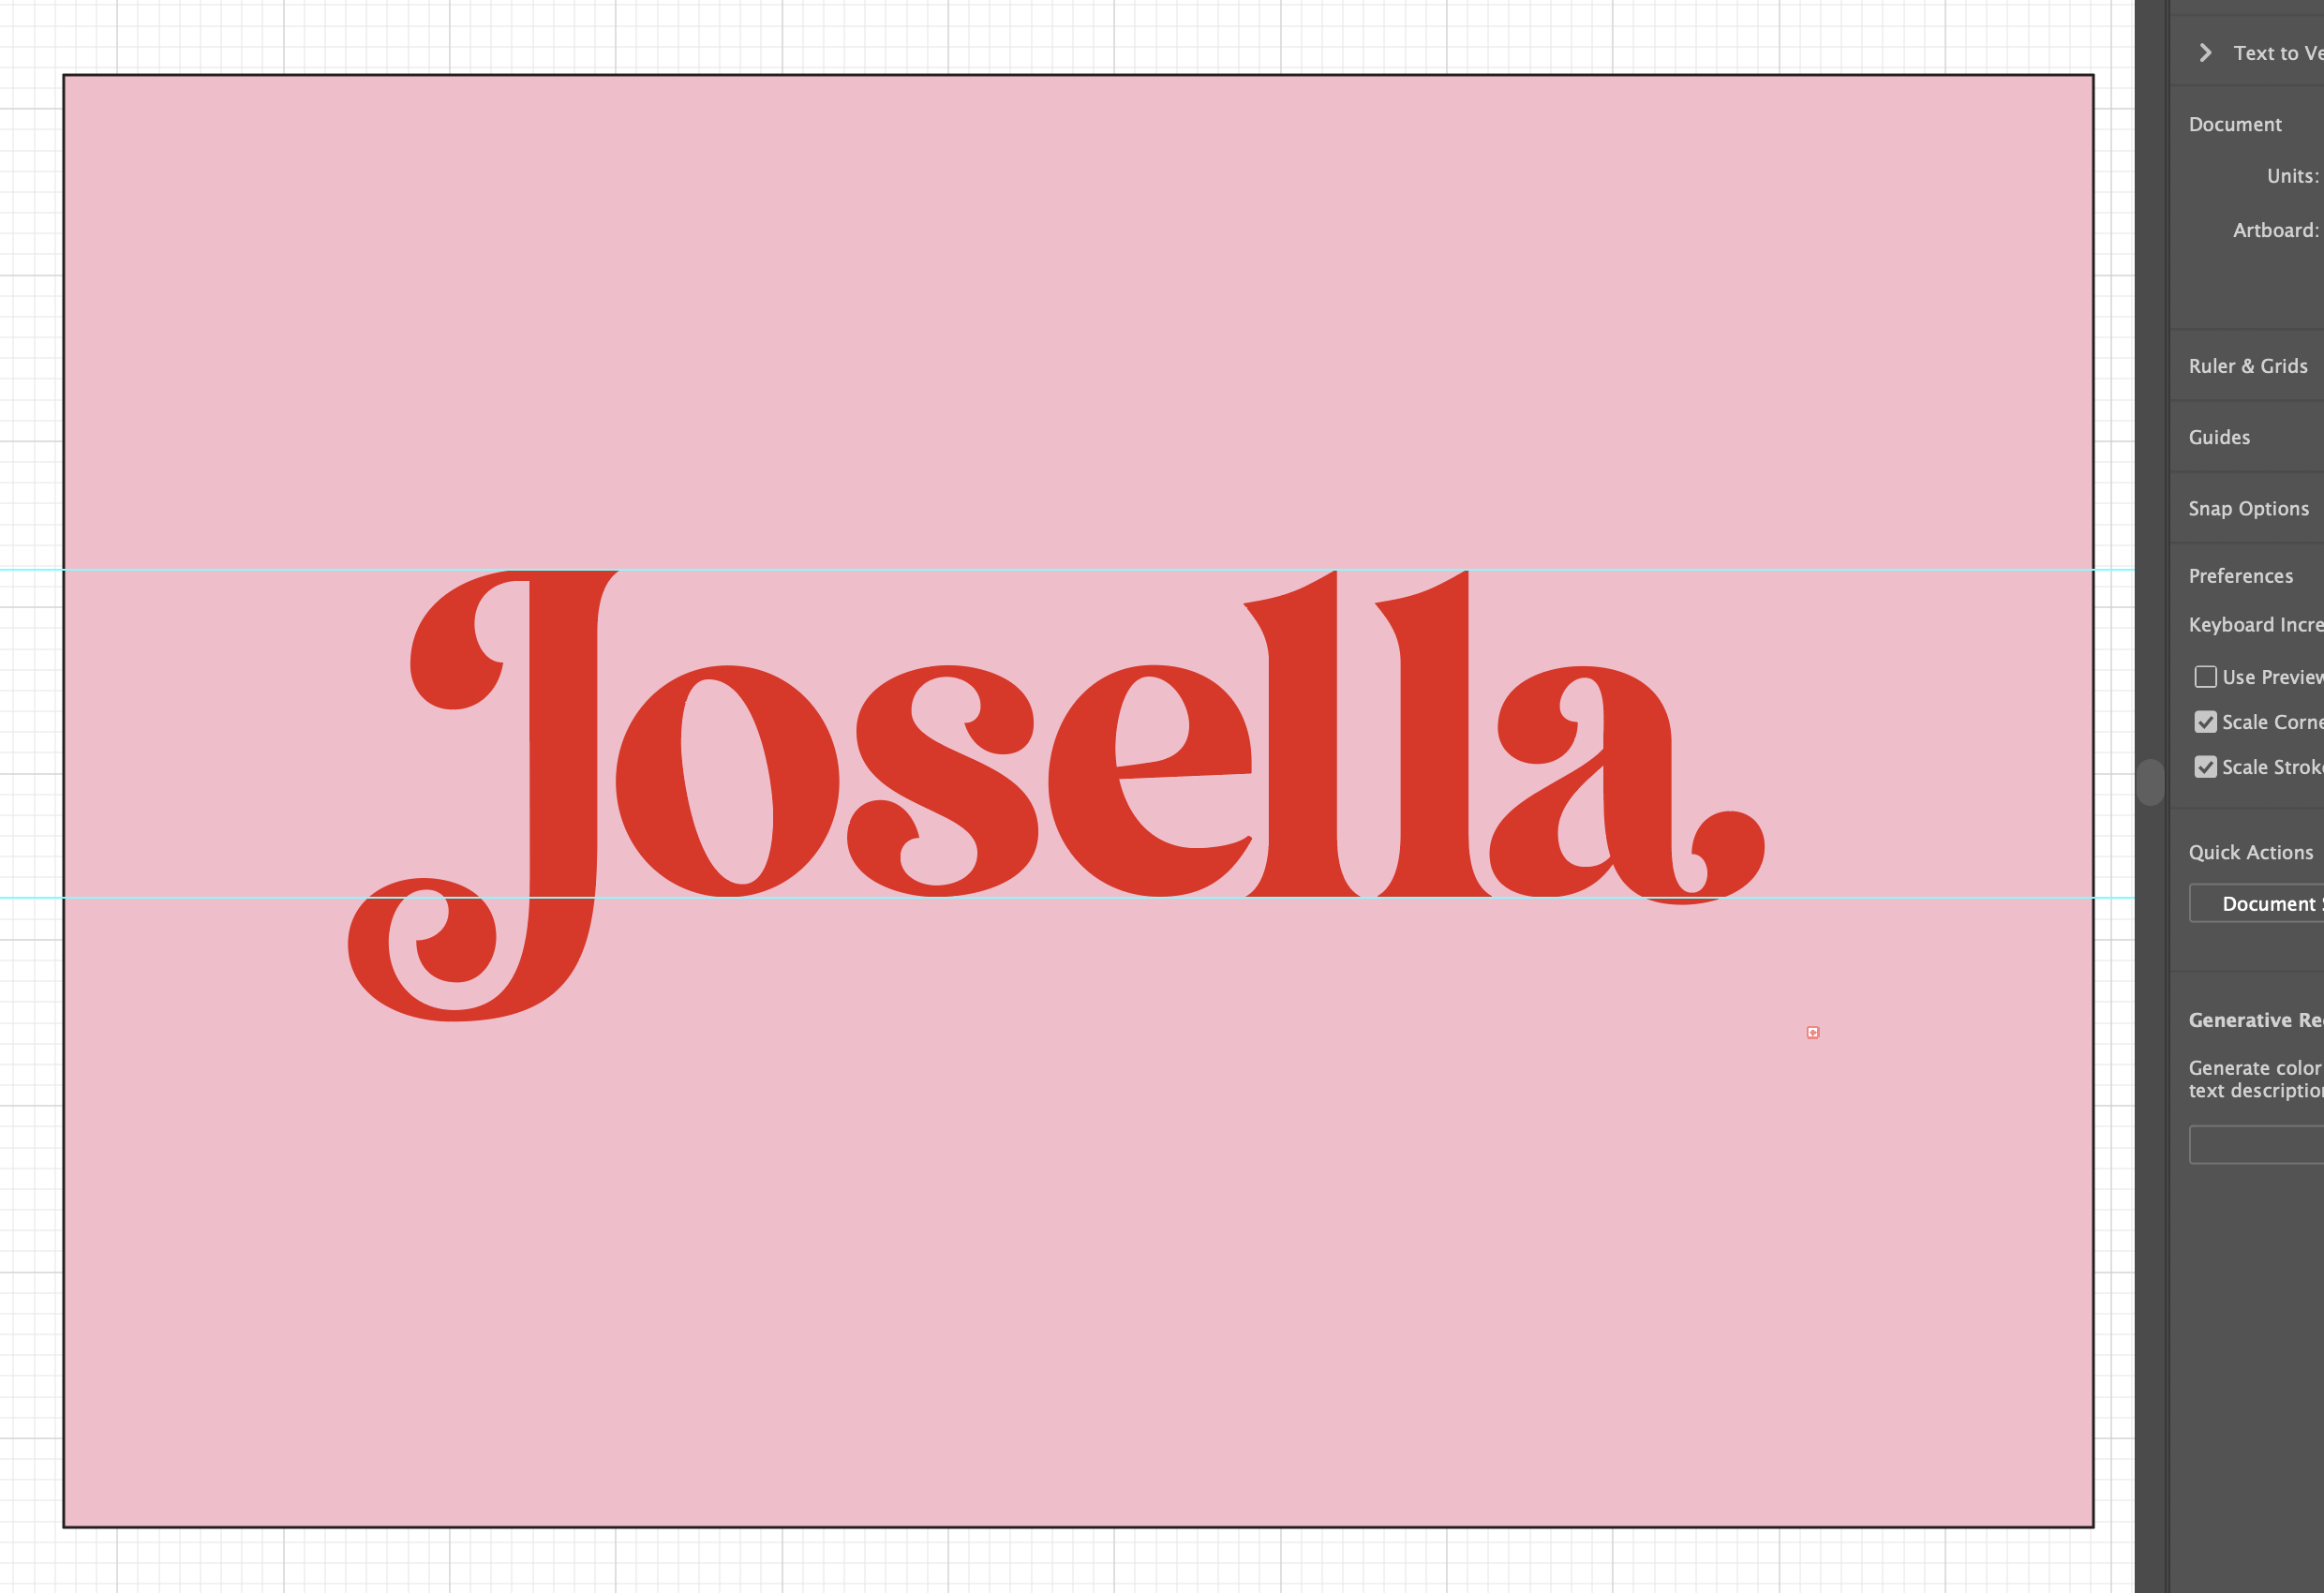
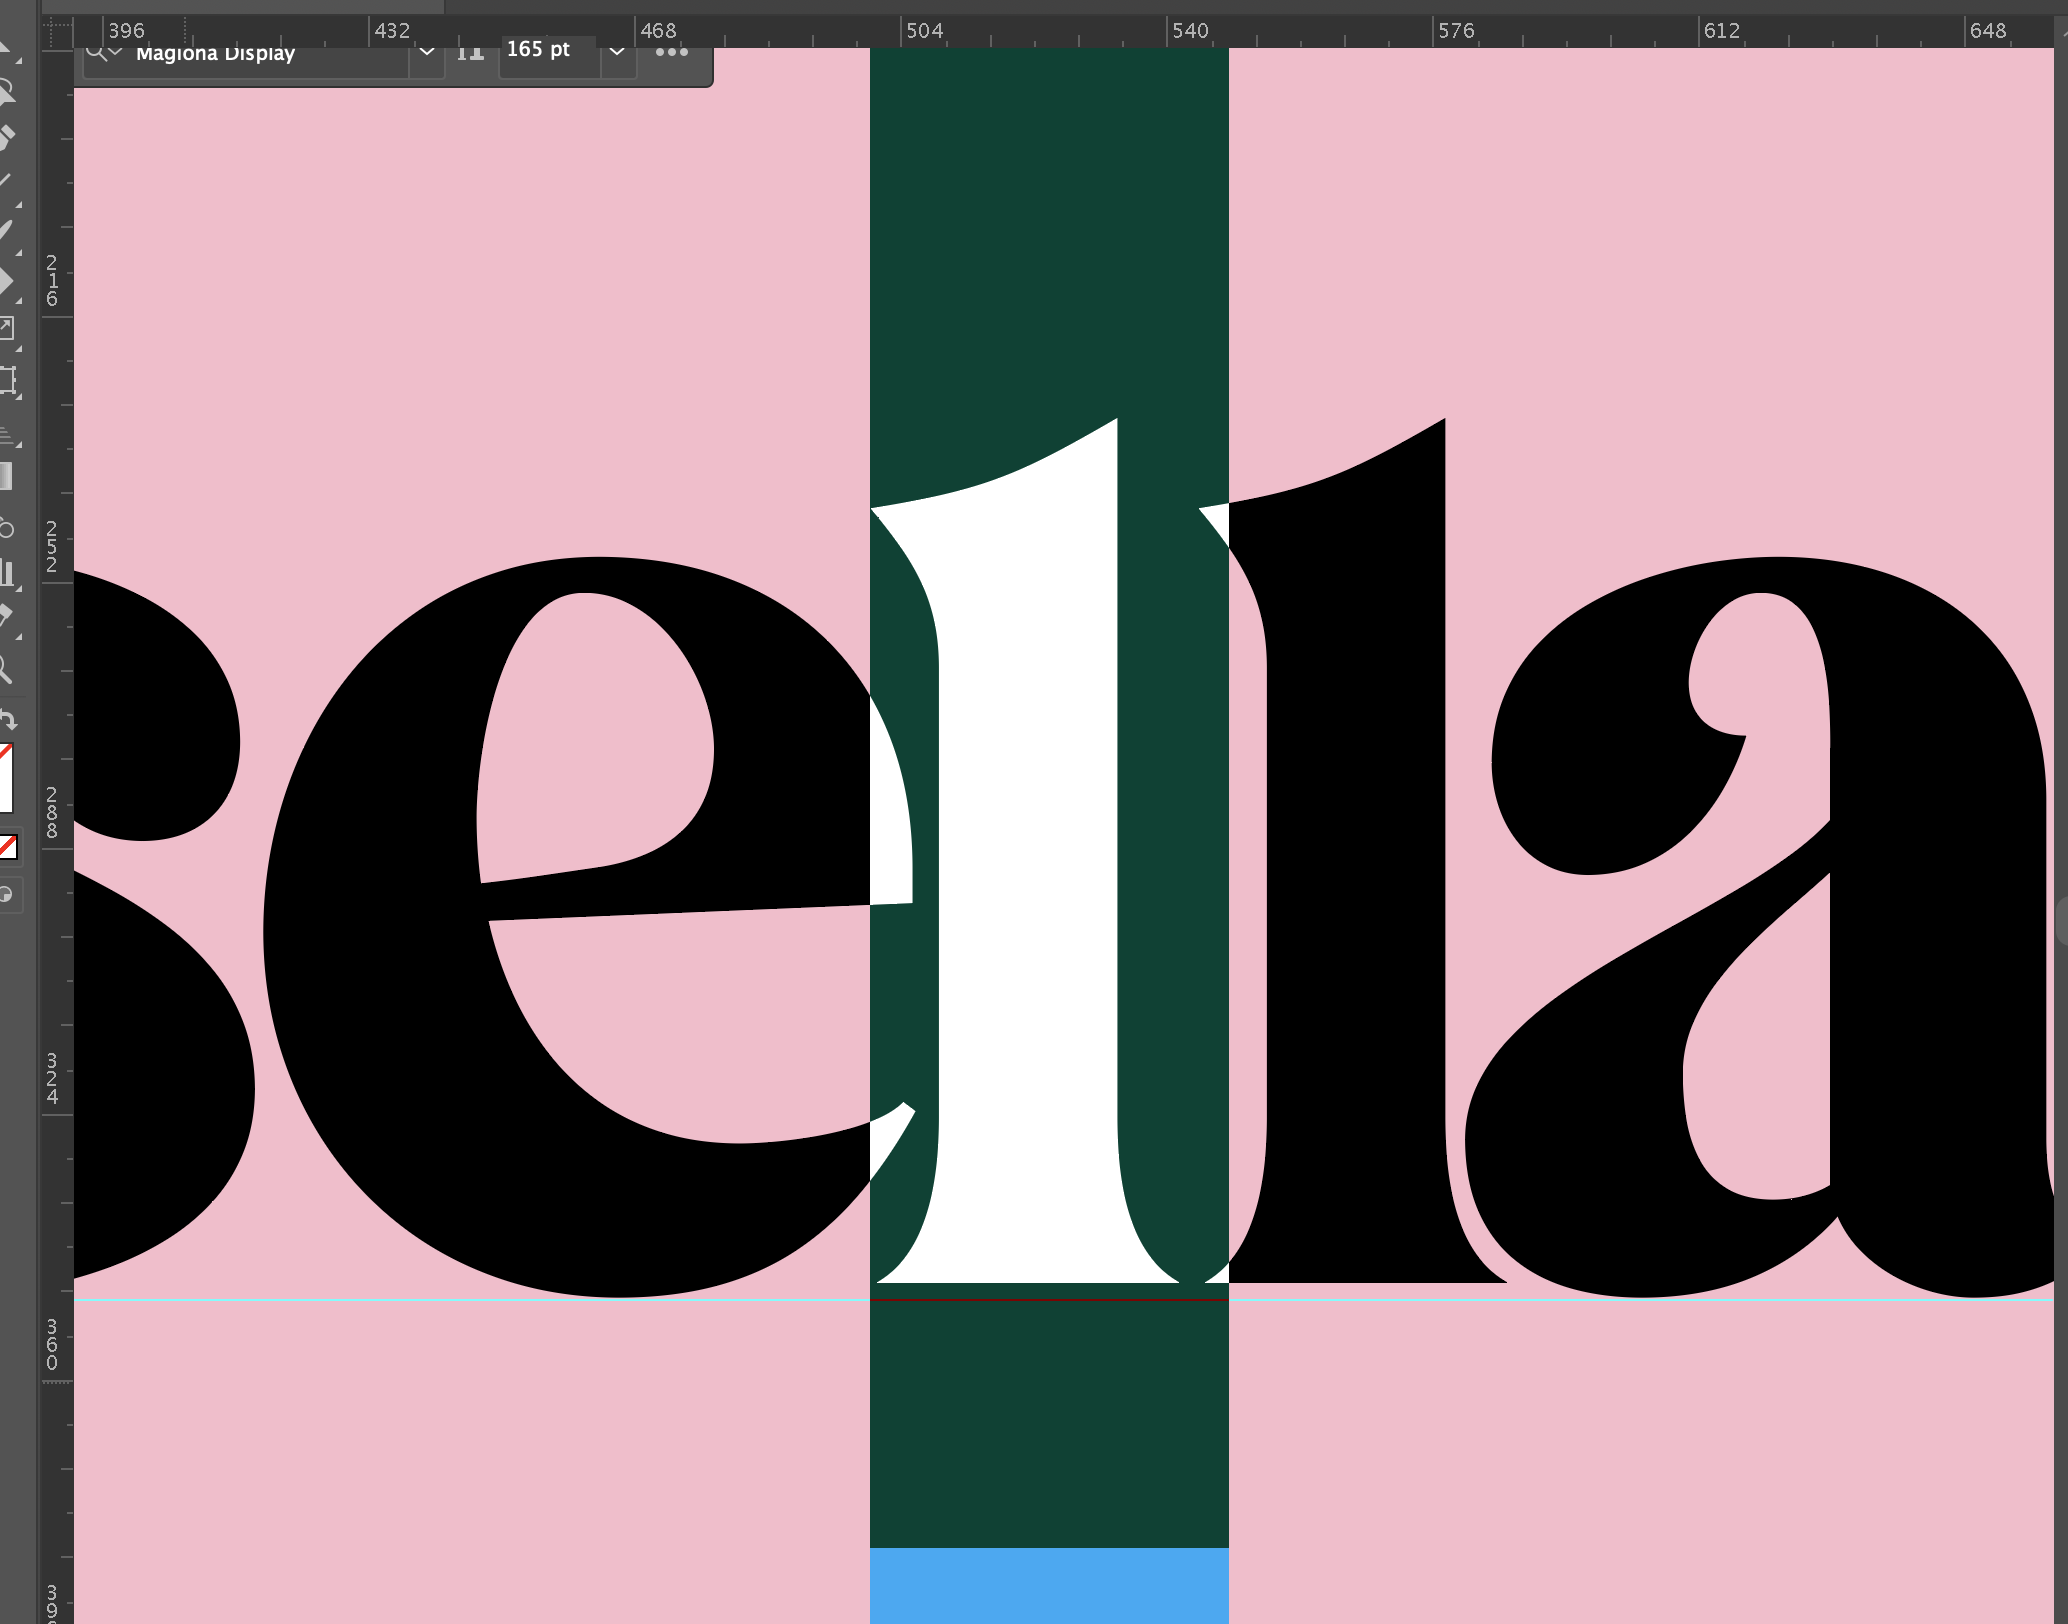
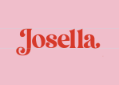
I have now done another logo to show you. I have written it out in the font text. I’ve managed to space the letters roughly, but u see these two L’s, how do i move them down to the guide line please?
Did you alter the first and last letters in the word? They look nice.
I agree with @Eriskay that the kerning is consistent, other than the two l’s being too far apart.
Kerning adjustments are always necessary in every font — even the best ones — when working on something like your logo that needs perfect spacing.
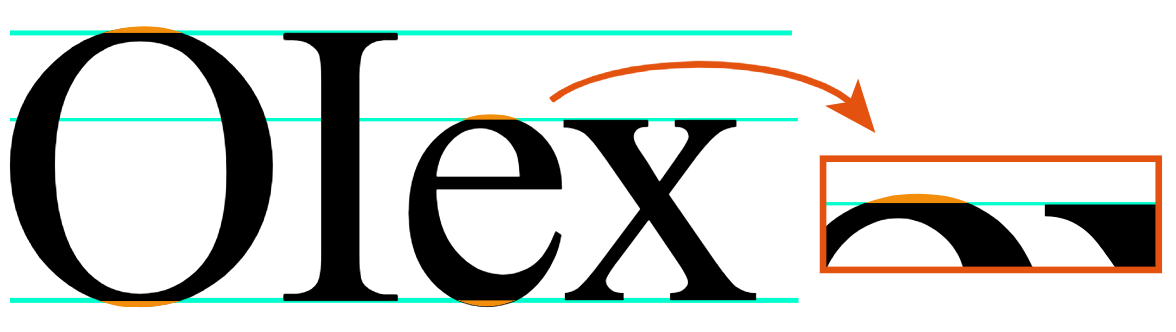
The imaginary line forming the base upon which all the letters sit is called the baseline. Letters and numbers with flat bottoms sit on the baseline, but those with curved bottoms are supposed to extend slightly below the baseline. This isn’t a mistake; it’s intentional and is the case in all fonts.
The reason type designers do this is to compensate for an optical illusion of sorts. The round letters need to extend slightly below the baseline to make them appear visually aligned with the flat-bottomed letters. This is also true with letters and numbers that have flat or round tops — the round tops are supposed to extend slightly above the flat-topped letters.
These slight extensions of the round letters below and above the flat letters are called overshoots.
I did not realise this! thank you so much for this information.
(I must swat up on some typeography books)
By the way .. I have finally fixed the L L 's that were floating too above the guide line. I have used the touch type tool, which seems to have done the trick by allowing be to bring the letter L’s down.
I think you might have missed the point of my explanation. The l’s shouldn’t be brought down. The bottoms of the round-bottomed letters are supposed to be slightly lower than the flat-bottomed letters. This is the case in all fonts for precisely the reasons I mentioned.
Here’s another attempt to show you what I mean.
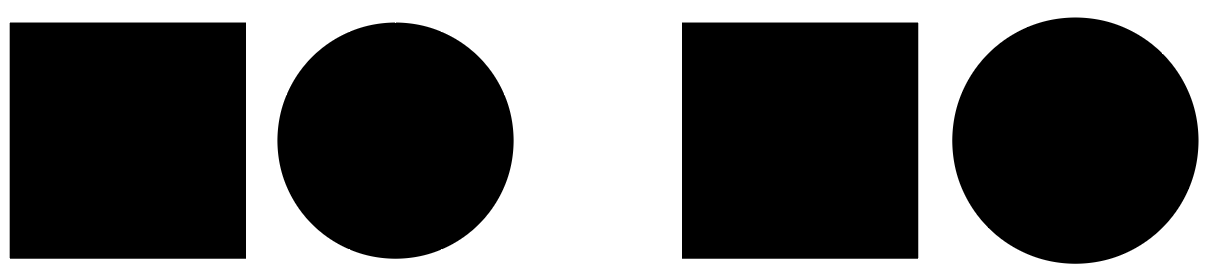
Below are two instances of a square and a circle next to each other. In the first pair, the circle is exactly the same height and width as the square, but it looks smaller than the square. In the second pair, I’ve made the circle slightly larger than the square so that it extends slightly above and below the top and bottom of the square. Doing this makes the circle appear to be more evenly aligned with the square instead of smaller than the square.
The same is true of letters. The tops and bottoms of the roundish letters need to extend slightly below and above the squarish letters.
Thank you @Just-B. In a few paragraphs you said things that I’ll probably need five pages. You just bailed me out of maybe at least a day of trying to explain.
… and it is certainly not meant to be any slight to you, DYHO. I tend to explain in circles. People who know me will understand.
To avoid the vertical alignment issues you are having, it is always better to type out the whole word and then adjust the horizontal spacing with kerning.
I’ve done that before on rare occasions, though simply converting the word in your choice of font(s) into vectors is much faster.
Also, ditto on closing the “l”s and I’d add to give more space between the “l” the “a”.
Most people don’t realize how much time goes into building a good font. For example, a detail-oriented type designer might include a thousand or more kerning pairs in the font — all determined by hand. When I design a font, I test the font on tens of thousands of words in every language that the font is designed to accommodate.
Even then, those built-in kerning pairs will never be enough and might or might not look correct when placed into a word that calls for different kerning. For a big stand-alone headline or a logo, adjusting the kerning is always necessary, no matter how many kerning pairs were built into the font.