First I gotta mention I’m a newb at using Photoshop for anything other than image retouching.
I’m not finding an acceptable answer to this on the intertoobs and wondering if one of the pros here has one.
With Photoshop
I want to take black line art and fill it with a flat color (or a gradient, but I’m not being picky at the moment)
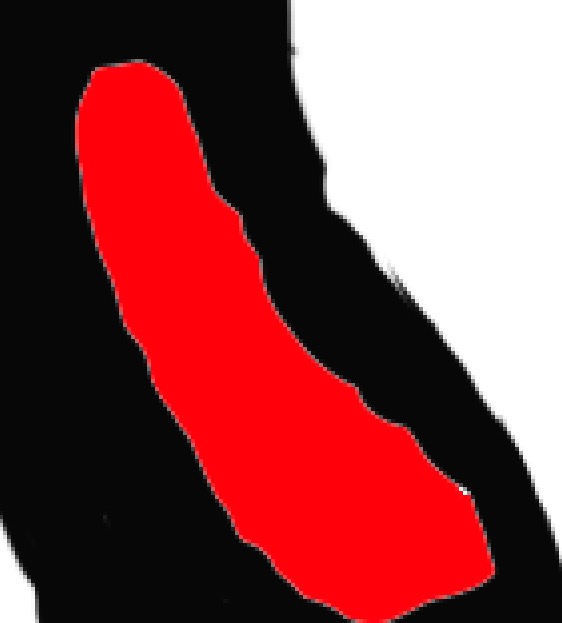
The problem is, no matter what I try, the fill always leaves a white line between the color and the black border that looks like crap when the art is used in a digital format.
It appears to be an anti-aliasing issue and I think I’ve tried turning on (and off) every instance of applicable anti-aliasing I can find but maybe missing something? Either the brush or the color.
I need something faster than hand brushing on an underlayer or chasing white lines on an underlayer, both of which have been suggested and do work perfectly. But the problem is I can do the ink in under an hour, but the color is taking 4 or more and that isn’t working for me.
Help?
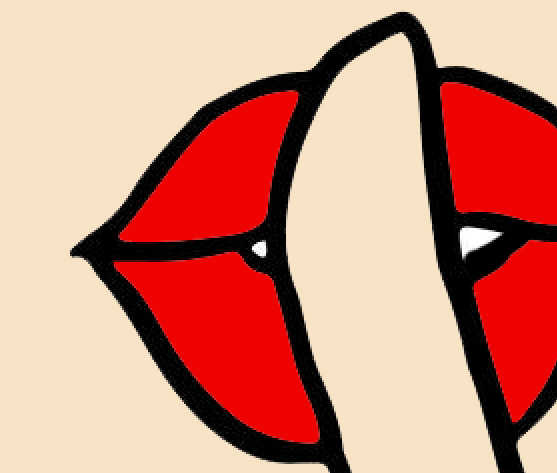
I’m using a brush to do the 'inking" then trying to fill the holes made by the brush strokes withou having to brush under. The tool that made the mess I posted above to fill the red into the hole was the paint bucket.
If I turn anti-aliasing off, that white border is even larger.
So it may be a setting in the brush (which is usually either a hard edge round 100% or a chisel tip, same) or you can’t use paint bucket that way to fill large spaces with flat color. I’m not gonna believe photoshop can’t do something that the free tools the kids use to do flat color art. They dropper color into the holes no problems and it takes a fraction of the time it takes to paint it under.
Right. Instead of clicking the paint bucket in each hole, choose the magic wand and shift+click in each hole, basically making a selection of all the holes. Switch to a layer under the black (make a new one if necessary). Expand the selection one or two pixels, as RKK said and type Shift+Backspace, then Enter to fill all the holes with the foreground color. Should only take a few seconds longer than using the paint bucket on each hole.
Not sure I get what you mean specifically, but that could be true of several things. It’s always a trade-off. The anti-aliasing that produces that unwanted gap is essential to convincing composites in many less rudimentary scenarios.
is a working Off Switch too much to ask? LOL. Like I said, if you turn off the anti-alias the white space gets larger, more distinct.
Not talking rudimentary here. I’ll see if one of the artists has a speedpaint using an iPad piece of software called ProCreate (there are a few others out there too, even more slimmed down.) While the dropper doesn’t have a fine control cursor, it will still blop color on a separate layer under the black ink layer, filling individual areas without doing any special gymnastics.
That one also records the screen input so you can do speedpaint videos or online twitch/whatever streaming art classes.
Now…I haven’t used any of these freewares, not sure of what output parameters they have or if they are good enough for “pro” or print work. Some of them are. Some of them cost a little money too.
Not sure if this will take care of your problem or not, but you could try using the magic wand to select the black, click on Select and Mask, use the refinement tools to dial in the selection, and then use the paint bucket tool to fill in the new color.