My problem started when I wanted to make a simple text logo in different dimensions. Not knowing any better I did this in Gimp and got bad results when resizing it. I sought help and people explained to me I was better off with vector editing software because I could make one design and resize, rotate, do whatever I want with it and it would still look good. However, they also said I could use raster editing software too if I created the image at 100%, the size it will be used.
So I went back to Gimp since I experienced something the night before that contradicted this statement.
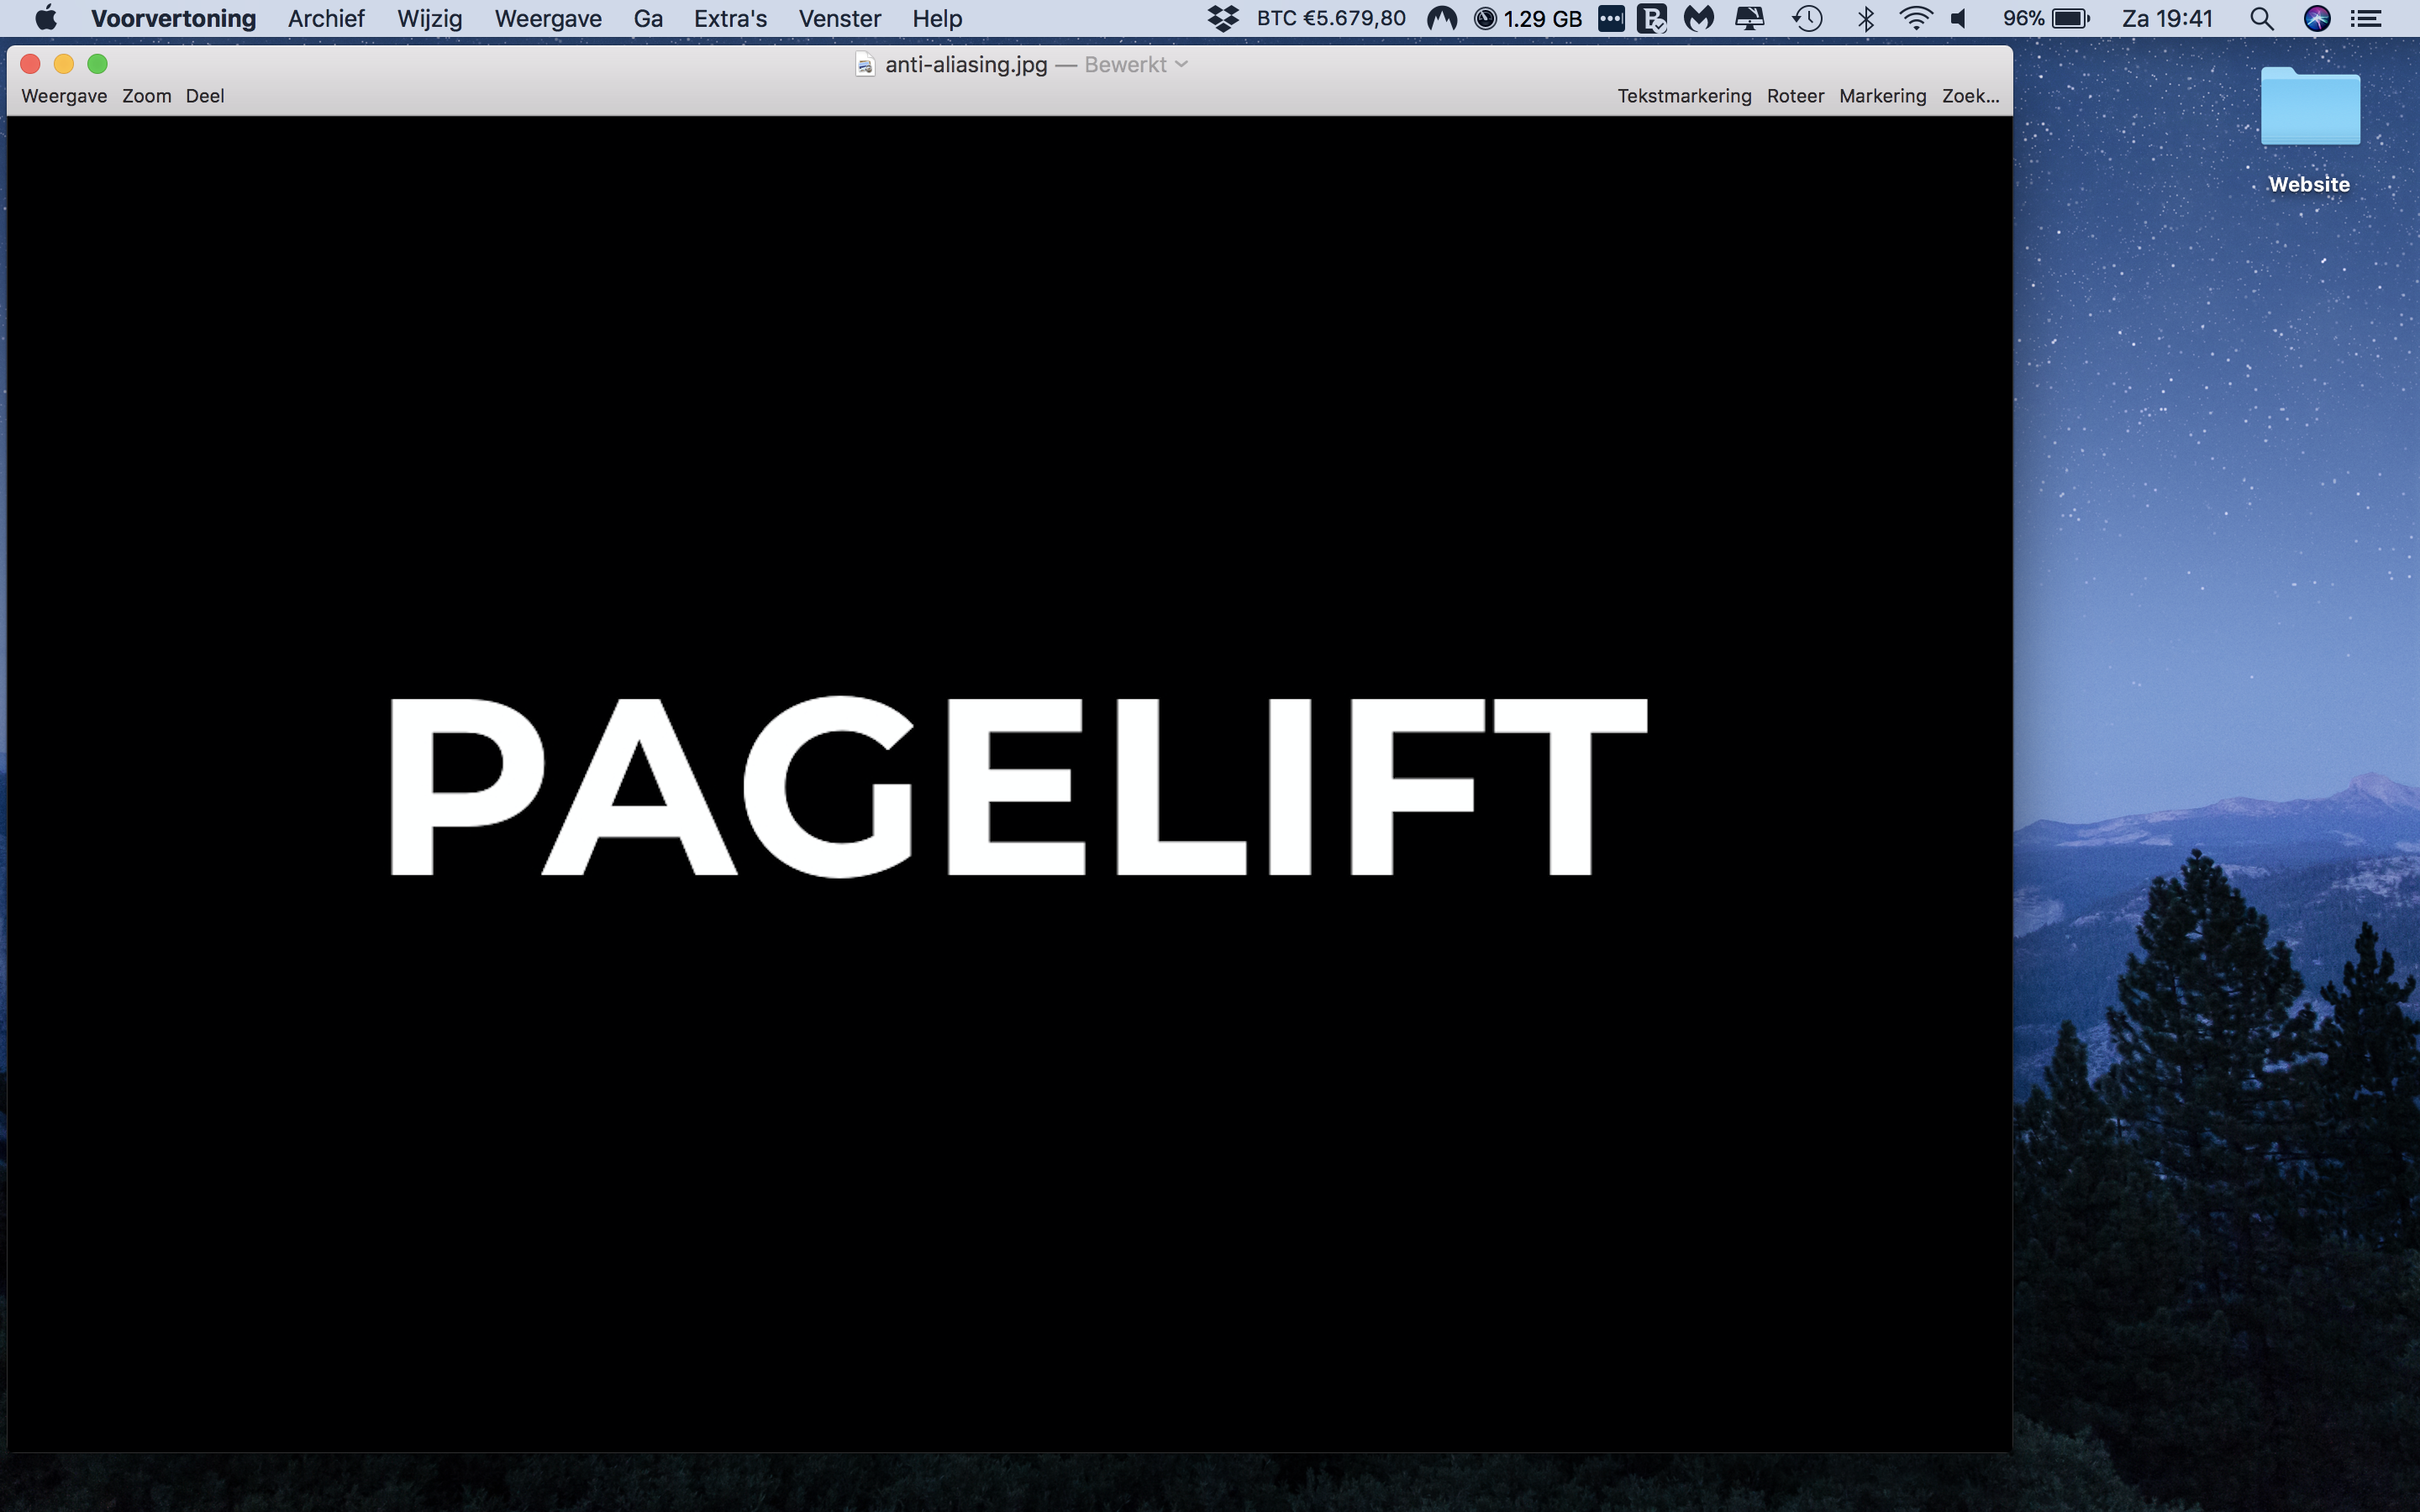
Let’s say I want a 1200 x 800-pixel image with black background and ‘PAGELIFT’ centered in Montserrat bold, white, size 150. According to what I read and what people told me, this should be possible in Gimp or other raster-based software as long as you design it at 1200 x 800 and don’t scale/resize the text (layer).
However, if I follow those steps and export the image as a jpg or png and view the image on my MBP Retina at full size, I still see pixels in the letters ‘P’, ‘A’ and ‘G’. When I asked about this I was told ‘a computer monitor is made up of pixels and sharp lines follow those pixels creating jaggies’. To me, that’s like saying ‘your monitor is not detailed enough and can’t display it properly’.
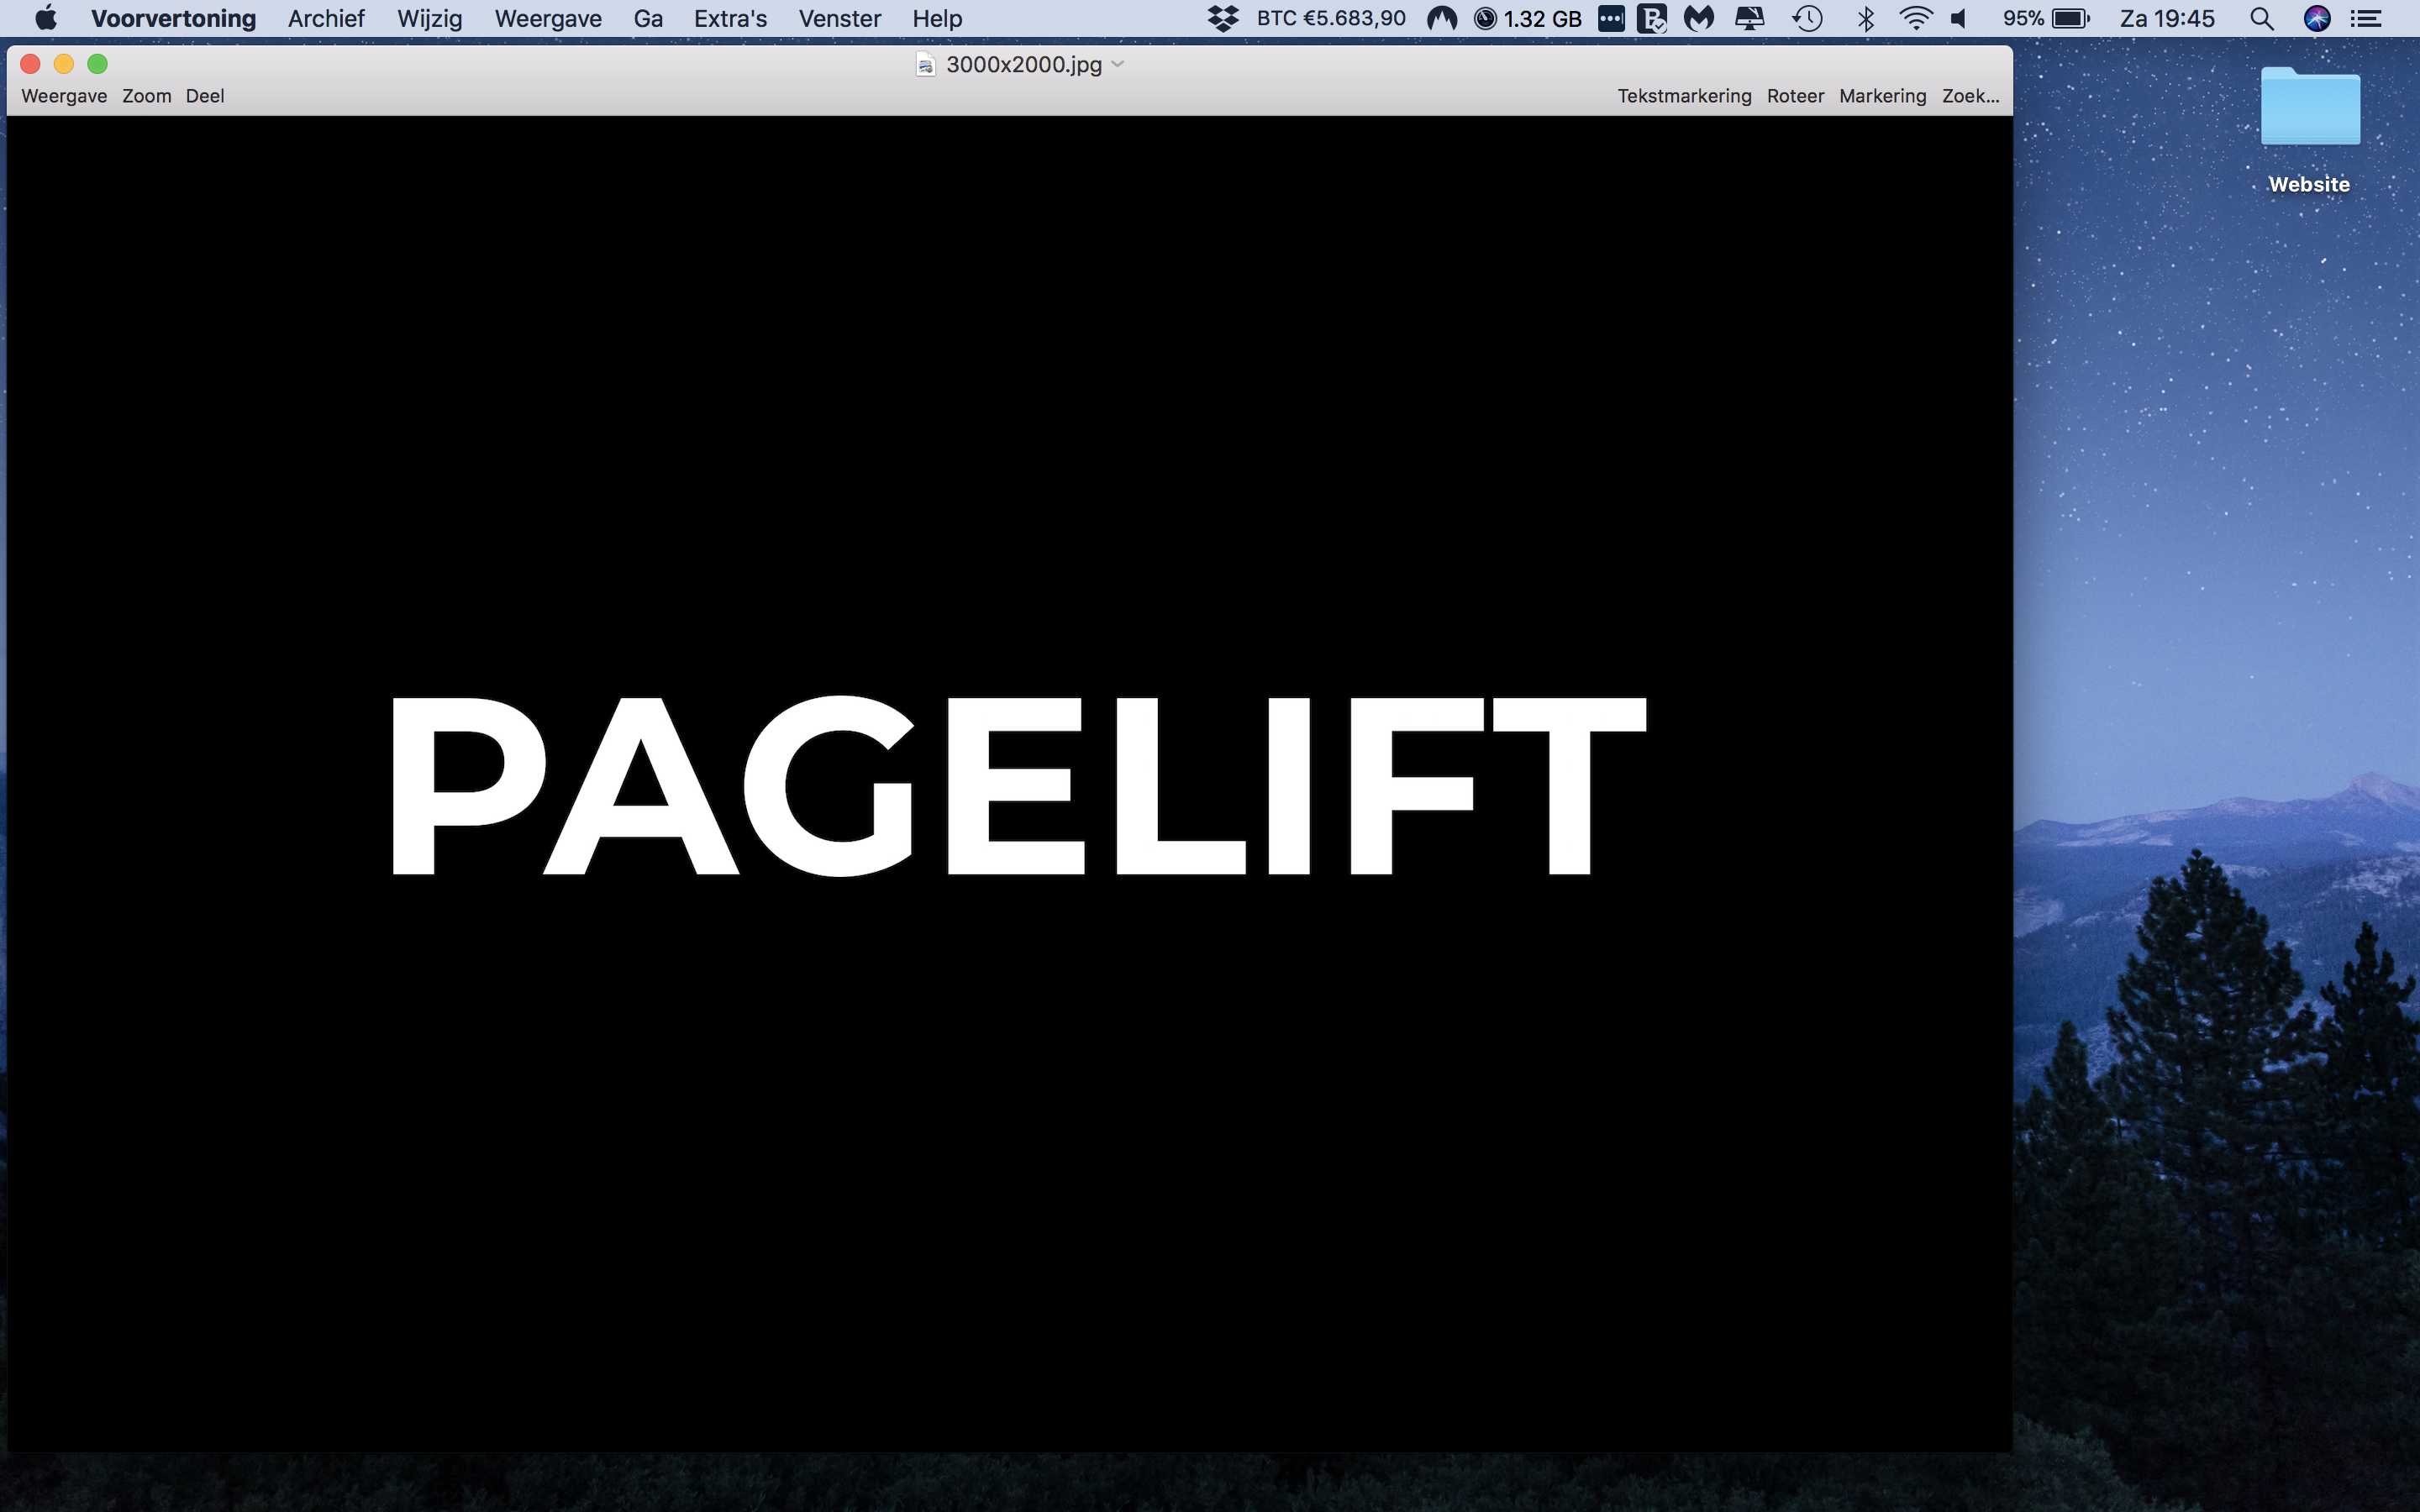
I find it really hard to accept that answer since I created the same image at 3000 x 2000 pixels with font size 375 and when I open that in my preview app, it opens in the same window size as the 1200 x 800 one, obviously zoomed out this time, only this one is sharp from the same viewing distance. But that goes against everything I’ve been told…
So am I doing something wrong when designing it at 100% or have I been informed wrong and do I have to make the design X times bigger to get it sharp?
I hope someone understands what confuses me and can give me a clear explanation.
Anyway, what you’ve been told is fundamentally correct.
The data in raster art is composed of pixels. The data in a vector art is composed of mathematical descriptions of the imagery. If you enlarge raster art you will just see the pixels that were too small to see otherwise. Enlarge vector art and this does not happen since the data contains no pixels.
With that said, you can’t see mathematical descriptions, so the data in a vector file must be rasterized before you can see it. Your computer automatically rasterizes the vector data for your monitor to enable you to see it at the best possible resolution for your monitor. When you print out a vector file, the printer rasterizes the data at the maximum resolution of the printer. Move a vector file into a raster program, and the raster program rasterizes the data at whatever resolution you specify. Once it has been rasterized, however, you will see pixels if you enlarge it.
You mentioned saving these as PNGs or JPEGs. A jpeg compresses the file using a lossy algorithm which removes data from the file to make the file smaller. This data can’t be replaced once it’s gone. When you open a jpeg file, you will see jpeg artifacts from where the data has been removed. The degree of jpeg compression determines how much data is removed. PNGs are a bit more complicated since, depending on you you make them, data might be irretrievably removed (resulting in jagged edges) or not.
Also when vector data is rasterized, anti-aliasing takes place. This is the slight blurring that takes place along the edges of curves and lines to preserve the illusion of a smooth edge that’s actually composed of little pixels.
Finally, you mentioned viewing this on a Retina display. Retina displays are great, but they’re not entirely compatible with everything and, depending on the software application you’re using, can result in images being too small or blurry or otherwise bad. I don’t use GIMP or Inkscape, but I know they once had (and maybe still do have) incompatibility problems with Retina displays. Here’s an article that may or may not apply to your situation: Image Gallery
I will link to the files again, I hope you can have a look at them (please download them and watch them at full size. Or maybe at 50% since my Macbook doubles the resolution but only also displays at 50%).
Yeah, I just started to realize it’s probably this HiDPI and pixel doubling thing that confuses me. My screen size is 2560 x 1600 but looks like 1440 x 900 and when I take a screenshot it stores that as 2880 x 1800 with 144 pixels/inch resolution and then compensates for that by showing it at 50% size although claiming it’s displayed at full size! When you use that same picture on web or in a PDF it’s suddenly twice the size you see on your Macbook Retina. I don’t fully understand it yet, but I do know that after staring at this retina display for a year all text on my old MacBook Pro (with 1440x900 resolution) or screenshots from that computer suddenly look pixelated. On the other hand, when I look at this website owned by someone I know, the artwork looks better on my old MacBook than the Retina! For example, the text in her artwork looks a little blurry on the Retina but much more optimized on the old one. Same for the red flowers, the outlines and the greens in the upper left corner seem to have more details on the old one.. It’s the same for all images on her site, they all look better on the old one, but text looks way more crisp on the Retina.
To return to my situation, I would like to achieve a crisp result by only using a raster-based editor, Gimp in my case, to make a 1200 x 800 image that displays great on all devices at 100%. Everyone keeps telling me it’s possible yet I’m failing to do it, so I really want to know what I’m doing wrong here