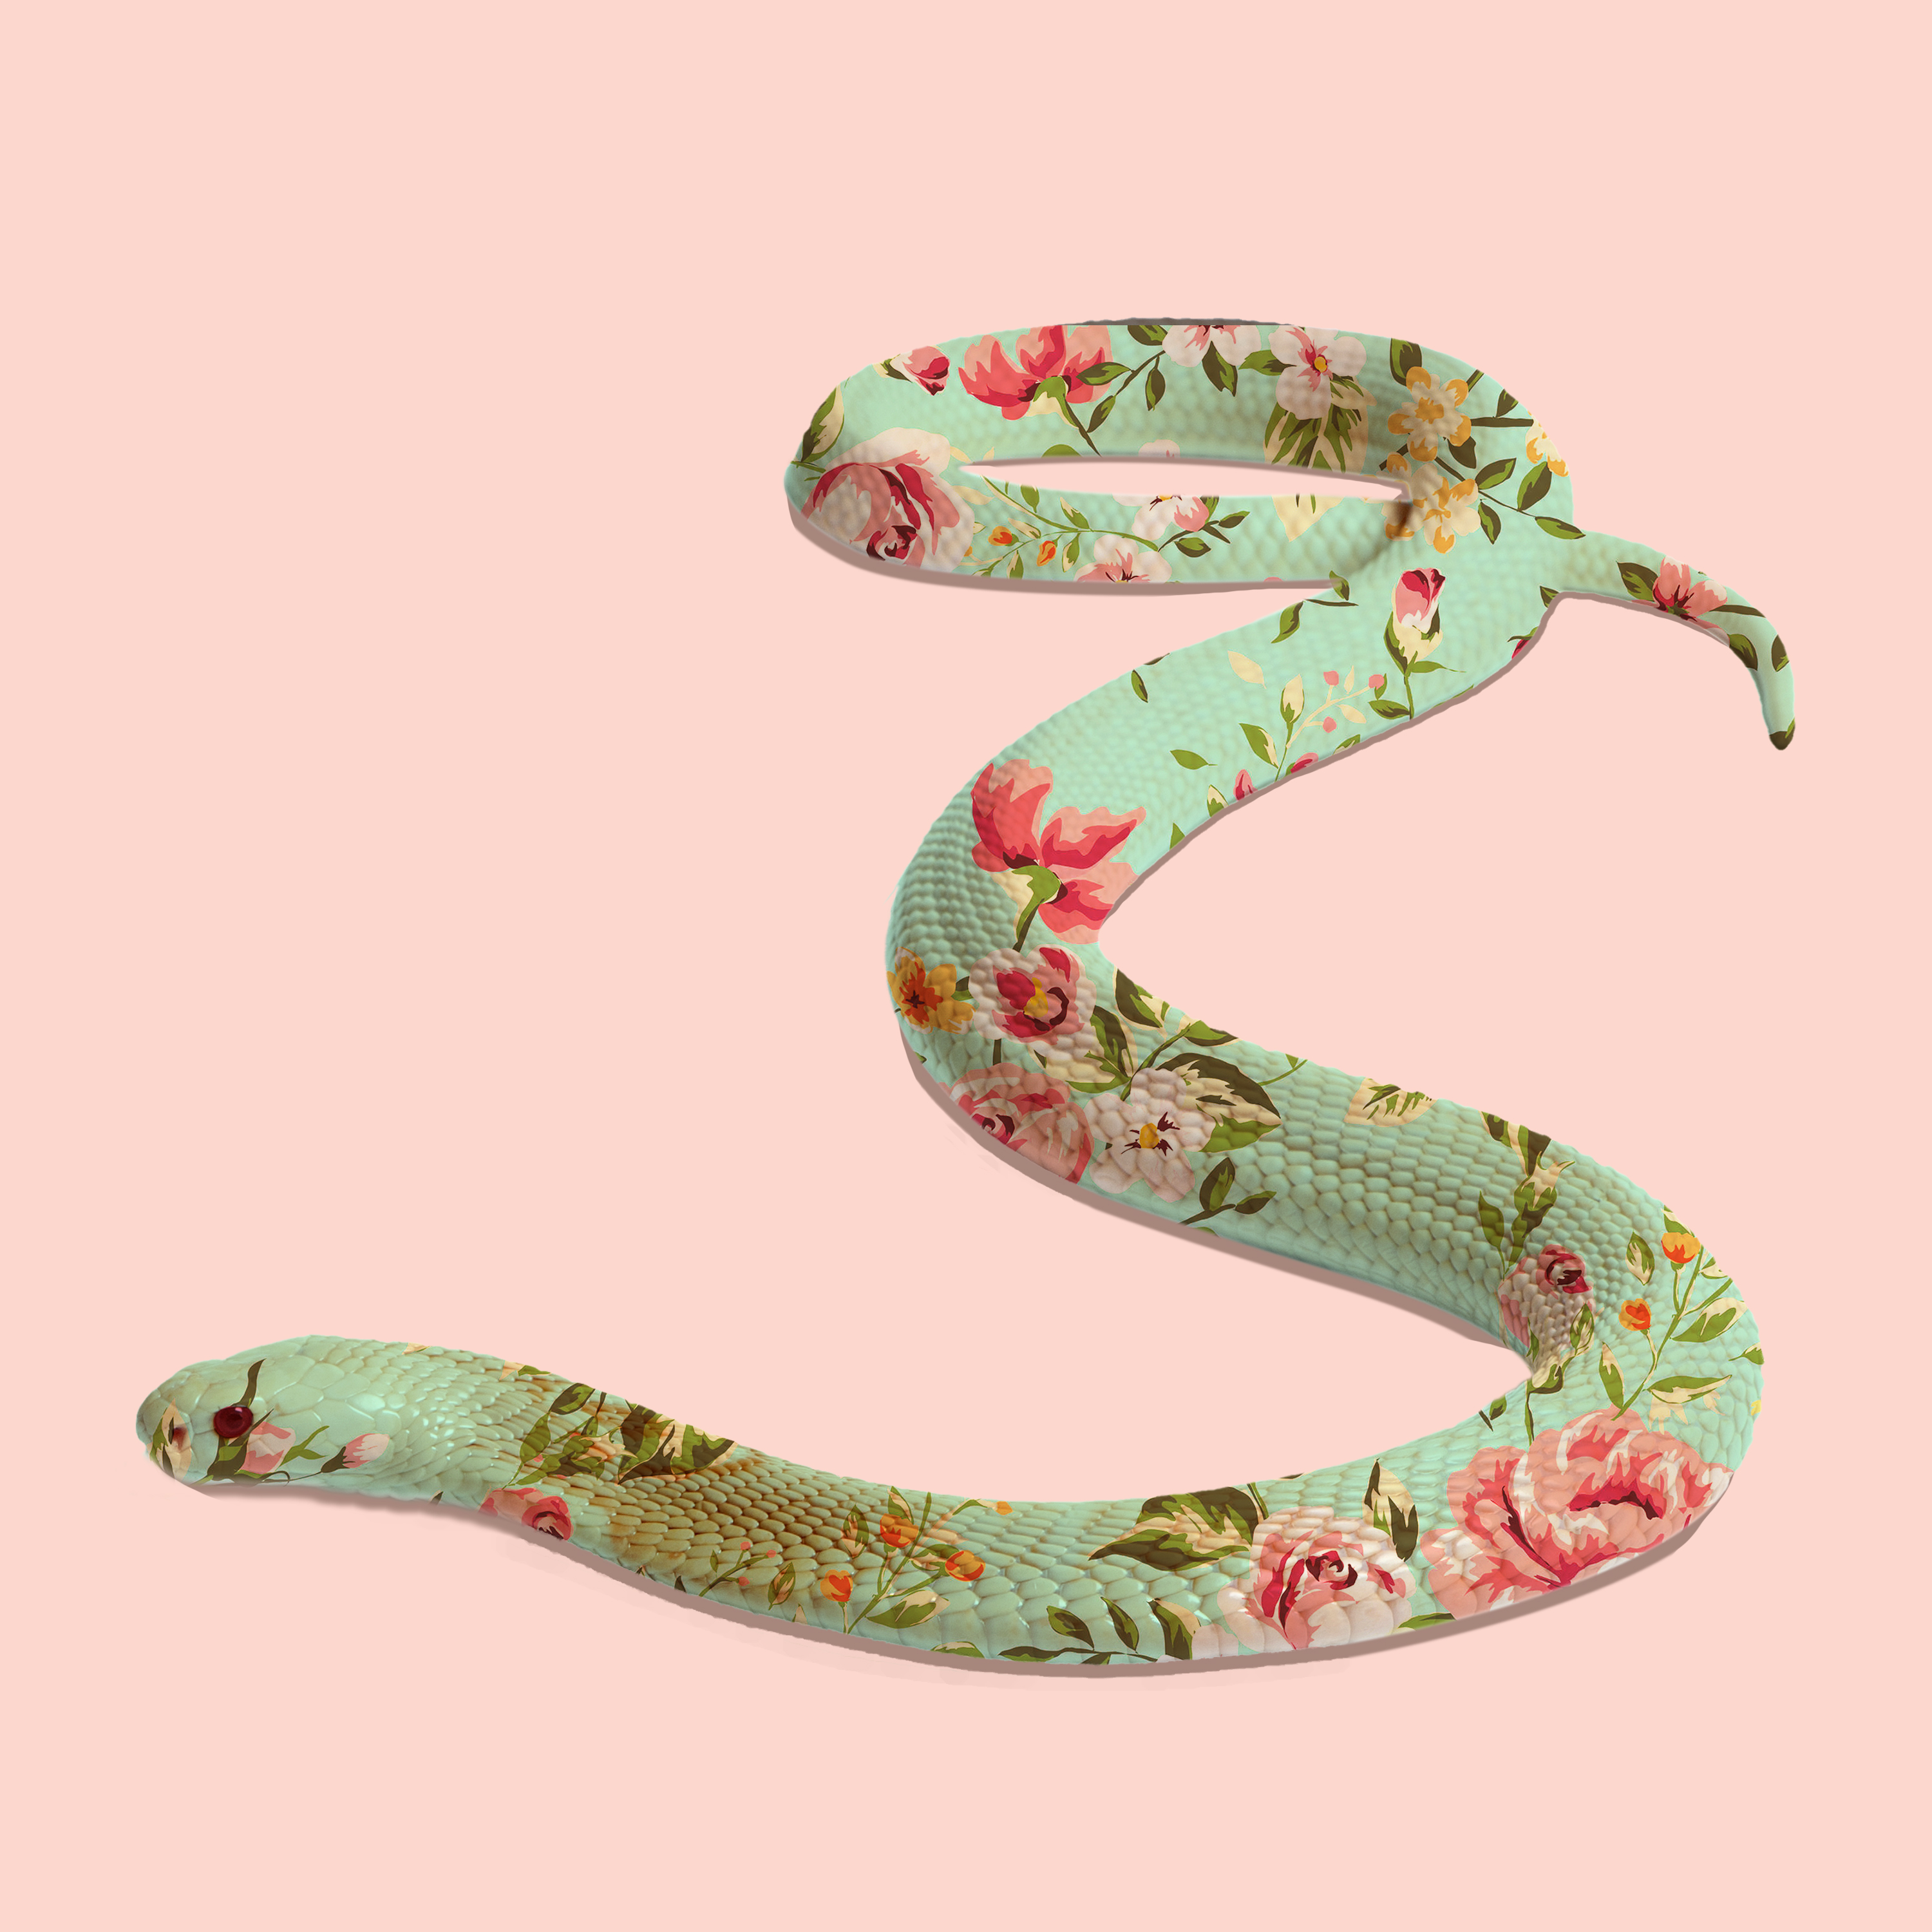
Came across this awesome photo manipulation:

Any ideas on the best way to replicate this effect in PS? Displacement mapping?
Came across this awesome photo manipulation:
Any ideas on the best way to replicate this effect in PS? Displacement mapping?
Displacement Map would distort the pattern more than I think I see there. I suspect it was done just using a Blend Mode and Layer Mask without any displacement of the pattern.
I also suspect the snake image was pre-treated (perhaps with the High Pass filter) to remove all but the shadows and highlights (no underlying color to interfere with the pattern). That would account for the cleanliness of the blend.
Thanks for the tips. I’ll see what I can do ![]()
Might have used a bump map and warps to create the shape, but that is a lot of technical work.
Try “The Photoshop Training Channel” on Youtube. There are tons of free tutorials and tricks.
Here’s what I was able to do ![]() snek|690x690
snek|690x690
Yerlinkaintbegoinnowheres
So how’d you do it?
High pass filter (thanks for the tip). Clipping mask and blending mode. Easy breezy beasutiful snakey boi.
Nice work.
The one thing to work on is the shadow.
Where the end of the tail underlaps the body, on the right side give it a little bit of shadow on the tail (even if logically it’s wrong) because you’re getting an unwanted focal point where the pattern seems to run together. A little shadow along the tail where the body overlaps it will get rid of that.
Overall the shadow is much too hard and much too pink. It is hard to tell whether it’s a shadow or the underside of the snake. So that’s what I’d concentrate on now.
