Hey guys, my former client approached me with a project for a truck wrap. I’m a brand identity designer and have some experience with printed collateral like business cards, letterheads, etc., but I’ve never designed a truck wrap before.
I’d like to understand the complexity involved in truck wrap design, especially since this will be a remote job. How can I make sure the scale and proportions match the actual truck? Is there a universal dieline template for truck wraps, or any good resources/tutorials for creating one? Does the wrapping company usually provide the dieline or detailed specifications?
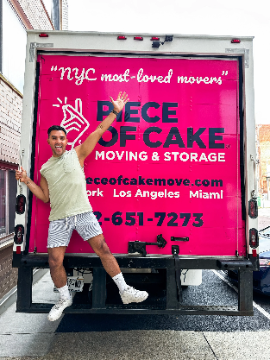
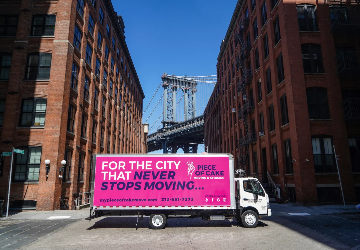
In this case, the vehicle is a box truck (like a small moving truck with a rectangular cargo box at the back), not a passenger truck. Based on the reference image from my client, it seems the design would be applied only to the flat panels of the cargo box, not the cab or any curved surfaces. If that’s the case, I imagine it might be easier since it’s mostly flat — but I’m not sure.
If it is just the box, what’s the typical complexity? Do I simply design on a flat rectangular artboard in Illustrator?
Also, how do you account for unprintable areas, such as spots where the box has locks, hinges, or other hardware? Do wrap installers usually mark these on the dieline, or is that something I should ask the client to measure and provide?
I haven’t confirmed with my client yet whether they need the design only for the cargo box panels or also for the cab and curved areas. I wanted to get your opinions first so I can better understand the complexity, and then estimate how much I should quote for the job. Thanks.
For simple shapes like rectangles, you can ask a customer, such as a moving company, to take the measurements and it should be fine. Be specific about what you want to know: draw dimension lines on a photo and ask for the measurements.
In other cases:
Ask the client for the exact vehicle model and to take photos of his truck from all sides. Such trucks often come in different sizes and with different features, depending on the customer’s wishes, the country of manufacture and the year of manufacture.
There are online databases where you can purchase true-to-scale plans for most vehicles.
I don’t take small items such as door handles into account in the true-to-scale wrapping data printing file, but I do take windows and similar items into account.
Just make sure you don’t place small text near small items.
I usually create a mock-up with all the details, such as door handles, using the above files.
Provide a lot of bleed.
I guess the wrapping pros will soon chime in here.
People in wrapping companies are usually fine and will help if the data is incorrect.
I don’t know what to think about this one, specially the concept … is this going to be a moving and storage just for ladies ? (ladies with a lot of money) and the clap fingers ? also a piece of cake ? A track have to me reference of move stuff and move fast. By the way, with the pink color you are making an impression this is a service only for women!. I would suggest to use different color not just pink but “Piece of cake ?”, I say something with the clap as “ASAP ! or As Soon as Possible !” (Clap fingers then say “Asao ! or As Soon as Possible !”. Also you need to find a reference of the color something that give a relation to move or making movoement. (Btw I am not against of Pink color or a service only for women, I am just giving my impression as a customer who see your design).
The wrap company can usually provide vehicle specific templates. We usually take anything into account that might affect the graphic. Hinges, rear door panel seams the handle swing location (if it’s a roll-up door), door split and hardware if it’s a swing door, plastic trim details, and whether or not there are rivets.
Handle swings get beat to crap.
Can’t tell from your photos if this is smooth panel fiberglass or steel panel with rivets.
Thanks for your reply, everyone. Just to clarify, the images only serve as references, not the actual design. He simply wants to use the image to explain the scope of the project.
Thank you. For areas near hinges, handles, or other moving parts, how do you usually treat the vinyl? Do you still add bleed in these areas, and if so, how much is typical?
Given the complexity, it seems that measurements need to be really precise. If the wrapping company doesn’t have a template for me, I can’t imagine what happens if my client’s manual measurements are slightly off or some details are missing. With the moving parts, I’m also concerned that explaining hinge locations and other details remotely might be difficult.
By the way, the image is just a reference my client found somewhere, not the actual design he wants. He simply wants to use the image to explain the scope of the project.
Vinyl wraps are not 100% precise applications.
Lacking a template, it helps to have straight-on photos of the sides and back end of the vehicle with measurements to scale it into your layout program. Slightly skewed photos can be adjusted in Photoshop.
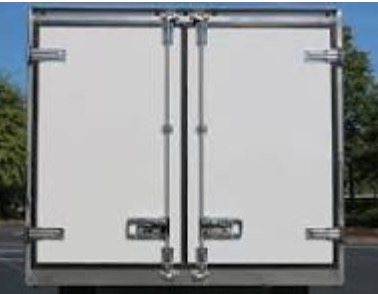
If the truck is similar to shown in your photos above, and you’re only doing the box, not the cab, the graphics are fairly accurate rectangles. With a photo of the back end, you can approximate where the panel seams will be (horizontal for roll-up or vertical for swing doors.) With Roll-ups it usually isn’t too big a deal for the installer to cut the wrap on the seams. With a swing door, there may be vertical hardware you have to deal with.
With something like this photo, you don’t want important info to fall into the latch cups or be obscured by the locking bars. You can check that with your photoshop image as an overlay. Allow for a bit of up/down adjustability in your design. With adequate bleed and safeties, you should be fine.
Might want to check if the client needs DOT numbers and/or cab door ID. Requirements for those vary by state, including specifying minimum letter heights.
But always talk to the printer/installer before beginning.
If using Photoshop, these only need to be 100-150ppi imagery at full scale, NOT 300.
Thank you for your explanation. From what I understand, the design file will consist of several artboards/files, each corresponding to its own seam or panel, right?
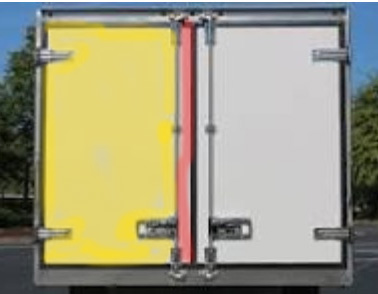
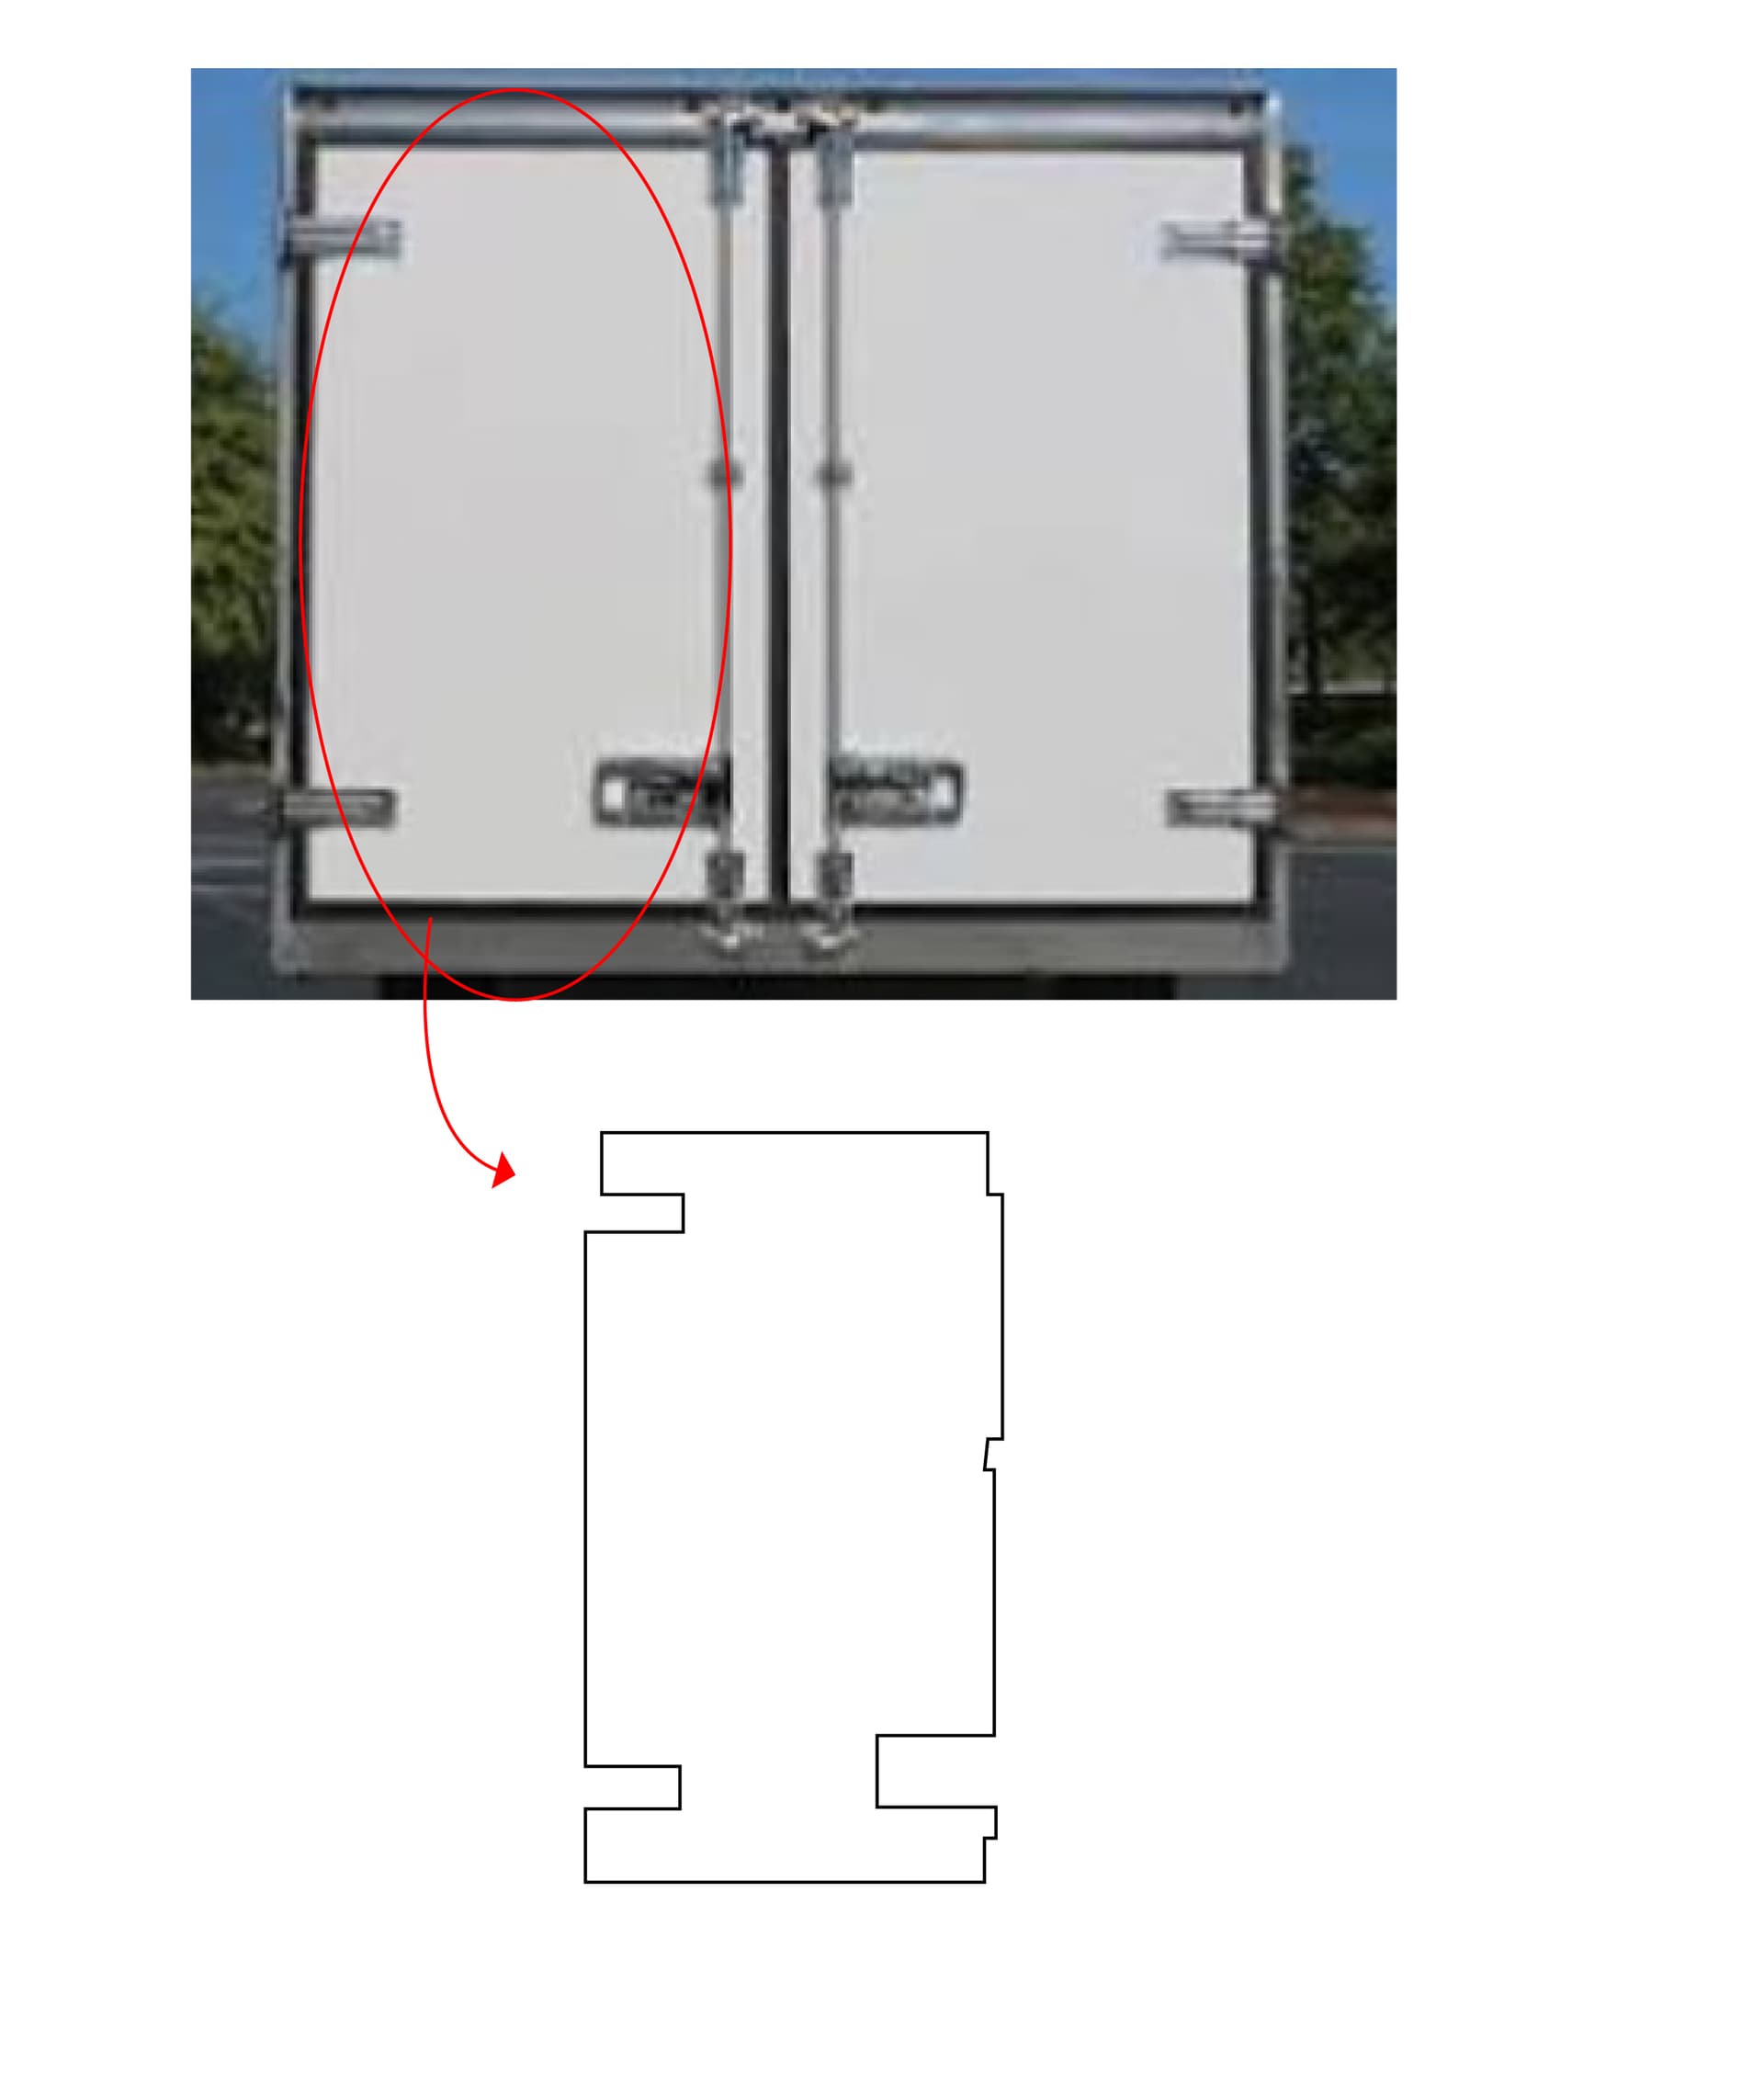
Using your image as a reference, let’s focus on the “left side” of the box door. That would mean my working file will have two Illustrator artboards: one for the large seam/panel (yellow in my image) and another for the small gap separated by the locking bars (red in my image). Is that correct? Are the locking bars, latch cups or similar parts usually wrapped also?
Taking the area in the red circle as an example, is this how the dieline looks? It follows the contour of the locking bars and other parts. This is just a quick sketch, but how should I account for bleeds that border these small parts? Do I also add bleed along the edges bordering these parts?
No, do not split your files. The printer will do that.
Do the whole back as one big file. Same with the sides.
There is NO die line. You want one big rectangle. All cutting is done on the vehicle (yes, carefully.) You can use your die-line as a safety, to be sure all your info is in the correct places, but don’t include it in the file (or if you do, put it on a non-printing layer, call it Safety, NOT Die-line.)
With the photo as reference, indicate any hinges and things you want to cut around. Do NOT do that in the file.
At least that’s what we’d want.
Talk to your printer installer.
Basically, you, as the designer, will only need 1 panel / artboard that encompasses the size of both rear doors. Use your photo as a template / overlay so that your designs do not fall within the notches, locks, etc…
Account for bleed as stated earlier.
This is out of your wheelhouse, we can see. You’re over-thinking it by wanting to add dielines, the installer will cut as needed.
Listen to PrintDriver and you’ll be fine.
I always sent files the way PrintDriver described, and I never had any trouble.
(I would say that with a 6-inch bleed, the level of detail of the cutting line becomes obsolete. It then only serves to inform the foiling company what to leave out. This should also work with the mockup. I’m sure it won’t be cut out on the plotter but on the vehicle.)
Thanks for your explanation. I get it now. So in the file, I don’t need to actually mark the areas where there are hinges, locks, etc., right? I just need to know and note for myself where the “safe area” is for placing graphic elements. It’s up to the wrap installer to cut around everything.
That means my job is actually pretty easy and straightforward. It’s my client’s responsibility to give me the detailed measurements for the hinges, lock bars, latch cups, etc., and I’m good to go as long as I account for those “unsafe areas” in my design.
I’ll confirm with my client, and once I have the details from them—if there’s anything I’m unsure about—I hope you won’t mind giving me advice again. Thanks again, you’ve been a great help.
Thanks, yes that’s clear. I’m not very familiar with how truck wrapping works and I guess I was overcomplicating things. If it’s just one big rectangle, then it should be pretty straightforward—as long as I take note of where the lock bars and other parts are.
I’ve stayed out of this because there are people here who know more about wraps and large-format printing than I do. However, I think you still want to make this more complicated than it is.
If it were me, I wouldn’t trust the detailed measurements of the clients. I would prefer to get them myself and have the clients verify their accuracy. If that’s not possible, and since you’re dealing only with simple rectangles, all you really need are the outside dimensions.
If, for example, the back of the truck is 10’x10’ and you have them take a head-on photo (or better still, you shoot it), you can extrapolate all the other approximate measurements from the photo. If the photo isn’t quite head-on and is slightly distorted, you can use Photoshop to distort the photo to a 10:10 ratio. From there, you can easily determine where the door opens and approximately where other hardware odds and ends are. As @PrintDriver said, “Slightly skewed photos can be adjusted in Photoshop.” He’s done this kind of work for years.
If you provide a finished graphic image to the wrapping company with a six-inch bleed, you have to assume that there’s wiggle room of up to six inches either way. In other words, keep the logo, other vital graphics, and words meant to be read at least six inches away from those spots that would interfere with their legibility. You don’t need precise measurements for that. As mentioned, you can extrapolate those approximate measurements from a photo where the back end (or side) of the truck corresponds to the relative dimensions of the photo.
You need to trust the people doing the printing and installation. They do this all the time. They know the issues involved, and they will make it work. Talk to them about your concerns, take their advice, then go from there.