Hey everyone i’m new here and i need help with preparing stickers for printing.Mainly i just wanna prepare the design (cut lines) and send it to shop to print/cut it.
So,i wanna make the cut line around the design so it doesn’t “deep cut” not the whole paper but just the design itself…
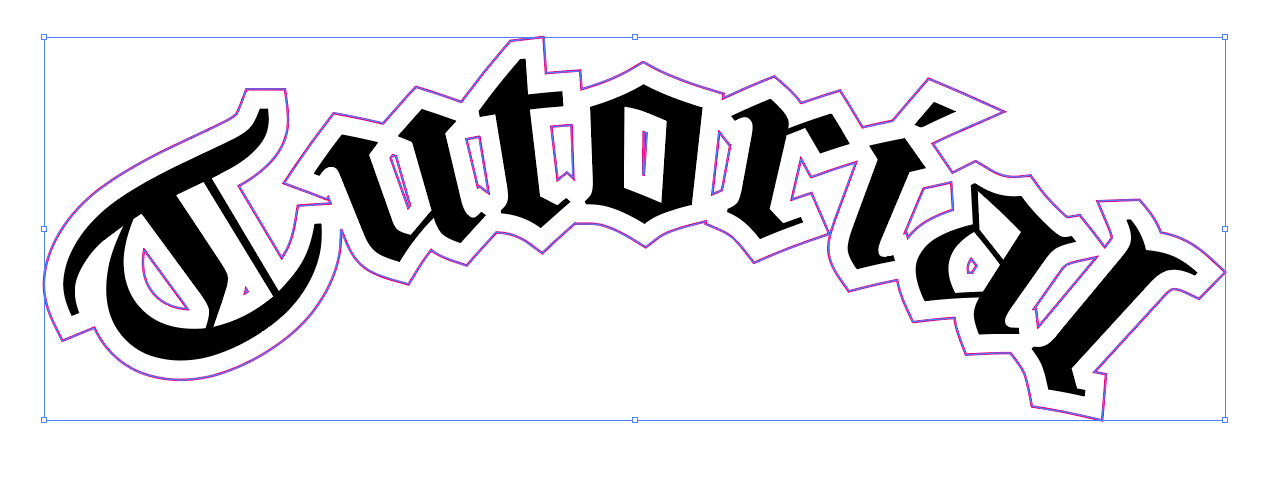
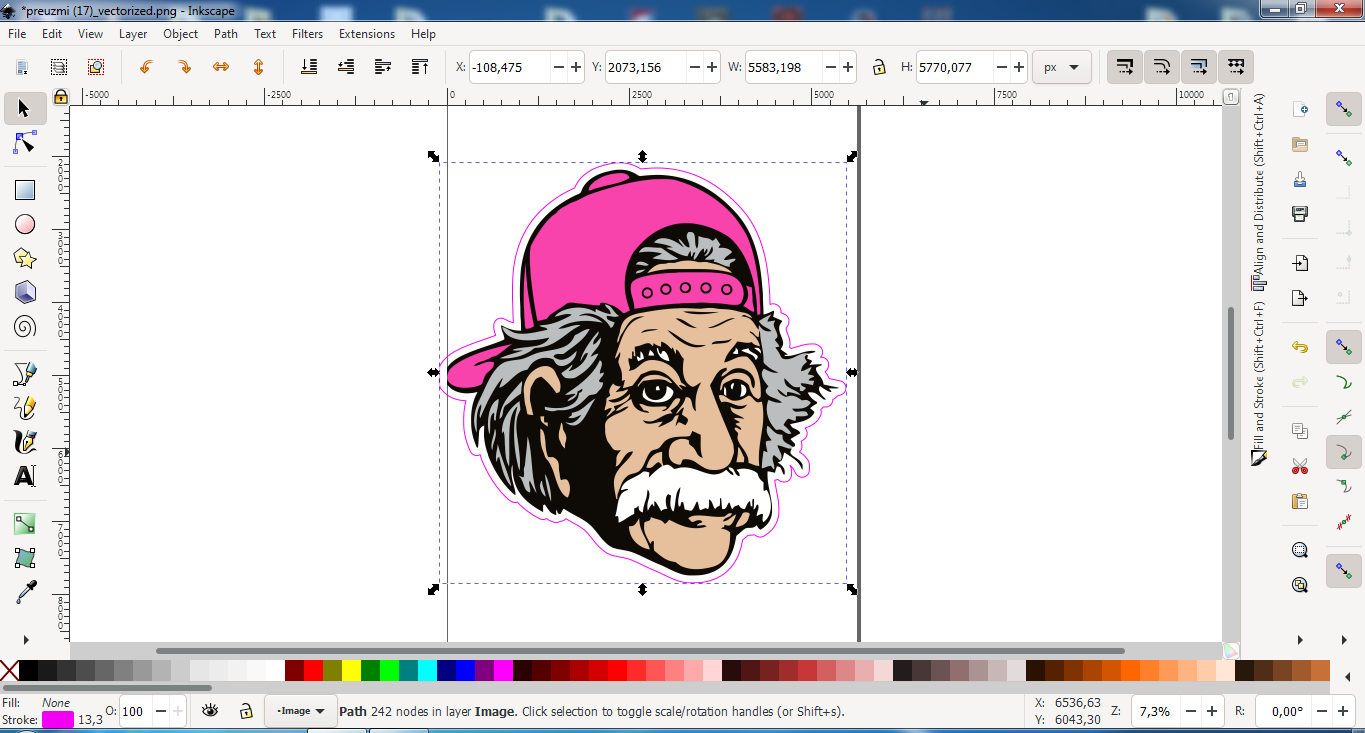
I made that white part around the design in Inkscape by following steps from this one video i found on youtube,and as far as i understood it needs one more step,adding “cut line” “contour” next to that white background,so it cuts precisely to that white background,is that right?
But i don’t know how to add those cut lines now,i’m using Inkscape so is there someone that could explain me on how to do it?
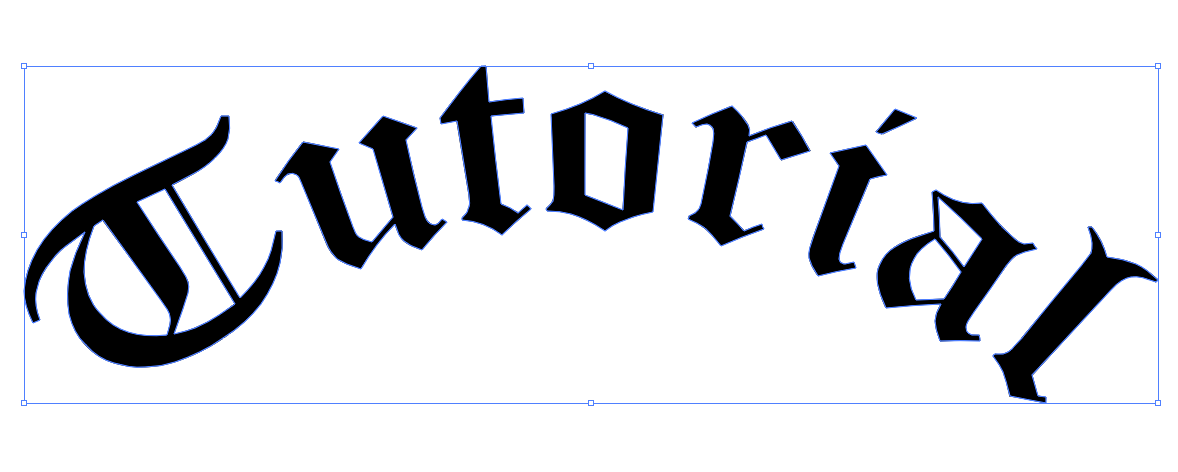
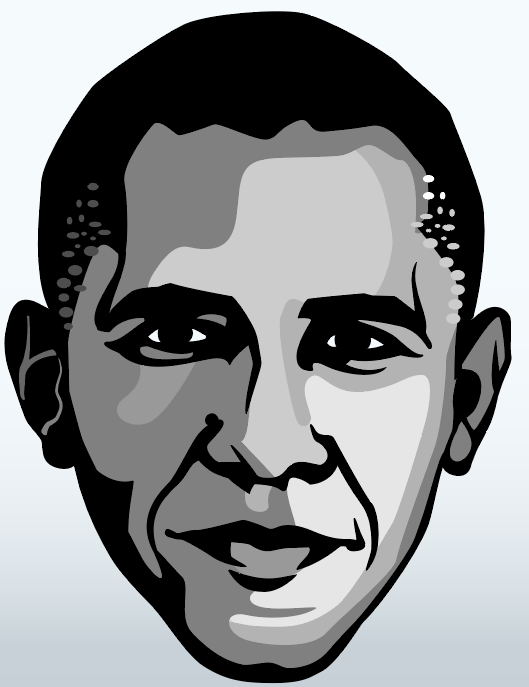
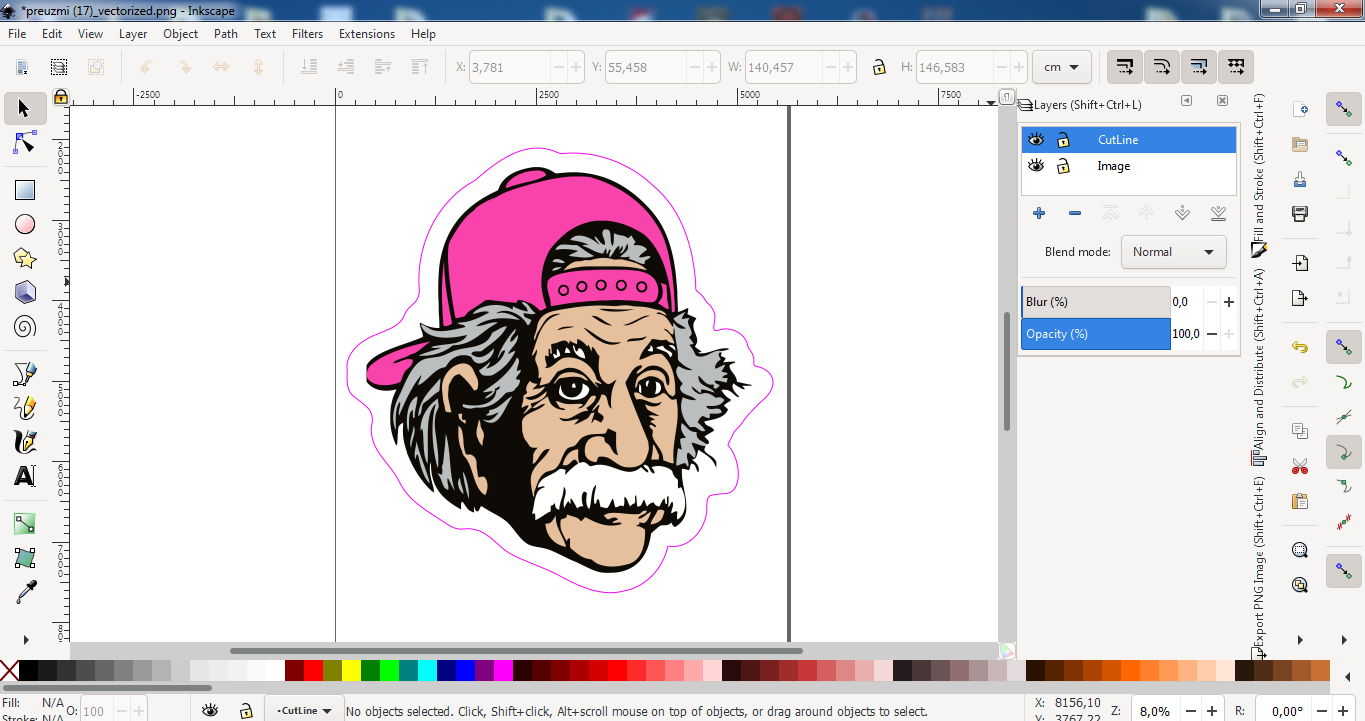
I’ve done one design that has just this white part around it.
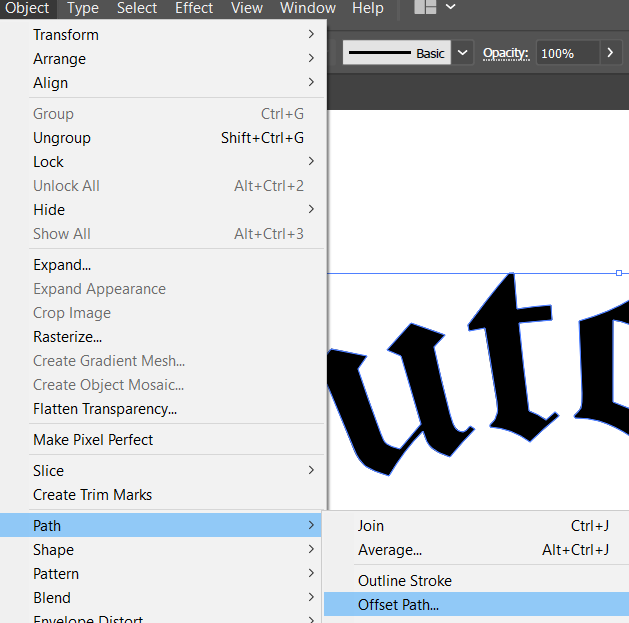
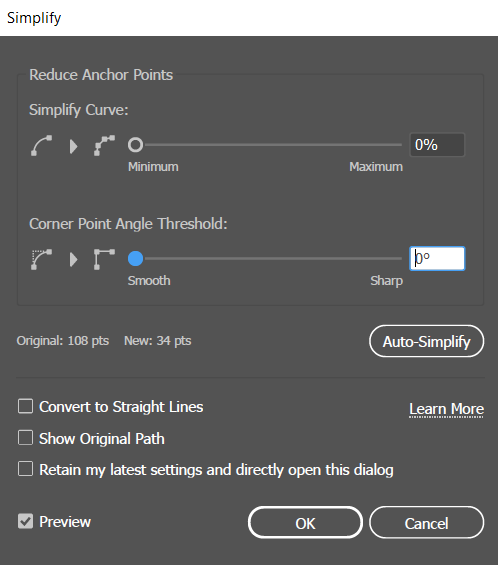
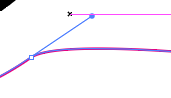
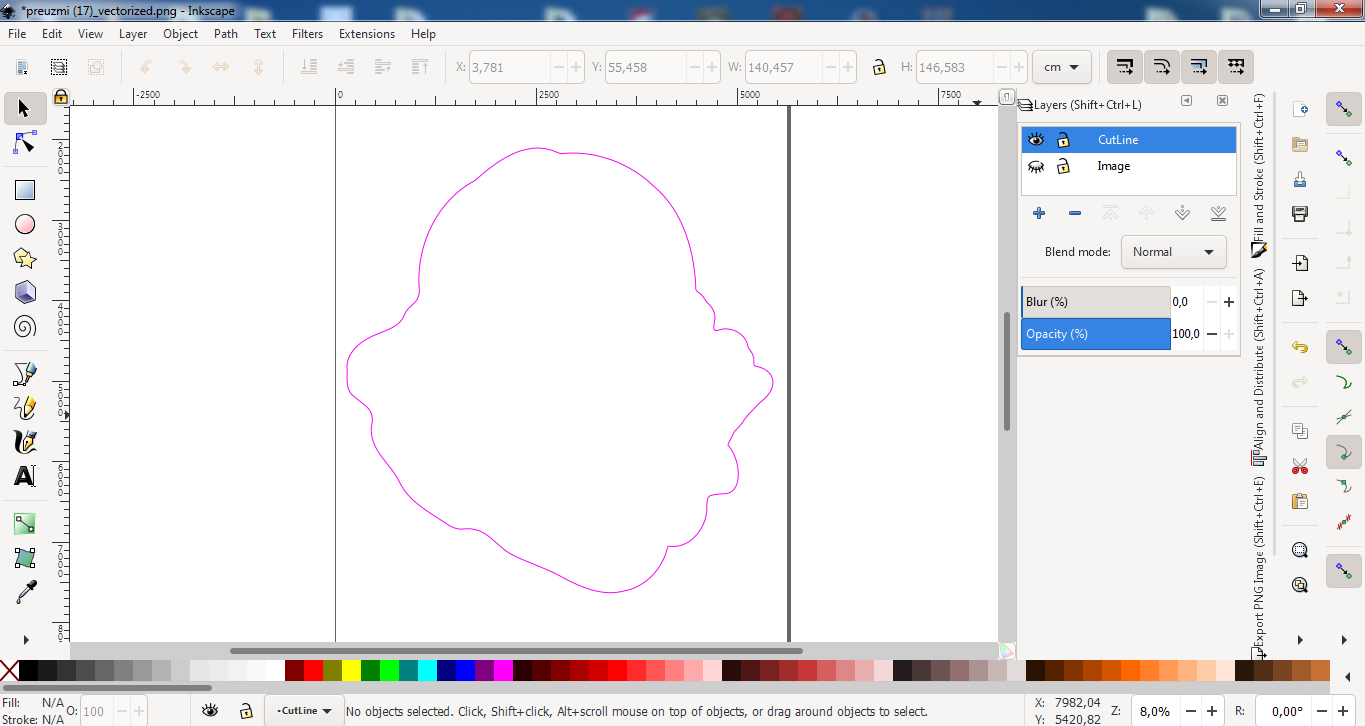
When you make a cut line, it should be a closed shape with no bezier loops. And it should be on a separate layer. One way to check that it’s done right is to select it then create an offset path. If the offset shape stays to the outside (showing as 2 paths) and doesn’t have any weird peaks or fangs, then it should be ok for plotting. If it goes to both sides of the line though (you see 3 shapes) then your cut path is not closed. Pathfinder Unite will sometimes fix this. Join is another option, but can lead to bigger istakes if more than one section is open.
Put the path on a non-printing layer and call it cut path.
Sometimes a quick trick is to copy your art to a new layer, pathfinder unite to all one shape then offset the path deleting the inner, initially united piece.
For just too much information, a plotter is a very dumb piece of machinery. It follows whatever line you give it. With an open shape, it cuts both sides of the shape, inside and out. A double-pass like that with a plotter blade can end up cutting through the backer paper if not caught by the prepress tech.
However, if you are doing a die cut standup figure where a CNC rotary bit is used (which you aren’t in your example) Cutting to both sides of the outline will possibly cut into your image. Imagine following a line up one side with a 6mm diameter cutter, then coming around and cutting the other side of the line (which happens when you set the cut to the outside of the shape.) You’ve now cut 1/4" of material on inside your cut path. Not good. Even better? Stray points. I once had a 1/2"diameter CNC bit make a 1" hole in a piece of $600 moz metal by going around the outside of a stray bezier point. That was a bad day.
yeah Illustrator.
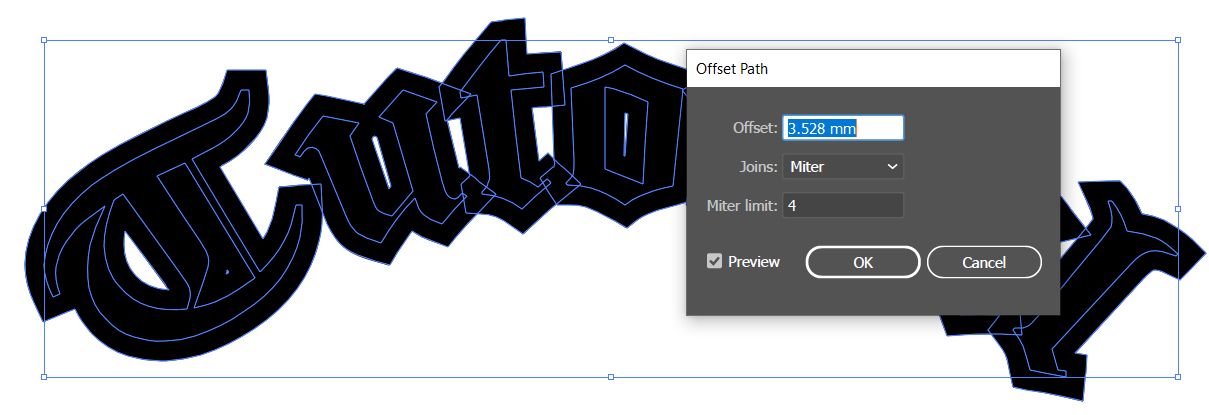
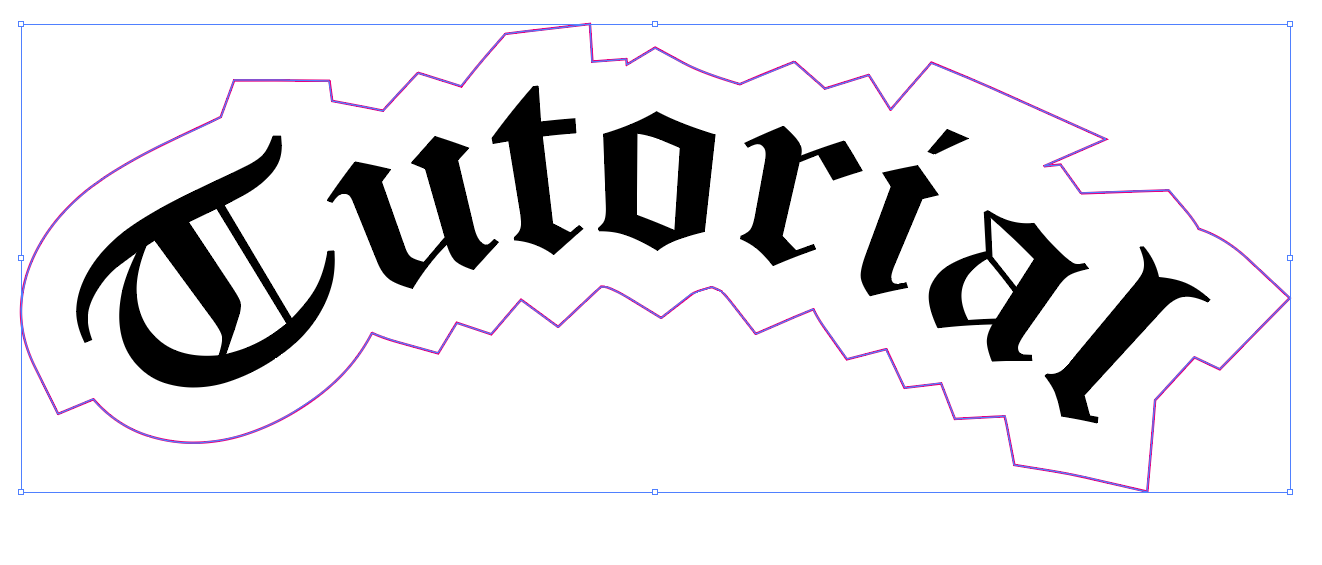
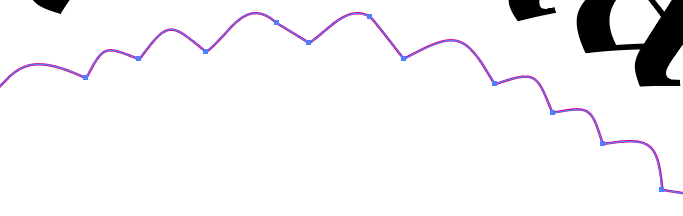
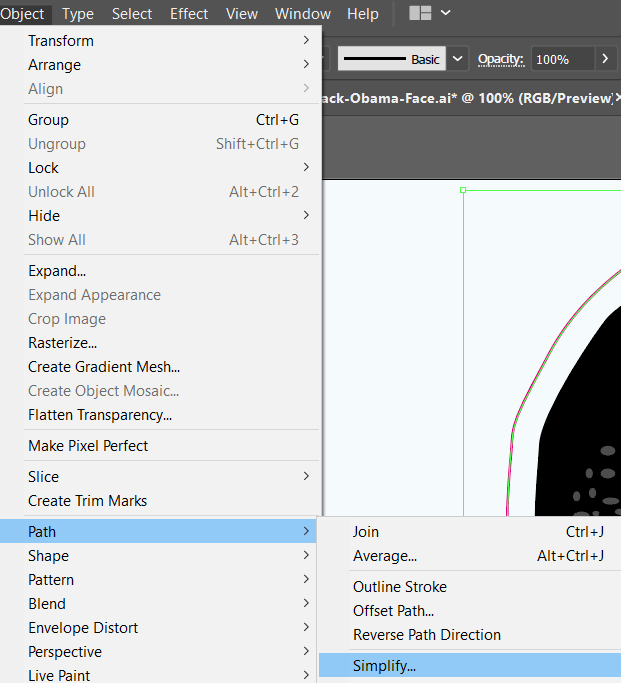
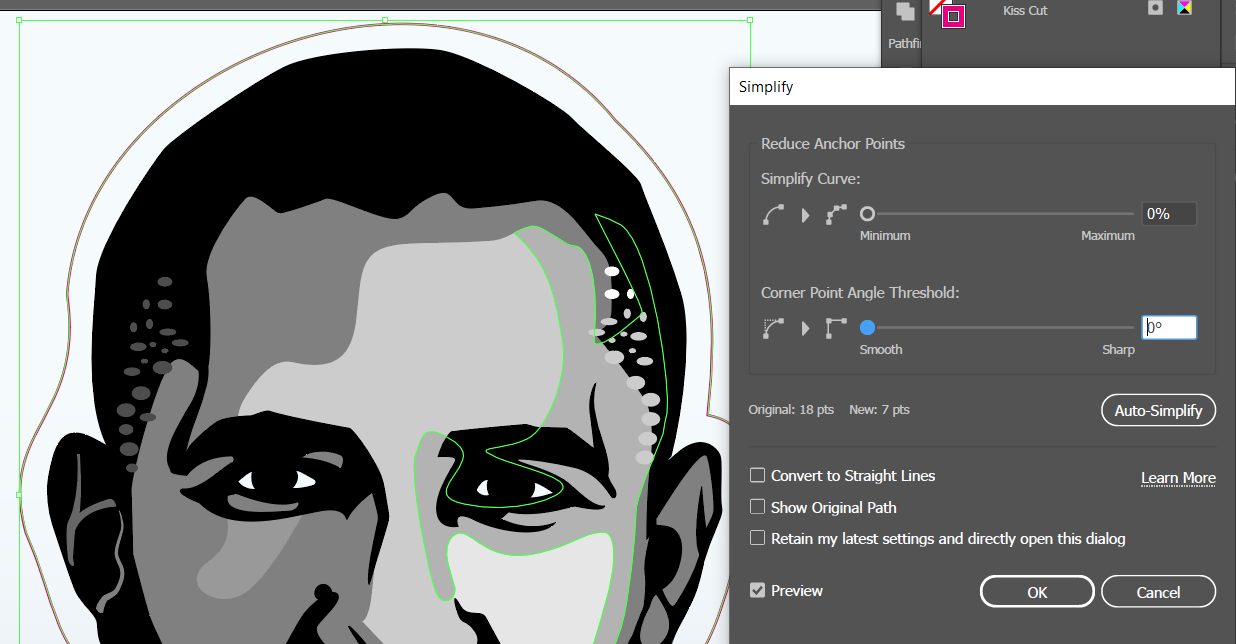
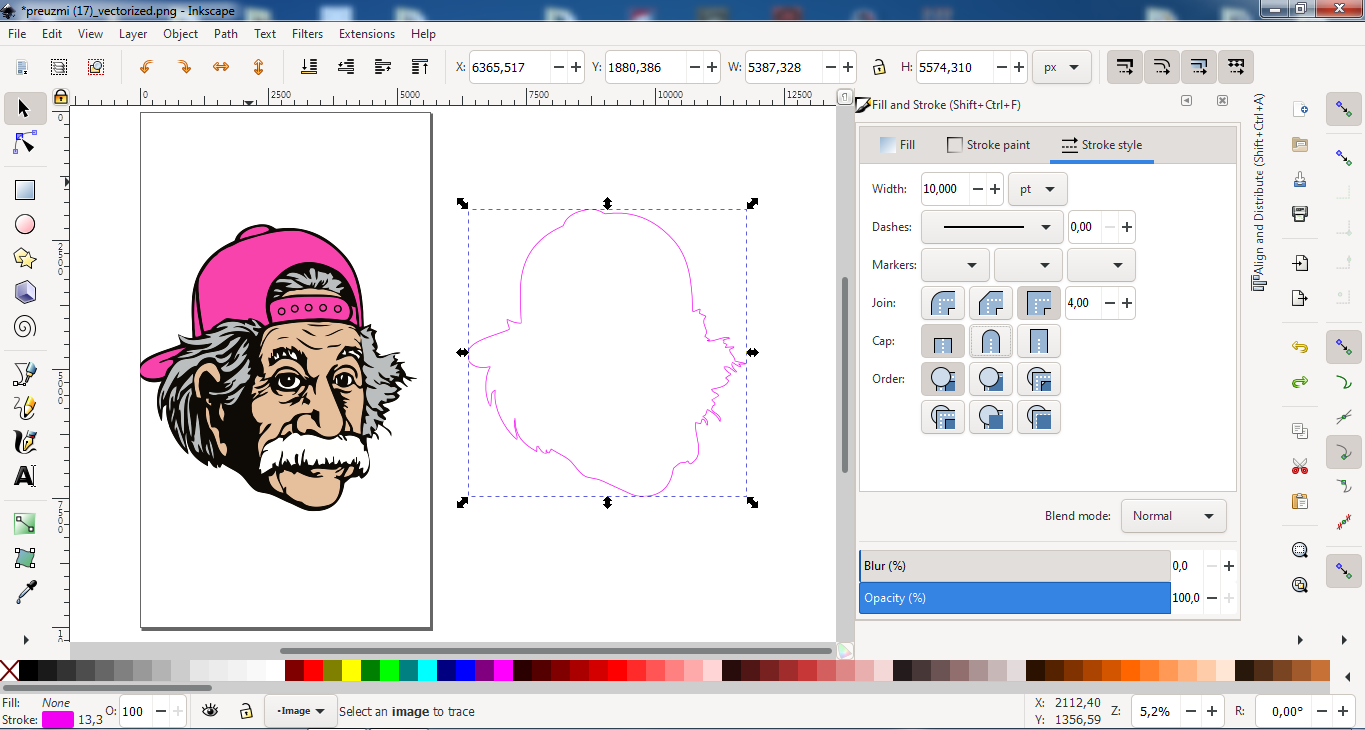
The cut path you have in RGB magenta looks okay, but usually you want to smooth it out. See those peaks on the shoulder on the right side? and teh reverse peak bottom right-ish? Without actually seeing the beziers, it’s hard to tell if those are just reverses or twists. Other than that, it “looks” right. The tests I noted above will let you know if it “is” right. Tutorials? Not that I know of. This is a very basic function in Illustrator. Inkscape is very similar BUT, a flattened PDF out of inkscape is annoying.
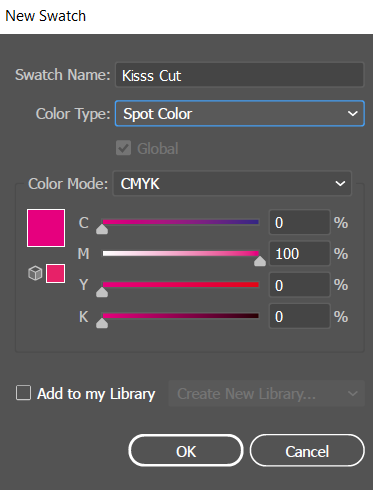
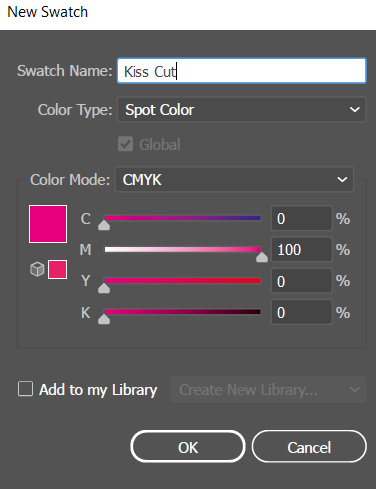
For this I call it Kiss Cut and make the pink a Spot Colour called Kiss Cut - and then I don’t bother with layers, as they are compressed in the PDF output anyway. But if doing layers, put it the upper most layer.
Always have the keyline/diecut set to overprint as good practice.
Relay to the printers that it’s Kiss Cut - and also make sure you show the examples you have shown here.
Thanks a lot for this,i really appreciate it.
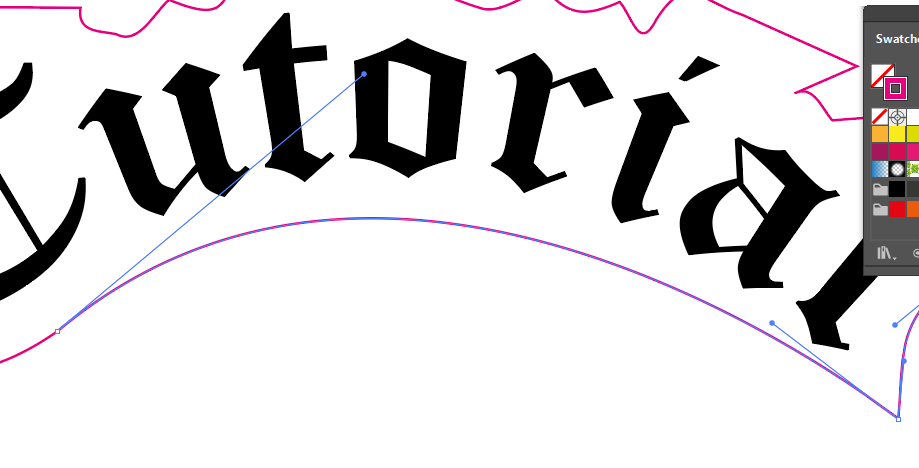
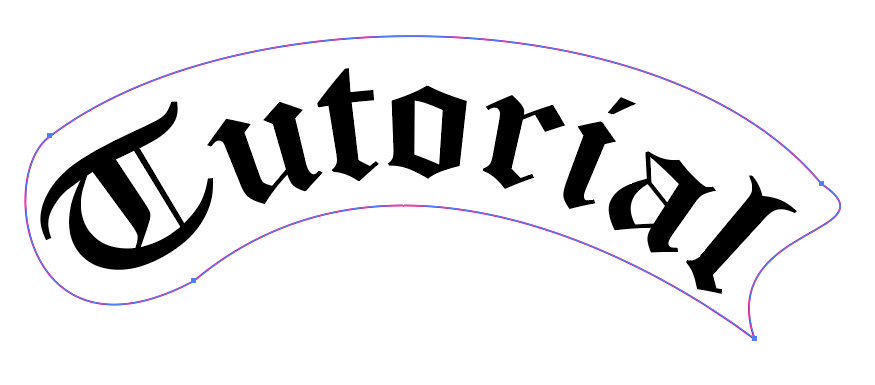
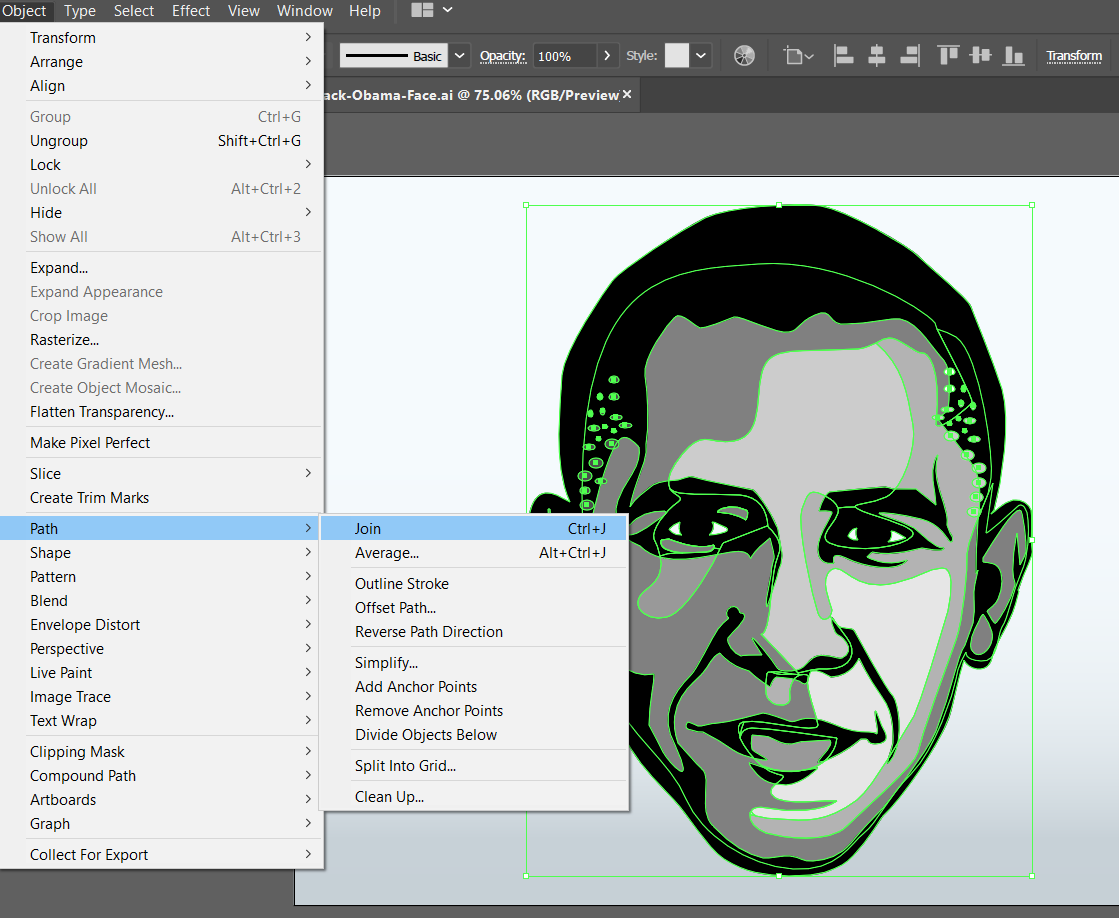
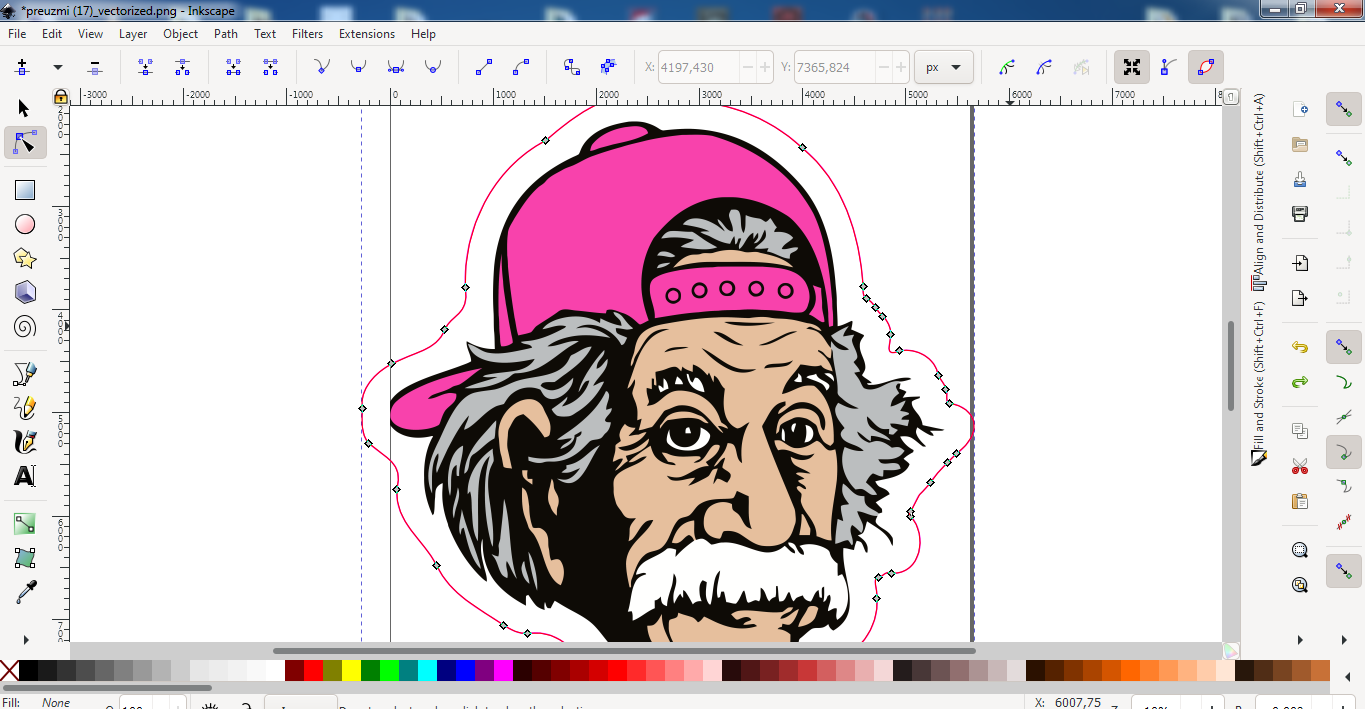
But just to make sure i do it right in my own way (in Inkscape),could you tell me if i do it correctly if it won’t annoy you,here are the steps with pics.
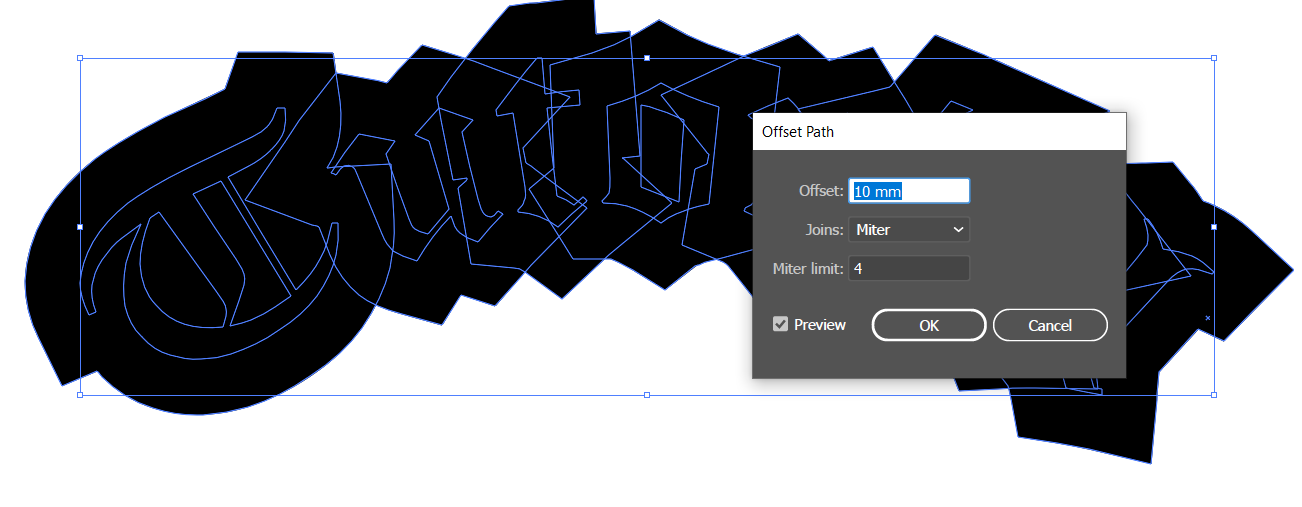
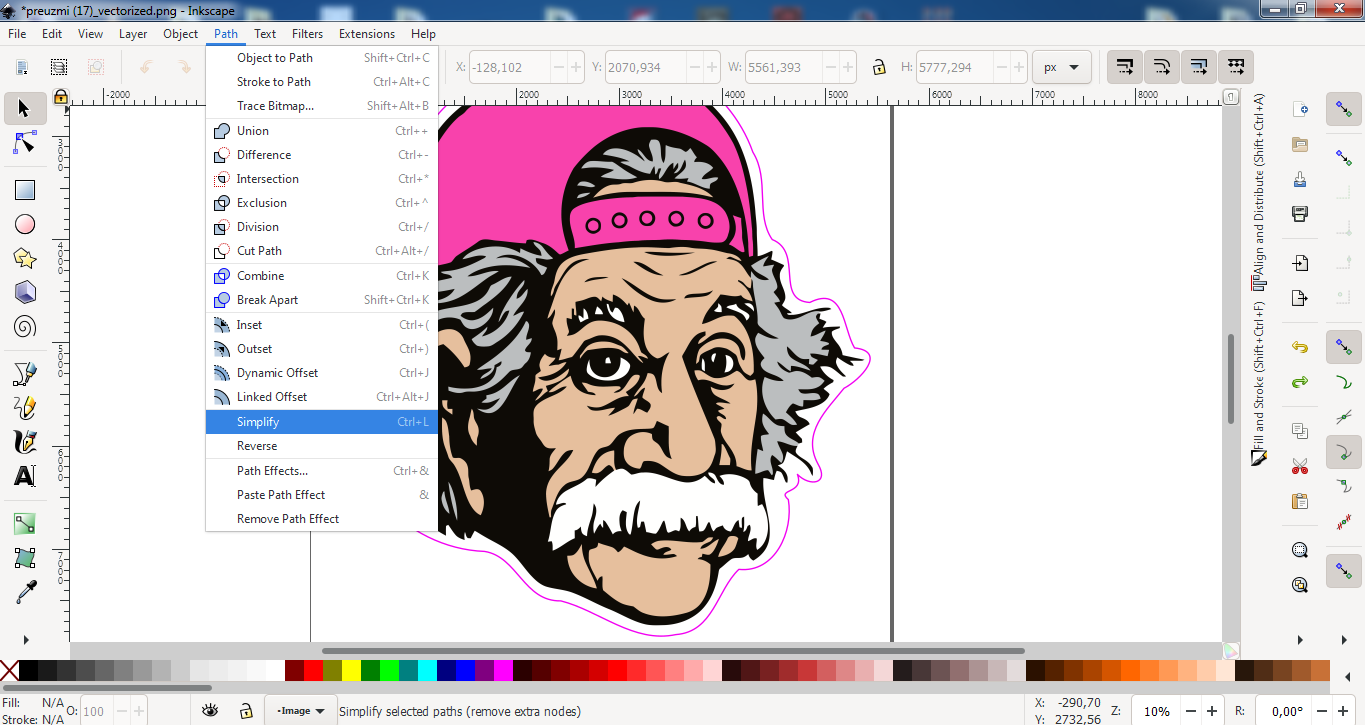
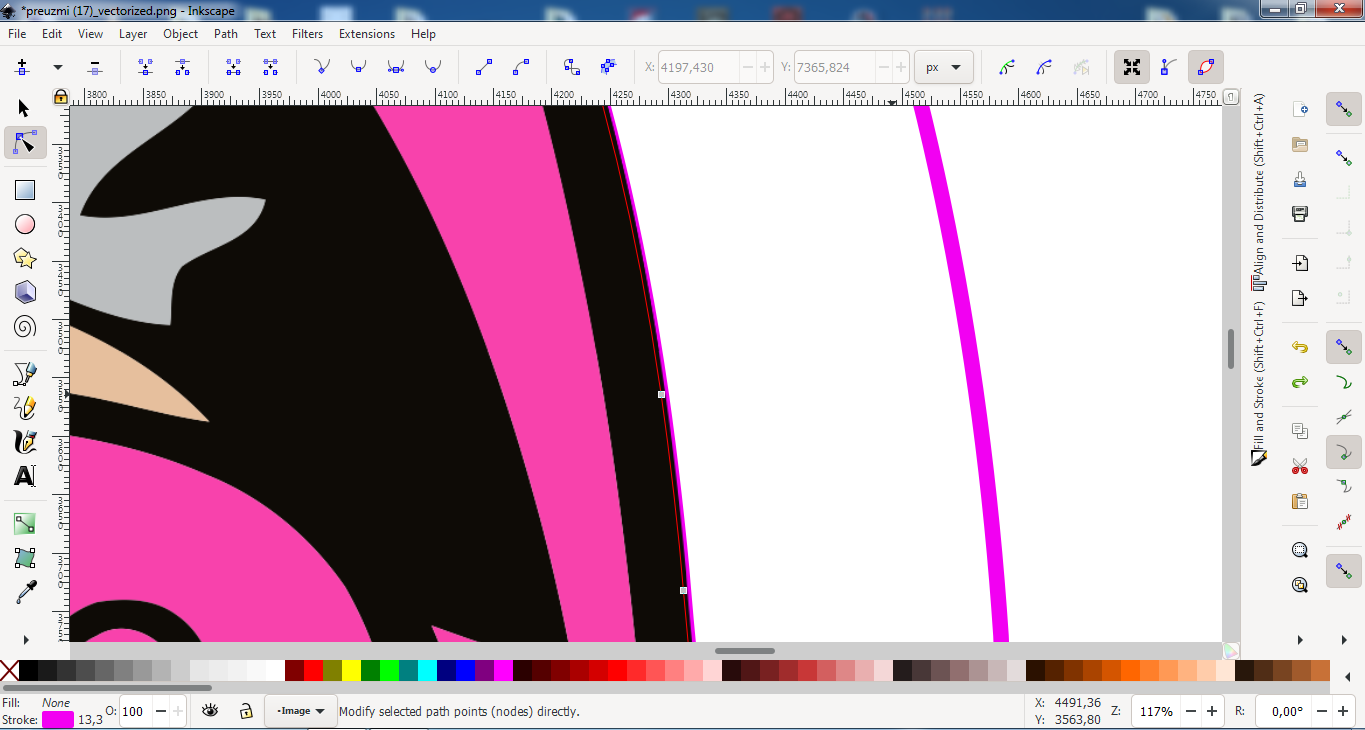
Next thing i do is i drag this outline (if it’s how it’s called?) and line it together with the actual image,then i set it behind the image and then just expand it with ctrl+0 multiple times,or “path-outset” (which is slower)
And the last thing i do is just adjust the nodes a bit more if needed,if there are still sharp edges left…
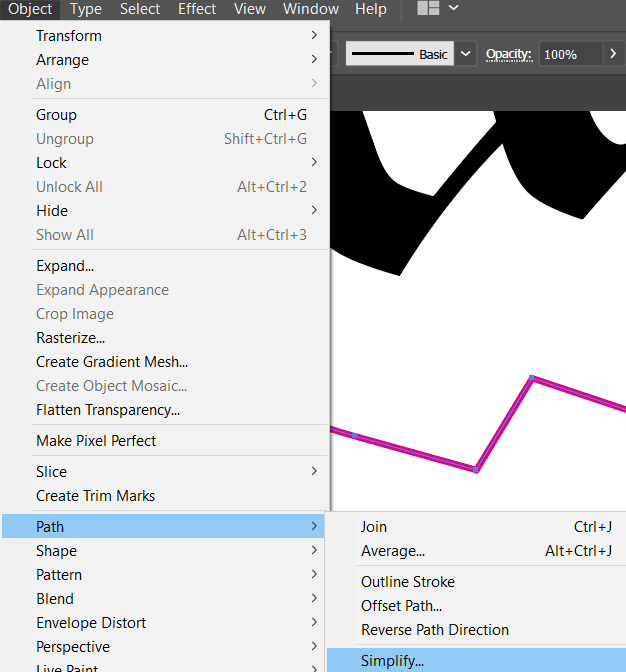
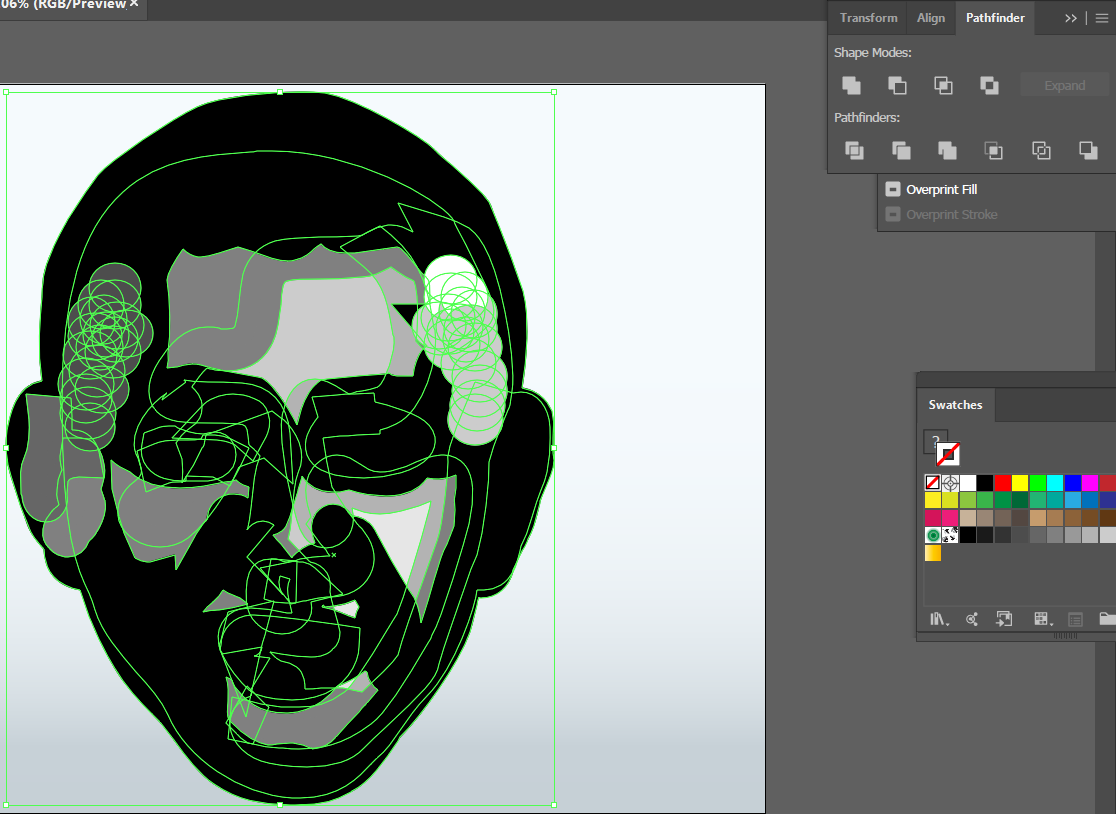
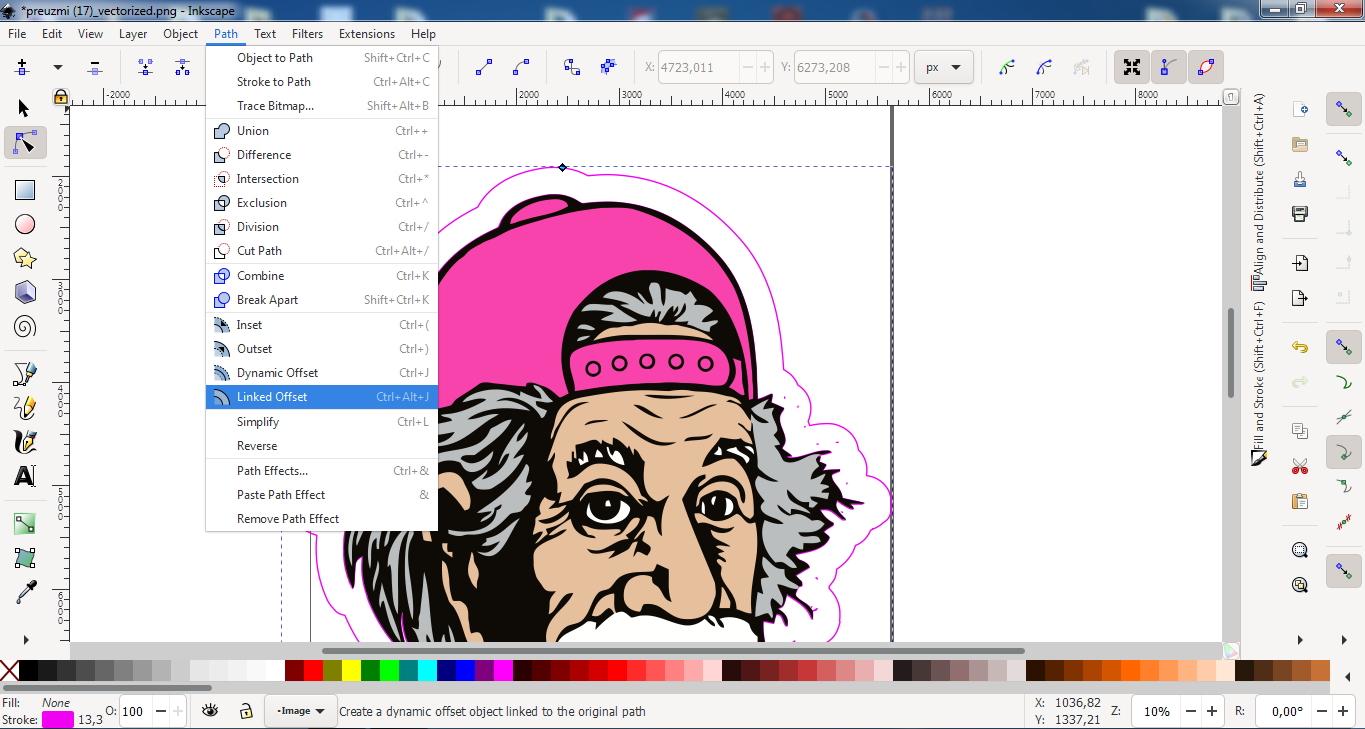
So that was the one way,and the other way is kinda similar.I do all the same except i don’t expand the “cutting line” with ctrl0 (outset),but instead i “expand” it by selecting “linked offset” option.I’ll post the steps with pics,easier to understand it visually heh.
Just realized i can’t post more than 5 pics.I’ll post the other method in the next post.
So every step is the same as the above.
But as i said,when i drag and line the outline with the actual pic instead of doing ctrl0 (or outset),i go to linked offset as i mentioned.Then i just drag and expand the outline with this little dot/circle above the hat.
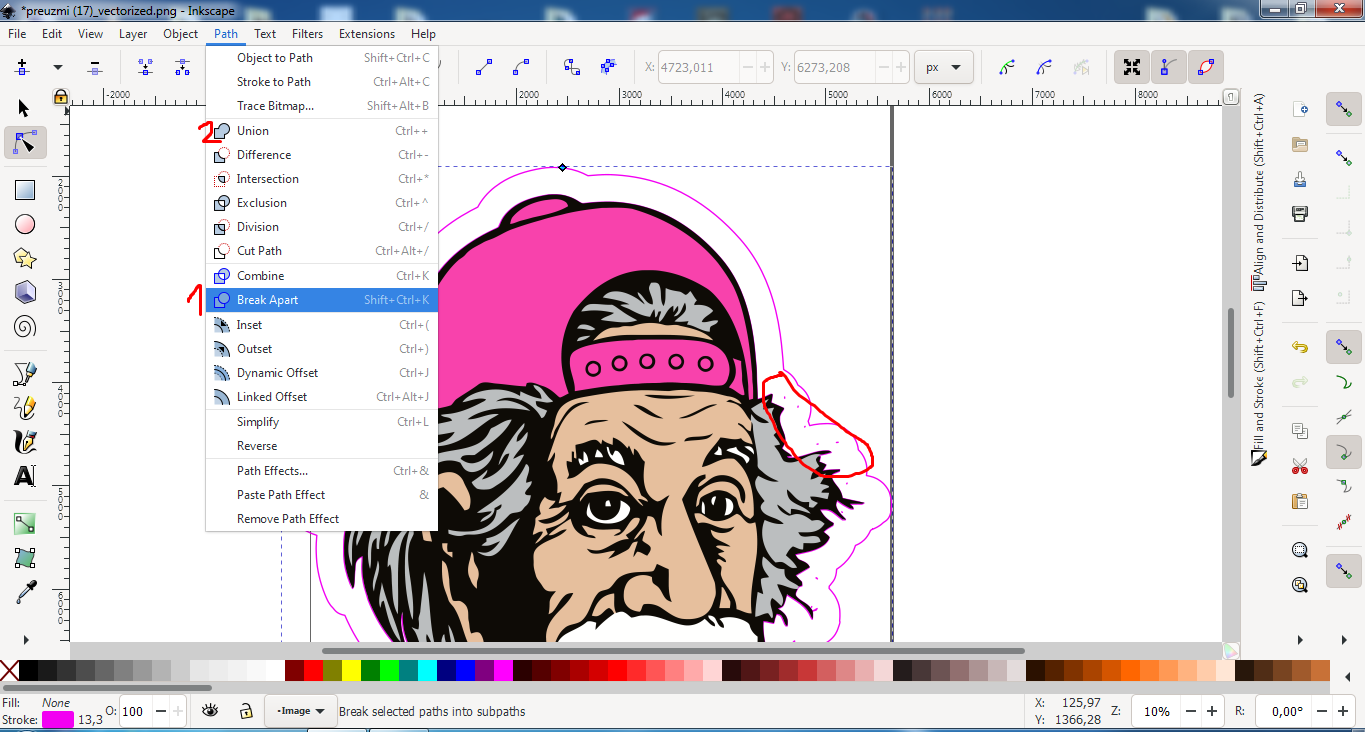
And another thing,with “linked offset” method,when i drag to expand the outline it makes the new one that i expand,but leaving the old one against the image.I select the inner one that’s against the image and delete it,leaving the outer one.
And that’s HOPEFULLY it.So is this way of making cutting line correct?would it make it work?
I’d be glad if you could correct me in some steps if i made them wrong,or just…it wouldn’t work at all lol.
I apologize for making it so long.
If this is printed vinyl, it really shouldn’t be getting cut with a laser. Printed vinyl, and regular sign vinyl too, contains PVC and on cutting is purported to release chlorine gas. All the laser manufacturers here note that doing so will void the warranty on the machine as the chlorine is corrosive to the machine parts. We have a laser. We don’t cut vinyl, nor any of the sheet stock materials known generically as “sintra.”
Ahh man,i think i don’t understand anything know.
I’ll simply take it to the shop and let them to the job lol.
I found a few explanations on youtube,i’ll see if i’ll get it if not i’m quitting hah.
Thank ya’ll for helping i really appreciate it,
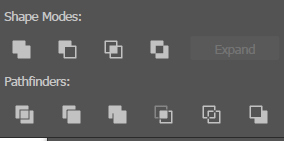
If it’s vector, it gets welded and outlined, if you want rounds, I apply a global corner filter (most often in my sign software as Illustrator can sometimes be really dumb about this.)
If it’s raster, I place it in Illustrator and I break out the wacom and blob brush. That’s as easy as it gets, again apply a quick smooth if needed.
And you get charged the max system time for setup even if it’s a 10 minute process. This is such a basic function of anyone’s design job, I shouldn’t even see these. Ever.
Yup - I’d be charging an hour design for creating keylines, no matter how big/small/easy etc.
Actually if it was very complex it would be a custom quote.
Anyway - shows why there’s a charge for this - even step by step instructions couldn’t be followed. So it’s not as easy as it looks - and just because it’s easy for us, it’s not easy for everyone.
It is easier than it looks. It’s a simple keyline.
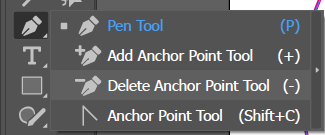
If one can’t do it with a pen tool, with a blob brush, or a pathfinder unite-and-outline, question being in this field. I’m totally serious. This is so very very basic, it’s sad.
I get not knowing the part about layer or color. I’m sure you’ve seen it too where they are put on the wrong layer, and I particularly like it when the layer it’s put on is made non-printing and everything else on that layer doesn’t print either. But not knowing how to make one? Inexcusable for someone accepting paying clients.