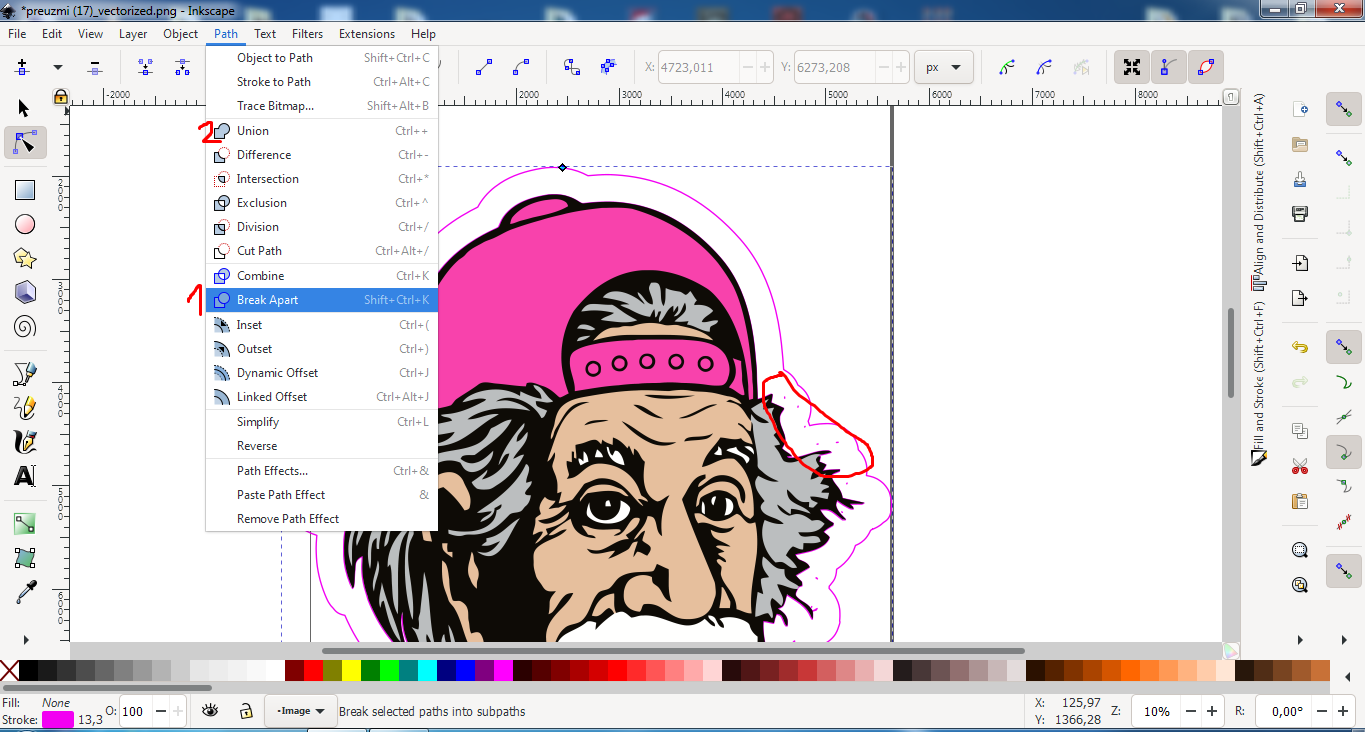
So every step is the same as the above.
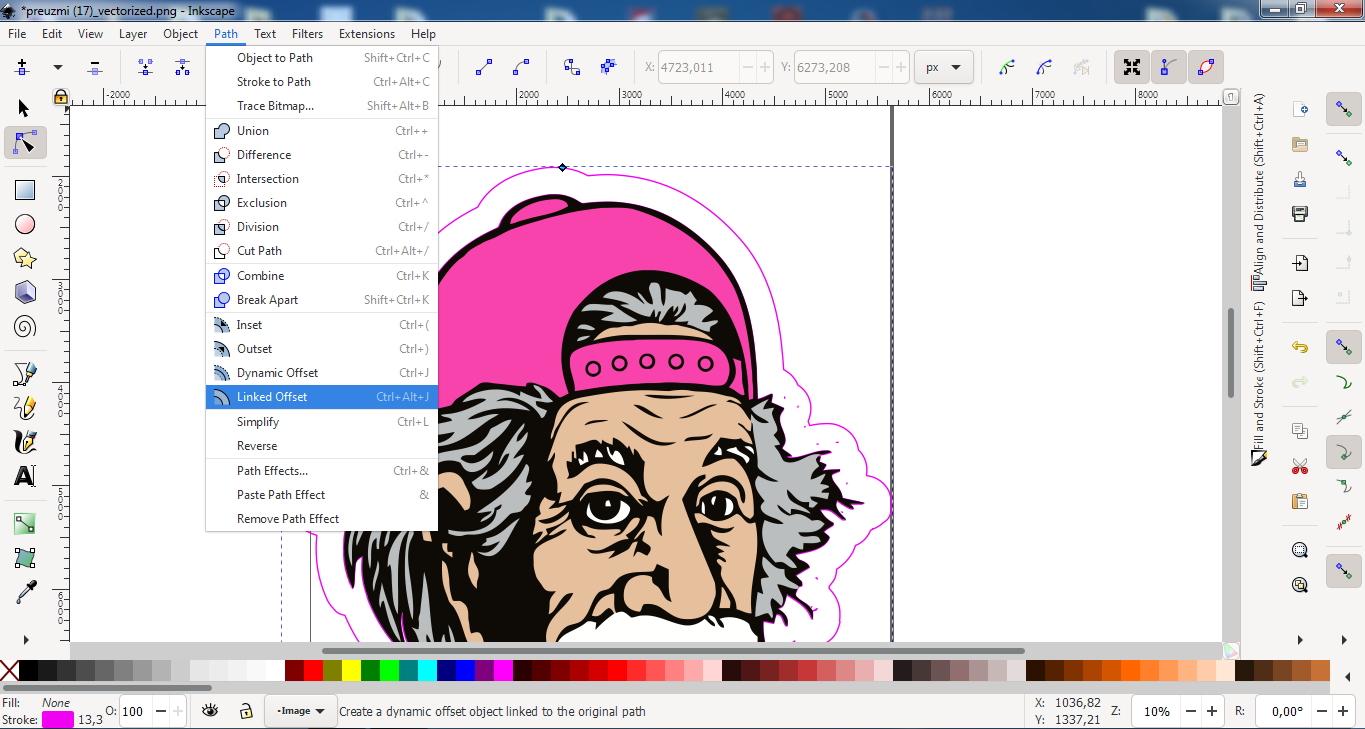
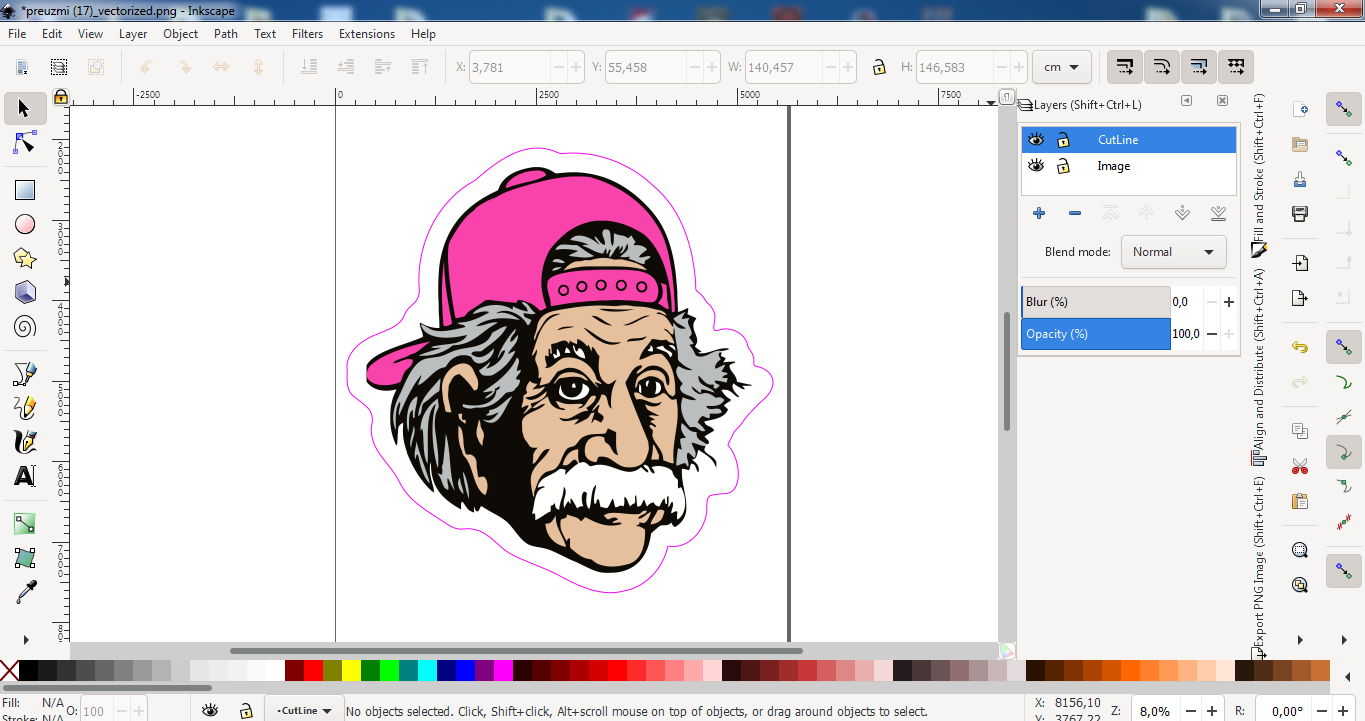
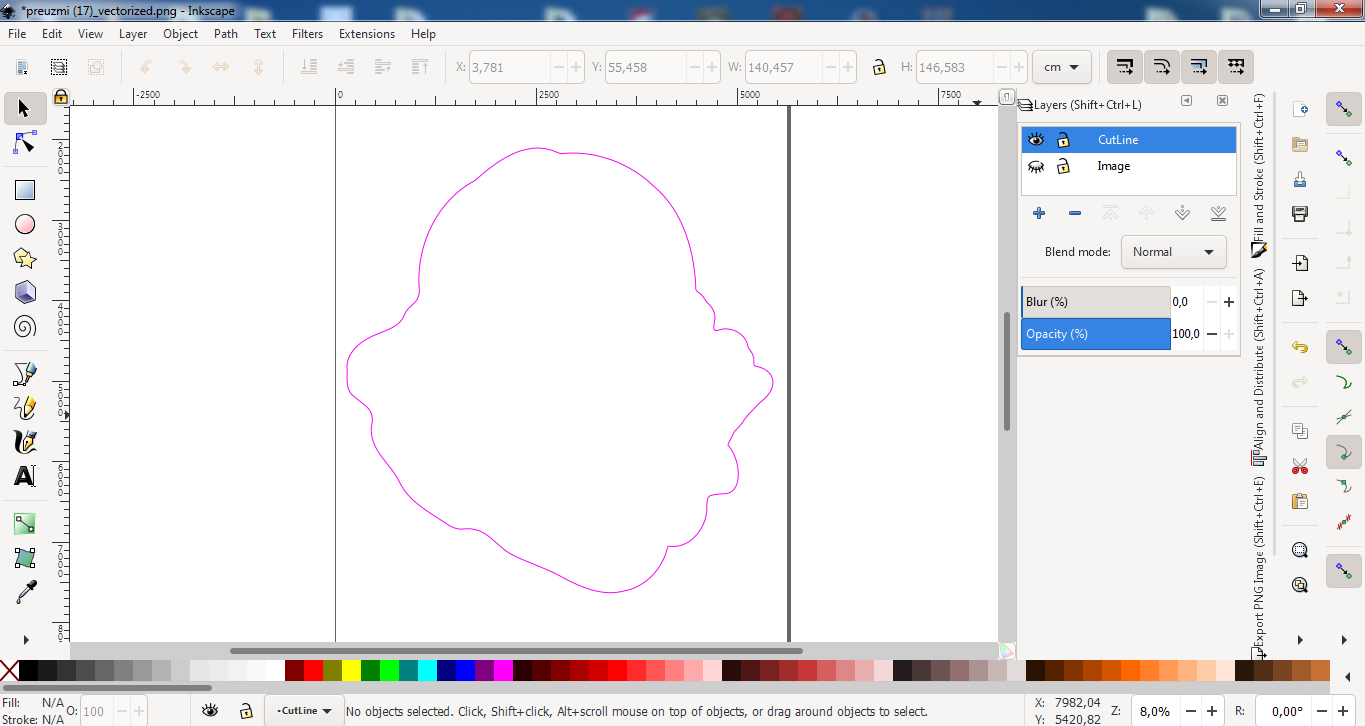
But as i said,when i drag and line the outline with the actual pic instead of doing ctrl0 (or outset),i go to linked offset as i mentioned.Then i just drag and expand the outline with this little dot/circle above the hat.
And another thing,with “linked offset” method,when i drag to expand the outline it makes the new one that i expand,but leaving the old one against the image.I select the inner one that’s against the image and delete it,leaving the outer one.
And that’s HOPEFULLY it.So is this way of making cutting line correct?would it make it work?
I’d be glad if you could correct me in some steps if i made them wrong,or just…it wouldn’t work at all lol.
I apologize for making it so long.
If this is printed vinyl, it really shouldn’t be getting cut with a laser. Printed vinyl, and regular sign vinyl too, contains PVC and on cutting is purported to release chlorine gas. All the laser manufacturers here note that doing so will void the warranty on the machine as the chlorine is corrosive to the machine parts. We have a laser. We don’t cut vinyl, nor any of the sheet stock materials known generically as “sintra.”
Ahh man,i think i don’t understand anything know.
I’ll simply take it to the shop and let them to the job lol.
I found a few explanations on youtube,i’ll see if i’ll get it if not i’m quitting hah.
Thank ya’ll for helping i really appreciate it,
If it’s vector, it gets welded and outlined, if you want rounds, I apply a global corner filter (most often in my sign software as Illustrator can sometimes be really dumb about this.)
If it’s raster, I place it in Illustrator and I break out the wacom and blob brush. That’s as easy as it gets, again apply a quick smooth if needed.
And you get charged the max system time for setup even if it’s a 10 minute process. This is such a basic function of anyone’s design job, I shouldn’t even see these. Ever.
Yup - I’d be charging an hour design for creating keylines, no matter how big/small/easy etc.
Actually if it was very complex it would be a custom quote.
Anyway - shows why there’s a charge for this - even step by step instructions couldn’t be followed. So it’s not as easy as it looks - and just because it’s easy for us, it’s not easy for everyone.
It is easier than it looks. It’s a simple keyline.
If one can’t do it with a pen tool, with a blob brush, or a pathfinder unite-and-outline, question being in this field. I’m totally serious. This is so very very basic, it’s sad.
I get not knowing the part about layer or color. I’m sure you’ve seen it too where they are put on the wrong layer, and I particularly like it when the layer it’s put on is made non-printing and everything else on that layer doesn’t print either. But not knowing how to make one? Inexcusable for someone accepting paying clients.
Anyone unable draw a simple line around something and connect the ends has no business working in this field. For that matter, I say much the same about anyone not knowing how to create a separate non-printing layer for that single-color line to be on.
How die lines work and how to create them is a legitimate question for a student or a beginner, but it’s one of the most basic questions imaginable with an equally easy-to-understand answer. Anyone needing a tutorial on something this simple might want to reconsider their career choice.
The separate non-printing layer thing is made slightly (ever so slightly) more difficult because of program default to top layers. I always check a top-placed die-line layer for unexpected items simply because it is so easy to click and put stuff there in error. It shouldn’t happen, and should also be checked for by the designer before hand off (turn off the visibility on the die-line and see if any of your design vanishes with it. Or check overprint preview.) But it is so common, it’s one of the automatic checks. It’s weird too, cuz sometimes I’ll get go-by PDFs with the die-line and other stuff missing, meaning no one checked the PDF before sending either. I’ll match it, if you want me too… but usually I call/text/email on something like that.
Well,i finally managed to make it following steps from some video that’s like 5 min long.
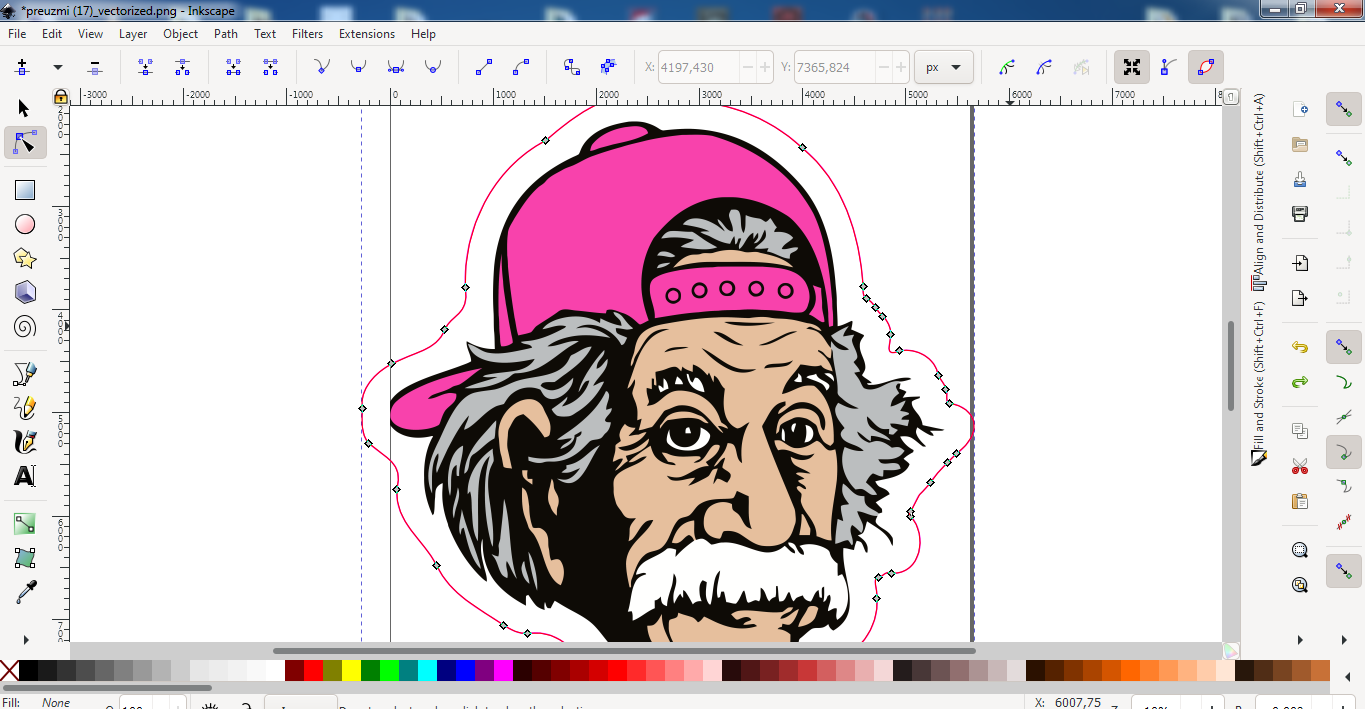
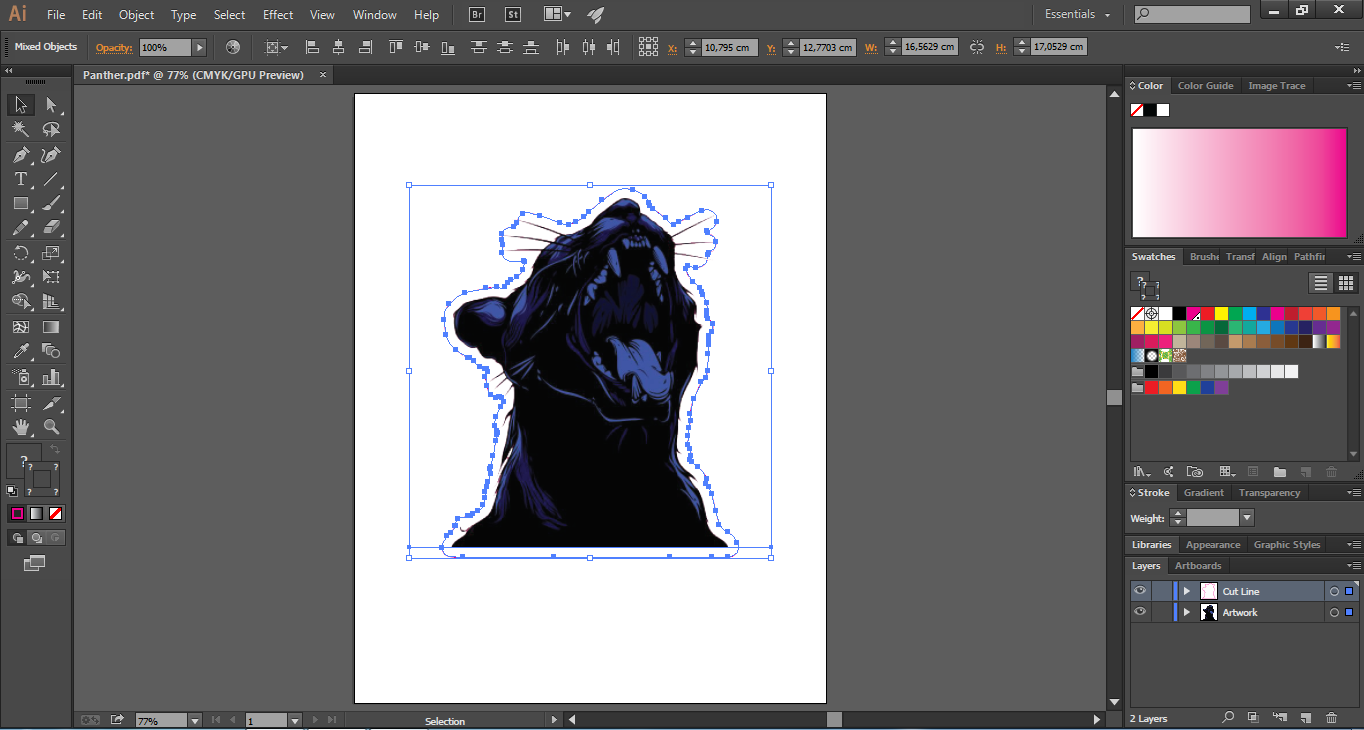
But what’s the box around the image when i go preview mode that i pointed out with the arrow key?
It’s supposed and has to be there??
That’s just the bounding box outline that you can use to scale or rotate whatever artwork is selected by grabbing the little boxes you see on the outline. It doesn’t print.
Given your inexperience with the software, the illustrations you’re working with were obviously not created by you. I don’t know what your plans are, but I hope you realize there are copyright and licensing issues to consider when using other people’s artwork.
Thanks.
Well what my plan actually was i wanted to print stickers for myself from other people’s work.It wouldn’t be a copyright if i actually buy the design?
From shutterstock for an example.
And yes,neither one of the two designs in images i posted are not made by me.